Step 1
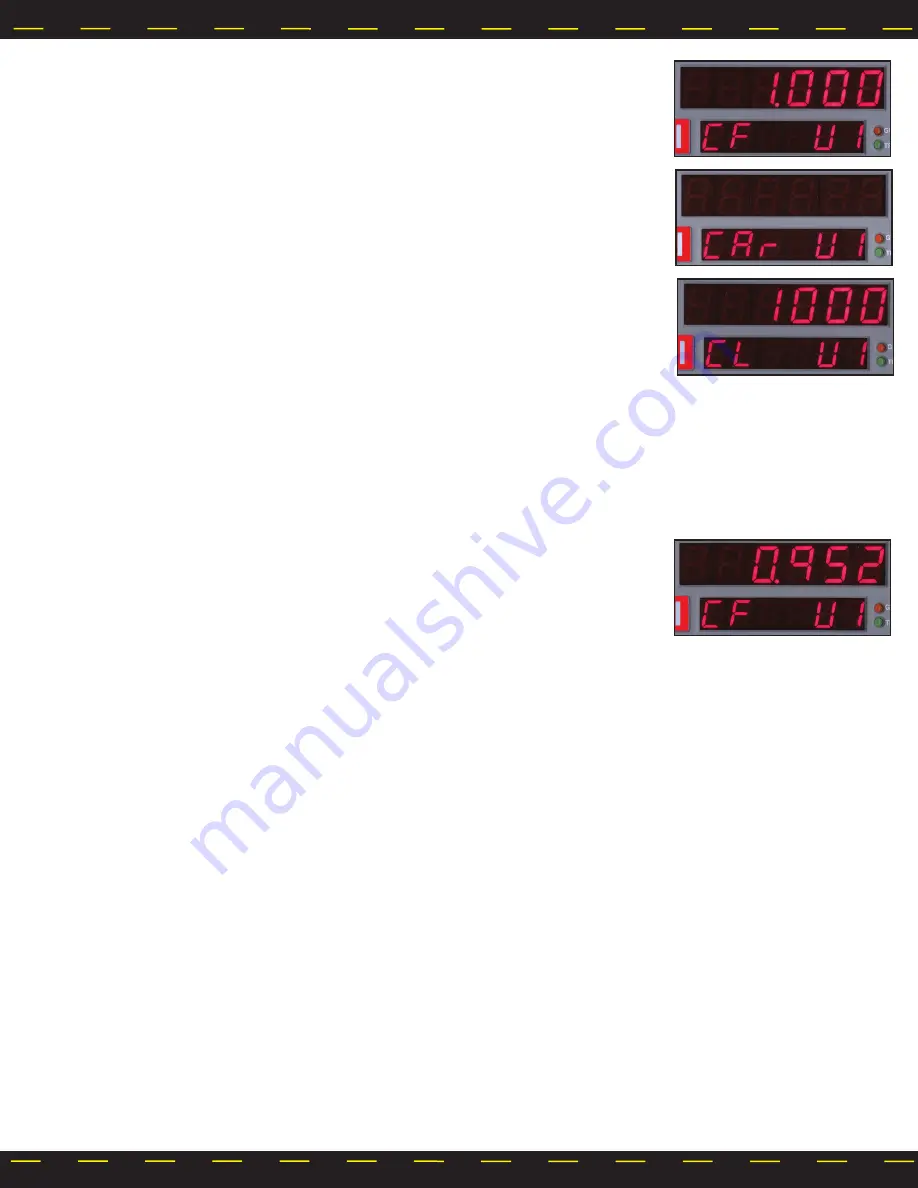
Slide the ON/OFF switch to ON. Your RAC will perform a brief Self Test. The current calibra-
tion number will be shown in the larger, upper display (D-1) and CF U(vehicle 1, 2, 3 or 4) in the
smaller, lower display (D-2). This is displayed for 3-4 seconds while a tone sounds, then
0
is shown
in D-1 (0.000 if the mile or meter unit of measurements is selected) while
CH
is shown in D-2.
Step 2
Press the
Menu
key, the
# 1
key and
Enter
. At this point, the unit of measurement will automati-
cally change to feet. You can then select the vehicle number that this calibration will be for by
using the 1 through 4 numeric keys.
Step 3
Once the vehicle number has been selected, press
Enter
. Key in the course length (in feet) to be
used for the calibration using the number keys, then press
Enter
again.
Step 4
Using a reference point on your vehicle (i.e. the window post, door handle, your shoulder, etc.),
align your vehicle to the beginning course marker.
Step 7
Press
Enter
and the unit of measurement will return to your desired unit of feet, mile or meter. Press
Enter
again to exit the menu
function and return to normal operation. Your calibration number for the vehicle selected is now stored in the RAC’s permanent
memory. The calibration number will stay in memory for more than 50 years, or until you re-calibrate or manually change the data.
You are able to view the calibration number and unit (vehicle) number every time you power up the RAC.
You should rerun the calibration course, in the normal mode, to verify the calibration for your vehicle. Press the CH key prior to
measuring. If this is the first time you have calibrated a DMI, you may want to run the course a couple of times to practice being
properly aligned when starting and stopping at the course markers.
If your RAC fails to calibrate, refer to Chapter 3 of the full User’s Manual for troubleshooting steps.
Important:
Ideally,
the calibration number used should be between .500 and 1.200.
If your calibration number is below this
range, you need to use a higher division factor such as 16 on the Modular Distance Sensor (MDS). Of course, if your calibration
number is too high, you can lower the number by using a lower number such as 1 on your MDS. This is done by adjusting the rotary
switch on the MDS so the slot points to 1, 2, 8, 16, 32 or 64.
Note: The adjustable rotary switch is only available on Modular Distance Sensors. If you are using an OBD or Magnetic sensor
there is no adjustment to be made.
Any time
you adjust the rotary switch setting,
you must re-calibrate
to get the correct calibration number. Changing the switch
setting
will not
change the calibration number, only the number of pulses being received by the RAC.
Step 5
Press the
CH
key and drive away. As you drive, the pulses received from the vehicle are being shown in D-1. This is not the distance
being traveled, so don’t panic when the display doesn’t equal the actual length of your calibration course. When you reach the end of
the course, stop your vehicle so you are exactly aligned (using the same reference point in the vehicle) with the end course marker.
Step 6
Press the
CH
key. The calibration factor will then be shown in D-1. You should record the cali-
bration number in a place easy to access, such as on a piece of tape attached to the inside of the
vehicle’s glove box.


