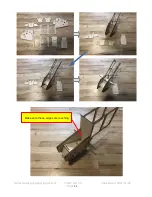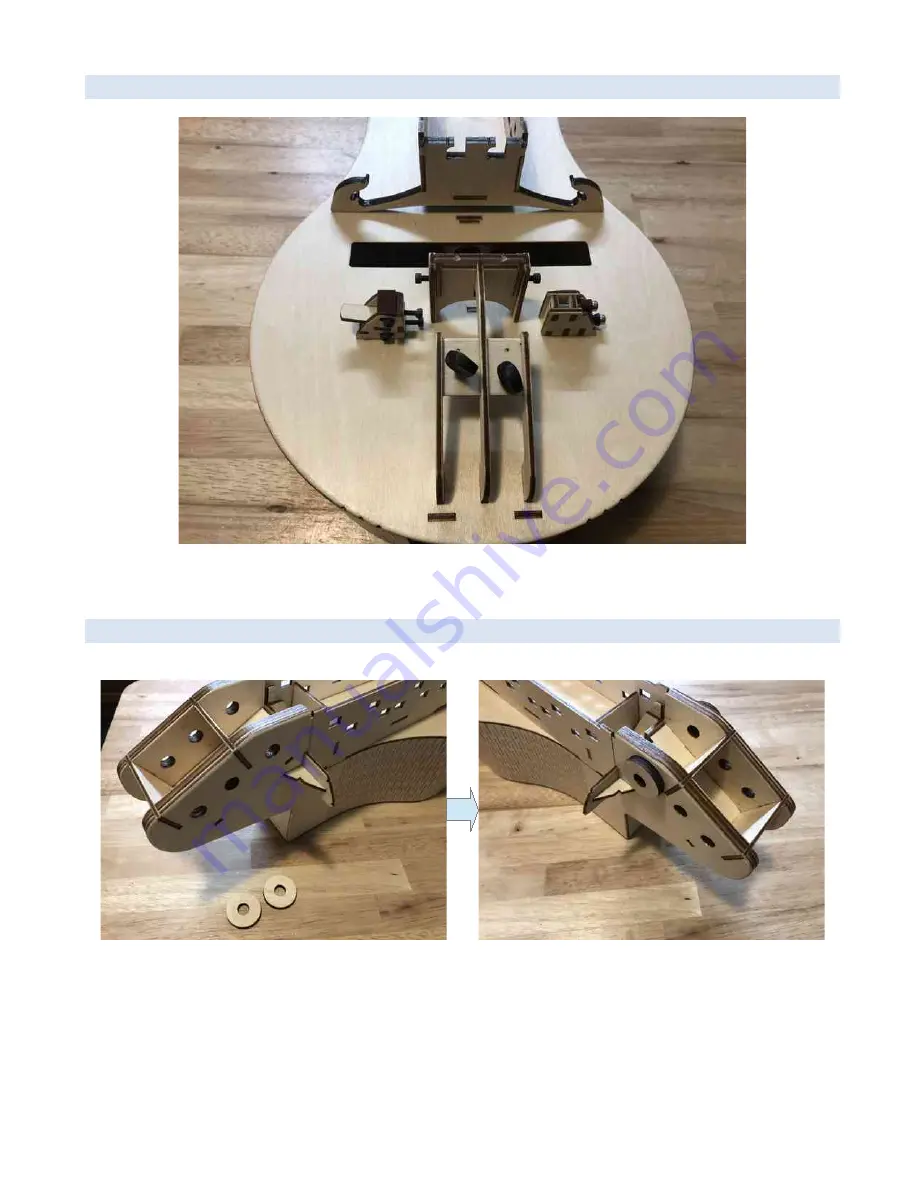
Mount the tail piece
You don’t need to glue the tail piece in place, but it makes it a bit more stable.
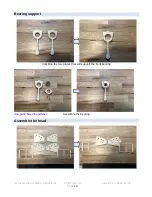
Assemble the machine heads
M
ount the wooden spacer rings on both sides of the head
Nerdy Gurdy assembly instructions
CC BY-NC 3.0
Jaap Brand, 2021-01-08
Page
24