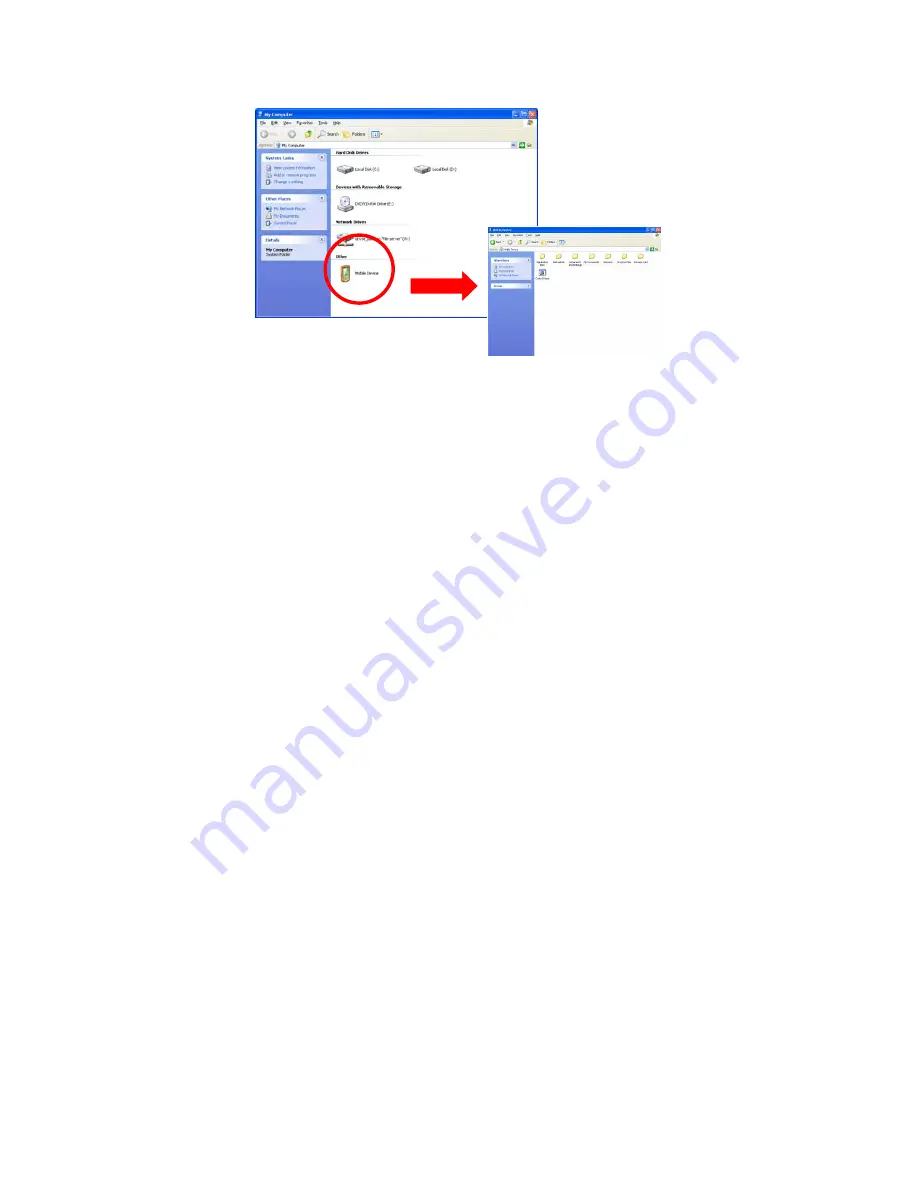
1: Double click the “Mobile Device” icon by opening “My Computer” to access the documents or files saved in the Hand Held Computer.
Страница 1: ...J2 Wave Hand Held Computer Hardware Manual February 2010...
Страница 2: ...nstalling Uninstalling SD Card 14 Neck Strap Installation 15 Wrist Strap Installation 16 Hand Strap Installation 17 Charging the Main Battery 19 Backup Battery 19 Power on off the System 20 LED Indica...
Страница 3: ...ry 2 Power 4 Programmable Keys Hold 5 seconds to power on off the system 3 Speaker At rear side 4 Hand Strap Screw Hole Mounted for hand strap 5 Reset Hole For system reset to the default setting 6 Ba...
Страница 4: ...4 of 33 Standard Components Items 1 Hand Held Computer 2 Charger Base Note Only for power charge use not for data transfer use 3 Main Battery 4 Holster 5 Power Adapter AC USB connector 6 Hand Strap 7...
Страница 5: ...s 1 Standard Battery Charger 2 Power Brick of Standard Battery Charger 3 Power Cord of Standard Battery Charger Note Power cord are various according to the shipping country 4 MSR Module 5 2 in 1 MSR...
Страница 6: ...data and configurations This device provides a specific mechanism to let system integrator easily to integrate the OEM applications and device configurations into device as factory default mode withou...
Страница 7: ...z Link LED indicator z Maximum Output Power 12dBm 10 Bluetooth z Compliant with Bluetooth Specification V2 0 z Maximum Output Power 4dBm Class 2 z Receive Sensitivity Typical 78dBm 11 USB Client z US...
Страница 8: ...LED indicators z Green ON device power on OFF device off suspend z Blue Link Status of WiFi manager z Red Flash Battery low ON Charging battery 17 Vibrator z Vibrational indicator 18 Smart Battery z 3...
Страница 9: ...ode z Compliant with Graphics Windowing and Event Subsystems of Window CE embedded z Still Image Codec Support z DirectShow z Support screen rotation feature 4 User Input Interface z Stylus input rath...
Страница 10: ...sm z Support Window Wireless Zero Configuration service 8 Data Communication Bluetooth z Compliant Bluetooth software specification z Window CE Bluetooth communication software stack z SPP FTP Actives...
Страница 11: ...cations and Service Development z NET compact framework 2 0 z Active Template Library ATL z C Libraries and Runtimes z COM and DCOM z Microsoft Foundation Classes MFC z Object Exahange Protocol z Stan...
Страница 12: ...flat head screw driver or a coin to release the lock 2 Slide the battery door outwards as direction of the arrow and open the battery door 3 Push down the main battery into the battery bay until you h...
Страница 13: ...emoving the Main Battery 1 Open the battery door first 2 Please use your finger nail to pull the fillister on the battery latch the circle marked toward the front as the direction of the arrow shows 3...
Страница 14: ...ay which is a push push type Installing the SD Card 1 To open the battery door and remove the main battery first 2 To push the SD card into the Slot until it clicks 3 To remove the SD Card please push...
Страница 15: ...g the Neck Strap please unthread the Neck Strap first then follow the below steps 1 Start threading the Neck Strap through the Strap Hole as arrow direction 2 Thread through the plastic ring to make i...
Страница 16: ...Version 0 0 Draft February 23 2010 Page 16 of 33 Wrist Strap Installation 1 Start threading the Wrist Strap through the Strap Ring 2 Thread through as the arrow direction point 3 Finished...
Страница 17: ...ap Installation 1 Start threading the Hand Strap through the strap hole at the either side of the system 2 Thread through as the arrows direction show 2 Finish the Hand Strap threading through the str...
Страница 18: ...ary 23 2010 Page 18 of 33 1 Fasten the Hand Strap Plastic Ring with the screws 2 to the screw holes at rear side of the system 2 Thread the Hand Strap through the plastic ring as the direction of the...
Страница 19: ...urn Orange while recharging 6 When recharging is complete the units LED light turn Green Backup Battery The internal Backup Battery can last for 5 minutes The screen will be powered on with the last s...
Страница 20: ...m Press and hold the Power Button as the arrow marked for 5 seconds to turn on the system Note There is a option for the off on button to work as a instant on switch Turn off the System To press the P...
Страница 21: ...he Main Battery and WiFi Link The Description as follows Green color LED Battery power charging state S W LED ON Battery power charging finished 100 Orange color LED Battery power charging state S W L...
Страница 22: ...ar of the Hand Held Computer while keep holding the Power Button throughout 2 Release the press of Reset Hole and the Power Button at the same time after system vibration occurs 1 System reboot to Des...
Страница 23: ...the rear of the Hand Held Computer while keep holding down the Power Button throughout until the system vibration occurs 2 Release the Reset Hole and press the Power Button the second time after the s...
Страница 24: ...g their software application A specific application program located in Application Folder and named as USB EXE to provide manual USB ActiveSync connection A specific USB cable would be required USB Ca...
Страница 25: ...rtnership will be requested once after connecting the USB Cable to the Hand Held Computer and PC The Synchronization will be running automatically after Microsoft Active Sync and Partnership Set up be...
Страница 26: ...2 on the back cover of the Hand Held Computer to access the Connector Slot 2 Connect the white connector to the Hand Held Computer 1 Connect the USB Connector to the PC device to communicate the Hand...
Страница 27: ...is disabled to save power It must be enabled to use ActiveSync Follow the steps below ton enable the hand held s USB port 1 Double click on the My Device icon on Today screen 1 Double click on the Ap...
Страница 28: ...s OK button After installing the Microsoft ActiveSync program at your PC please enable it You will see the Connecting is running automatically after USB Cable is connected the Hand Held Computer and P...
Страница 29: ...1 Double click the Mobile Device icon by opening My Computer to access the documents or files saved in the Hand Held Computer...
Страница 30: ...crew the screws 2 on the rear side of the Hand Held Computer 2 Slide upward to open the Connector Cover to access the connector slot 3 Connect MSR cable to the respective connector on the connector sl...
Страница 31: ...tal juts are entered to the right position of the system 5 Use the attached screws 2 to fix the MSR module to the Hand Held Computer as above photo shows 6 Finished Front view of the MSR module and th...
Страница 32: ...onnector cover on the Hand Held Computer first 2 Connect cables 2 to the respective connectors on the connector slot of the Hand Held Computer 3 To make sure the metal juts are entered into the right...
Страница 33: ...4 To use the attached screws 2 to fix the 2 in 1 MSR module to the Hand Held Computer 5 Finished The front view of the 2 in 1 MSR and Scanner Module with the Hand Held Computer...