18
Attention: The screws provided in the package are suitable for wooden beam and for
concrete ceiling.
3. Insert the support rod between the top and bottom canopies. Insert the electrical cables
coming out of the motor through the support rod and connect them to the screw terminal on
the top of the support base. Attach the support rod to the motor using the pin and the nut (fig.
3).
4. Hang the fan on the support base hook and connect the power cord coming from the ceiling
to the screw terminal on the top of the support rod. Make sure the receiver is mounted on the
support plate (see section "Connecting the controller").
5. Slide the upper canopy up and secure it with the screw. Slide the lower canopy down and
after making sure it rests on the motor, fasten it with the screw (fig. 4).
6. Align the blade slots with the blade mounting screw heads and slide so that the screw head
is positioned at the end of the socket (fig. 5). Tighten the screw (fig. 6).
7. Unscrew the screws from the motor base. Carefully arrange all the wires in the connecting
plate. Assemble and align the holes in the rear of the LED light with the three screws on the
motor connection plate (fig. 7).
8. Tighten the three screws on the LED base. Connect the receiver to the motor cable. Make
sure that the lighting panel can be moved after tightening the screws (fig. 8).
9. Place the LED shade (fig. 8).
• The important safety precautions and instructions in the manual do not cover all possi-
ble conditions that may arise.
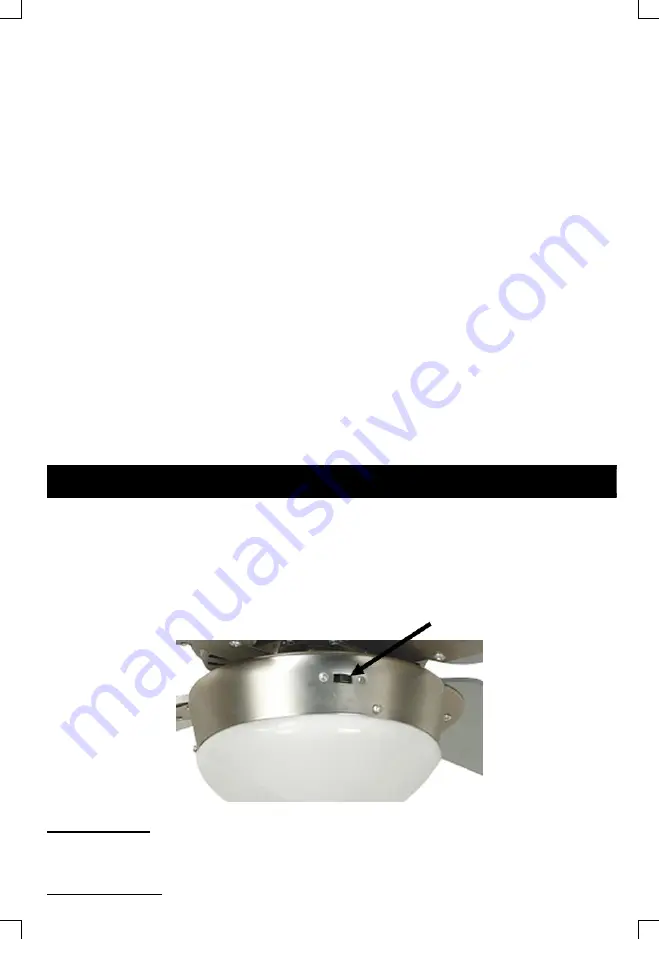
Summer/Winter Function
In winter mode, the ceiling fan moves in a clockwise direction, with the result that the warm air
collected at the upper level of the room is evenly diffused downwards throughout the room.
Tip:
you can use the winter operation of the fan in parallel with the heating system you have
(eg radiators) to achieve more efficient heating and energy savings!
Make sure the fan is completely stopped before using the rotation switch.
Winter function:
Push the switch on the motor to the right so that the blades move backwards and move the hot
air on the ceiling down.
Summer function:
Push the switch on the motor to the left so that the blades create cool air.
Содержание IZ-9022
Страница 2: ...1 Περιεχόμενα Contents GR Σελίδες 1 11 EN Pages 12 21 ...
Страница 17: ...16 Remote control connection ...
Страница 23: ...22 ...


