Install XG12 Chassis
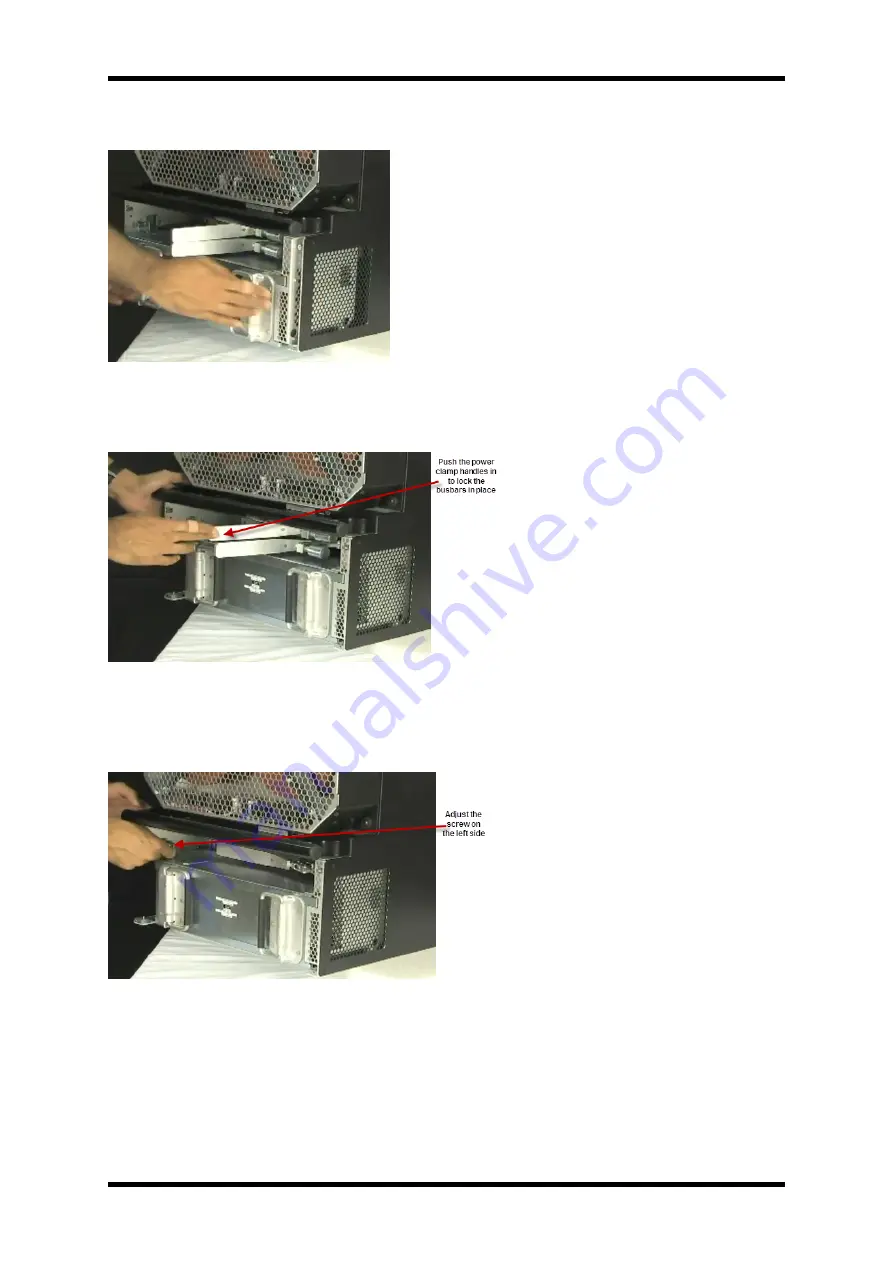
Figure:XG12 Chassis pushing power supply module
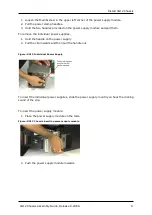
3. Push the power clamp handles in to lock the busbars in place.
Figure: XG12 Chassis pushing power clamp handles
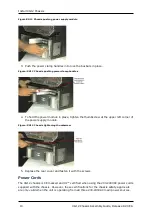
4. To hold the power module in place, tighten the thumbscrew at the upper left corner of
the power supply module.
Figure: XG12 Chassis tightening thumbscrew
5. Replace the rear cover and fasten it with the screws.
Power Cords
The XG12 chassis is CE marked and UL™ certified when using the 200-240VAC power cords
supplied with the chassis. However, these certifications for the chassis safety approvals
are only valid when the unit is operating from all three 200-240VAC main power sources.
10
XG12 Chassis Assembly Guide, Release 8.20 EA
Содержание XG12
Страница 1: ...XG12 Chassis Assembly Guide Version 1 0 Release 8 20 EA December 2016...
Страница 4: ...This page intentionally left blank...
Страница 6: ...This page intentionally left blank...
Страница 8: ...This page intentionally left blank...
Страница 10: ...This page intentionally left blank...
Страница 18: ...This page intentionally left blank...

