


Chapter 5: iView Web Manager
Chapter 5: iView Web Manager
Section 1. Introduction
After you have setup the hardware and set an IP address for iView, you will then be able to
go to iView web site to monitor and control the PC cameras. All you have to do is enter the
new IP address into any web browser.
1. Start the Web Brower (Netscape or Internet Explorer)
2. Enter the iView IP Address that was set earlier using “Setup Wizard” (e.g.
211.21.67.51), and press ENTER
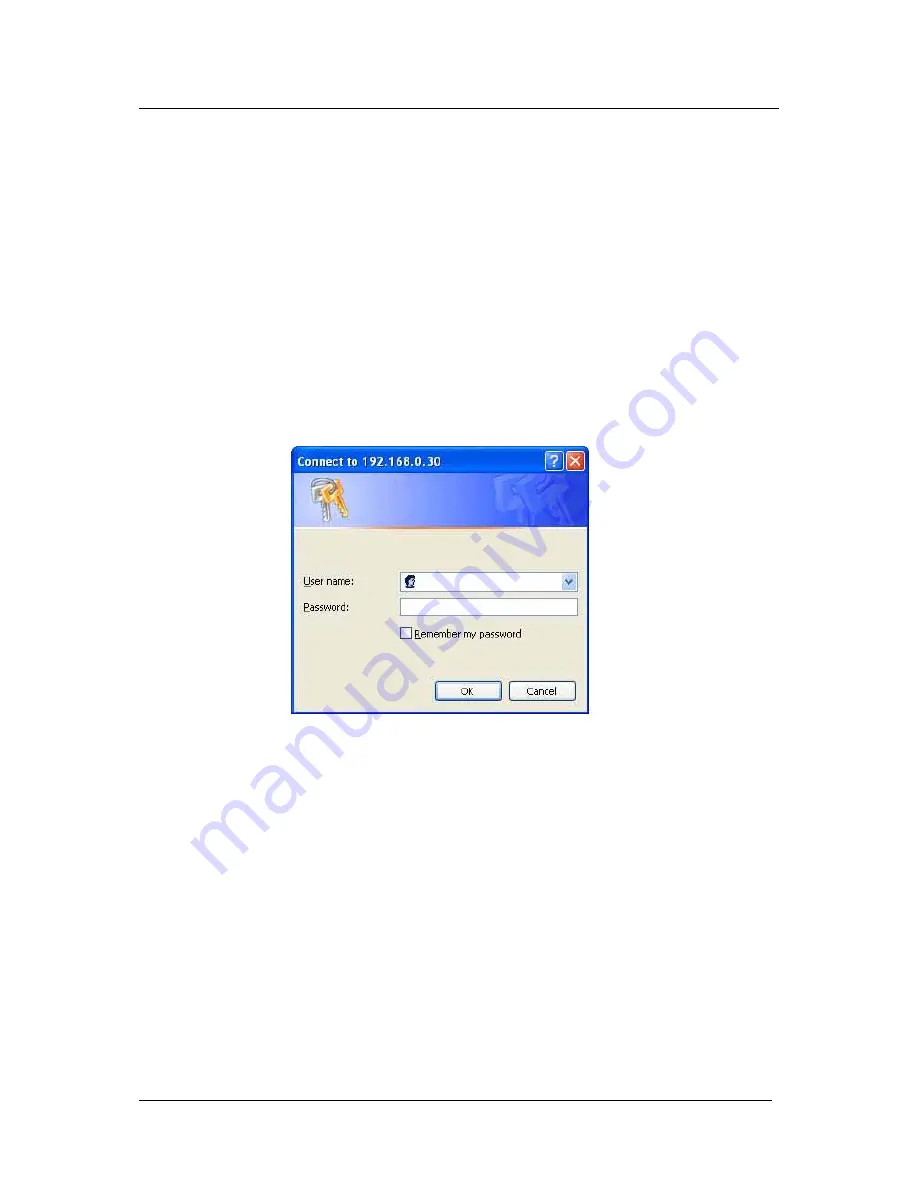
3. A login screen will appear. Enter the Administrator User Name and Password if you
have set these in the “Setup Wizard”.
Otherwise, just press ENTER.
Fig.15 iView Login screen
Section 2. iView Web Manager Interface
The iView webpage main menu is divided into two sections. The selection menu on the left
and display menu on the right. The selection menu consists of the following options:
2.1 Web-Camera Selection
2.2 Information
2.3 Basic Settings
2.4 Advanced Settings
iView User’s Manual -20-


