


[ 24 ]
WatchDog-15 User Manual
rev. A1.02 – Sept.24, 2012
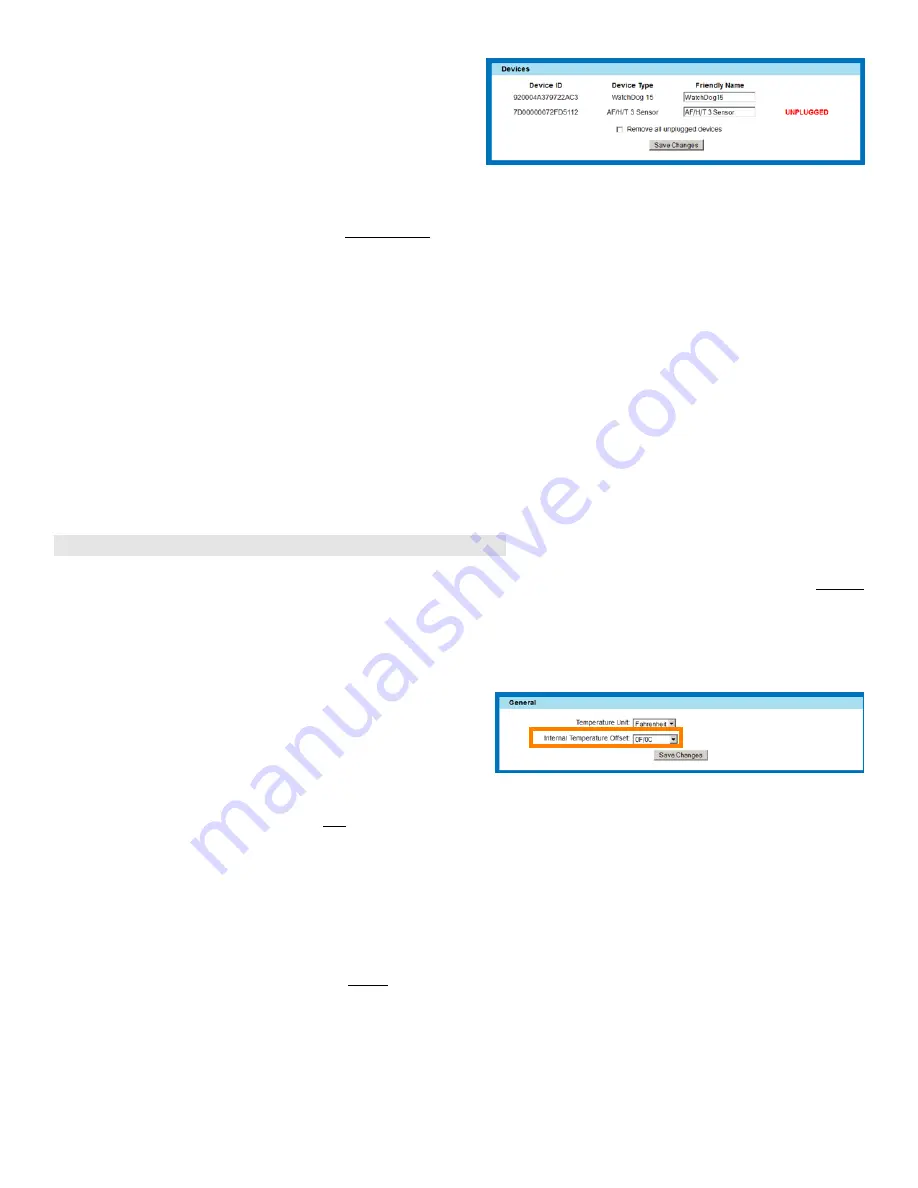
Finally, on the
Display
page, any sensors which are
unplugged will have UNPLUGGED displayed in
red text
next to their position in the
Devices
section.
If the device in question is still connected to the unit (or
is supposed to be), then you should begin by inspecting the
wiring and the sensor itself to make sure they are intact and properly connected, before assuming a fault in the
sensor itself.
However, if this sensor device was deliberately disconnected (to be replaced by a new one, or moved and
reconnected to a different monitoring unit at another physical location, for example), and you don’t want it to
show up on the unit’s web page at all any more, set the
Remove all unplugged devices
checkbox, as highlighted
above, then click
Save Changes
. The WatchDog-15 unit then will “forget” the sensor by removing it from its
device table, and begin reclaiming any memory blocks used by its logged data.
“Unavailable” sensors?:
Occasionally, you may see a sensor described as “unavailable” rather than unplugged. This typically indicates
that communications with the sensor aren’t (yet) failing enough to declare the device unplugged, but that the unit
is still failing to communicate with the sensor for multiple bus-scan cycles. The usual causes are, again, excessive
EM interference, sensor malfunction, or wiring and connector problems.
Applying an offset to the internal temperature reading:
►
Note: this feature requires firmware revision 1.3.0 or higher.
While the temperature sensor in the WatchDog-15 is factory-calibrated, sometimes the readings can appear
to be higher than they should be due to the sensor picking up some of the heat generated by the rest of the unit’s
circuitry. This typically happens when the unit is mounted in an enclosed area with little or no airflow, such as
inside an enclosed cabinet or a small closet. If this should occur, you can apply a correction to subtract this
“self-heating” effect from the displayed and logged readings.
Select the
Display
page by clicking on the appropriate
tab on the left-hand side of the web page, then find the
section titled
General
. Find the control named
Internal
Temperature Offset,
then select the desired correction and
click
Save Changes
.
Note that changing the offset will not alter any data already stored in the log, so if you apply a large correction
factor, you will see what appears to be a large, sudden drop in temperature. Changing the offset also does not
recalculate your alarm thresholds for you, so if you apply a large correction factor, it may set off one or more of
your alarms if the offset causes the corrected temperature reading to dip below any “low trip” alarm thresholds
you’ve set.
Also note that just because the WatchDog-15’s sensor shows a different reading than the room’s wall
thermostat does not necessarily mean that the unit’s readings are incorrect and in need of an offset correction.
The air temperature in a room is almost never uniform; convection currents, differences in airflow, and relative
proximity to cooling vents and/or heat-generating equipment can cause the temperature to vary by several degrees
between different spots within the same room. To determine whether the WatchDog-15 is truly reading higher
than the “real” ambient temperature due to self-heating, it is necessary to place another temperature probe within
less than 1 inch (2.5cm) of the unit’s sensor tab and compare readings. Also, it is necessary to take both sensors’
accuracies into account; if two sensors each have an accuracy of +/-0.5C (0.9F), it is possible for their readings
to be as much as 1C (1.8F) apart and still be within their rated accuracies.


