© 2007 iSys – The Imaging Systems Group Inc
.
iTerra IJ1800 Reference Guide Rev 1.1
Page 24
7
Installing the Printheads - continued
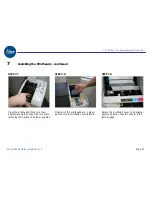
STEP 7.10
STEP 7.11
STEP 7.12
Lower the two hinged flaps until flap 2
clicks into place.
Note: After closing the flap, the printer
will automatically perform internal
calibrations on the printheads and then
on the alignment. There must be paper
loaded in the printer in order to complete
this step.
Wait approximately 15 minutes until the
timer icon disappears from the front
panel.
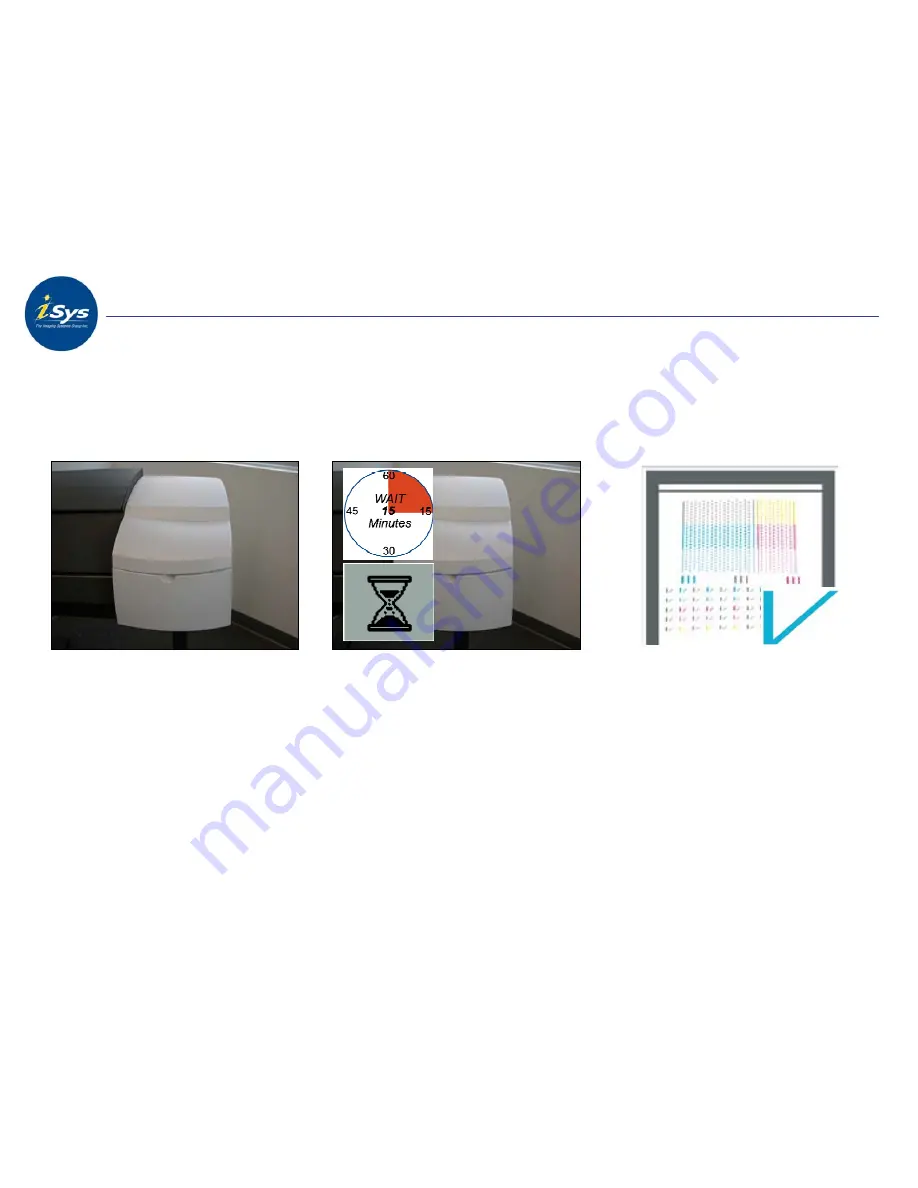
When the timer icon disappears the
printer will automatically perform a
printhead alignment and a sheet will be
ejected. The printhead alignment sheet
should show a cyan checkmark like the
above.
Содержание iTerra IJ1800
Страница 2: ... 2007 iSys The Imaging Systems Group Inc iTerra IJ1800 Reference Guide Rev 1 1 Page 2 ...
Страница 4: ... 2007 iSys The Imaging Systems Group Inc iTerra IJ1800 Reference Guide Rev 1 1 Page 4 ...
Страница 10: ... 2007 iSys The Imaging Systems Group Inc iTerra IJ1800 Reference Guide Rev 1 1 Page 10 ...
Страница 14: ... 2007 iSys The Imaging Systems Group Inc iTerra IJ1800 Reference Guide Rev 1 1 Page 14 ...
Страница 28: ... 2007 iSys The Imaging Systems Group Inc iTerra IJ1800 Reference Guide Rev 1 1 Page 28 ...
Страница 38: ... 2007 iSys The Imaging Systems Group Inc iTerra IJ1800 Reference Guide Rev 1 1 Page 38 ...
Страница 56: ... 2007 iSys The Imaging Systems Group Inc iTerra IJ1800 Reference Guide Rev 1 1 Page 56 ...
Страница 62: ... 2007 iSys The Imaging Systems Group Inc iTerra IJ1800 Reference Guide Rev 1 1 Page 62 ...
Страница 64: ... 2007 iSys The Imaging Systems Group Inc iTerra IJ1800 Reference Guide Rev 1 1 Page 64 ...

