English English
This Quick User Guide helps you get started with the
IRIScan™ Pro 3 Cloud
scanner.
This scanner is supplied with the software applications
Readiris™ Corporate 14
(PC and Mac),
Cardiris™ Corporate 5 for CRM
(PC),
Cardiris™ Pro 4
(Mac) and
IRISFile™ 12
(PC). The corresponding
Quick User Guides can be found on the
IRIScan™
DVD-ROM. For detailed information about their full
range of features, consult the latest User Guides on
www.irislink.com/support/userguides
.
The descriptions in this guide are based on the Windows® 7 and Mac® OS Lion Operating System. All
information is subject to change without prior notice.
Table of Contents
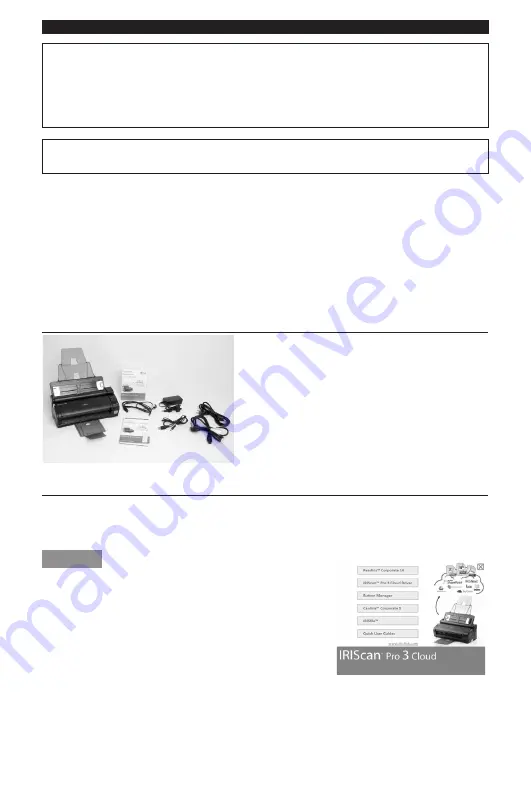
Step 1: Check the Accessories
Step 2: Install Readiris™
, the Scanner Driver and the other Software
Applications.
Step 3: Connect the Scanner to the Computer
Step 4: Power ON the Scanner
Step 5: Scanning Documents
Step 6: Using the Button Manager (PC only)
Tips
Step 1: Check the Accessories
Step 2: Install Readiris™, the Scanner Driver and the other Software Applications.
Important:
First install Readiris
™
before you install the scanner driver or Button Manager. Then, install the scanner
driver and software applications before connecting the scanner to the computer.
Make sure you have the required administration rights on your computer to do the installation.
Windows
1. Insert the
IRIScan™
disc in the DVD-ROM drive of the computer.
The setup menu is displayed automatically. (If the menu does not start
run
setup.exe
from the disc.)
2. Click
Readiris™ Corporate 14
to install Readiris.
3. Click
IRIScan™ Pro 3 Cloud Driver
to install the driver.
Follow the on-screen instructions.
4. Return to the setup menu and install the Button Manager and the other software applications.
Again follow the on-screen instructions.
Note:
all license numbers required to activate the software can be found on the license sheet included in the box.


