


IQCCTV IQR4D
– 4 Camera DVR
Chapter 2 - Quick installation
2.1
HDD Installation
Hard drive installation must be carried out by technicians to avoid damage to the equipment
and hard drives. The DVR must be powered off before you plug in a hard drive. For best results
please ensure that hard drives with SATA connections are used.
Installation procedures are as follows:
1.
Open the DVR.
2.
Connect the hard drive to the corresponding SATA data and power cables.
3.
Secure the hard drive by aligning the hard drive with the corresponding screw holes.
4.
Once the hard drive is secured, replace the DVR cover.
Please Note: A new hard drive must be formatted before it can record
2.2 Boot
Connect the DC12V/3A power adapter to the power cord socket on the DVR’s back panel.
Press the power button on the front panel and the ‘POWER’ LED will indicate that the unit is
switched on and the monitor will display a 4 channel monitoring image. If a hard drive has not
been formatted, formatting information will be shown instead. If the automatic recording
function is chosen then the ‘REC’ LED will also be visible on booting the DVR.
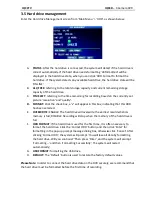
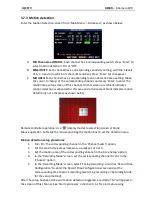
Please Note:
If hard drive is faulty or has not formatted correctly the red ‘H’ logo will be shown in
the video pre-view picture.
The newly installed hard drive must not be used until it has been formatted. The
menu path to commence formatting: Main Menu > HDD > HDD Format. The unit will
restart upon the successful completion of the formatting.
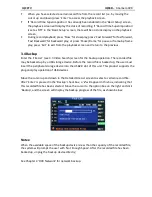
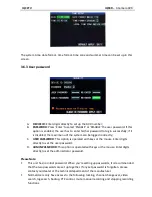
2.3 System login
The default user login code is
000000
without any password, to log into the unit’s main menu
directly. For better security, the administrator can enter the system (‘Basic Settings’ – ‘User
Password’) to change the code and password of the unit. Users can set ordinary user or
administrator passwords. The administrator has all the operating privileges whilst ordinary
users only have limited privileges (they can only monitor and video search/ playback).
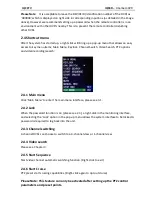
After password is set, the system will display ‘user login’ interface as follows:


