WPS-HD has the ability to simultaneously project up to four
desktops in split screen. This is useful for comparing data or
multimedia presentations.
To use split-screen mode, follow the steps just described for each of
up to four computers.
However, instead
of pressing the Play
button (the final step),
click on one of the four
split-screen buttons
(labeled 1 through 4).
Use a different number
for each computer to
display them in the
four different sections
of the projector's split
screen.
Split-screen mode
Conference mode allows a single administrator to control the
projector's contents at any time when using split-screen mode and
multiple computers. To access this mode:
1. Navigate the administrator's Internet browser to the WPS main
page by entering the Server IP found on the Startup screen.
2. Below the Download tab is Conference Control. Click on this
tab. A password prompt will appear. The default password is
"trainer". Input the password and log in.
If you'd like to project audio along with video, you won't need to
do anything else if you're using Windows 7, Windows Vista, or Mac.
Sound from your computer will automatically be sent through the
projector's speakers. If you're using Windows XP, follows these
steps to project audio:
1. Insert the included USB Token into your computer. In
the Applications folder on the Token, double-click "VAC_
Setup1.0.8.5(for XP).exe" to install the Virtual Audio Control.
2. You now need to select the Virtual Audio Driver as your playback
device. Click on Control Panel >> Sounds, Speech, and Audio
Devices >> Sounds and Audio Devices.
3. Click the Audio tab. Under Sound Playback, change the Default
Device to "Virtual Cable 1". Click OK.
4. The projector will now play the computer's audio. Remember to
switch back to your previous sound device after using WPS-HD.
On the control
panel, Speedy mode
is indicated by a
speedometer icon.
Conference mode
Audio projection
Speedy mode
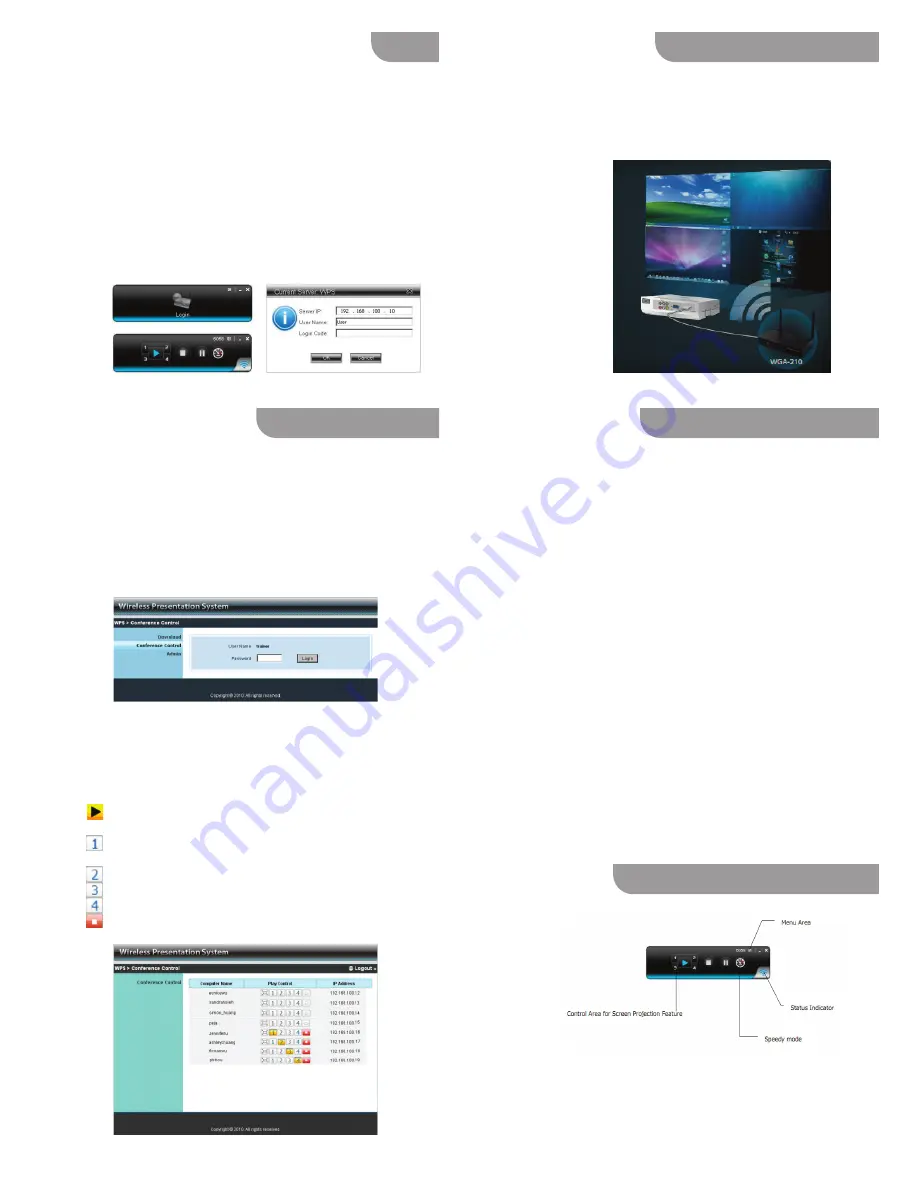
1. After successful software installation, double-click the WPS icon
on your desktop to start the WPS client.
2. A login screen will appear:
- For “Server IP” enter the Server IP address from the projector
Startup screen (if it does not already appear).
- For “User Name” enter whatever you'd like to identify the computer.
- For “Login Code” enter the four-digit login code displayed on
the Startup screen.
-Click Okay.
3. A control panel will appear. Click the Play button to enter full-
screen projection mode. The projector will automatically sync
with your computer, and the contents of your desktop will be
projected in real time and high-definition 720p.
Communicating with WPS-HD
3. A list will appear of all the computers currently connected to
the WPS-HD. Under the Play Control column, the administrator
may click on the buttons to control what is projected for each
computer. Buttons include:
: Co
mputer's contents will be projected in full screen (no
split-screen)
: Computer's contents will occupy Quadrant #1 of split-screen
mode
: Quadrant #2 of split-screen mode
: Quadrant #3 of split-screen mode
: Quadrant #4 of split-screen mode
: Stops
the computer's contents from projecting altogether
NOTE:
A
udio projection is only a
v
ailable if you
'
re using an HD
MI
connection.
Click on the speedometer to enable Speedy mode. Speedy mode
buffers the video image so that video playback is smoother. The
projector will pause a few seconds for video sync as well as audio
sync. We recommend enabling Speedy mode for all of your video
projections to ensure smooth playback.


