Quick Start Guide
Hign-Definitation Wireless Presentation System
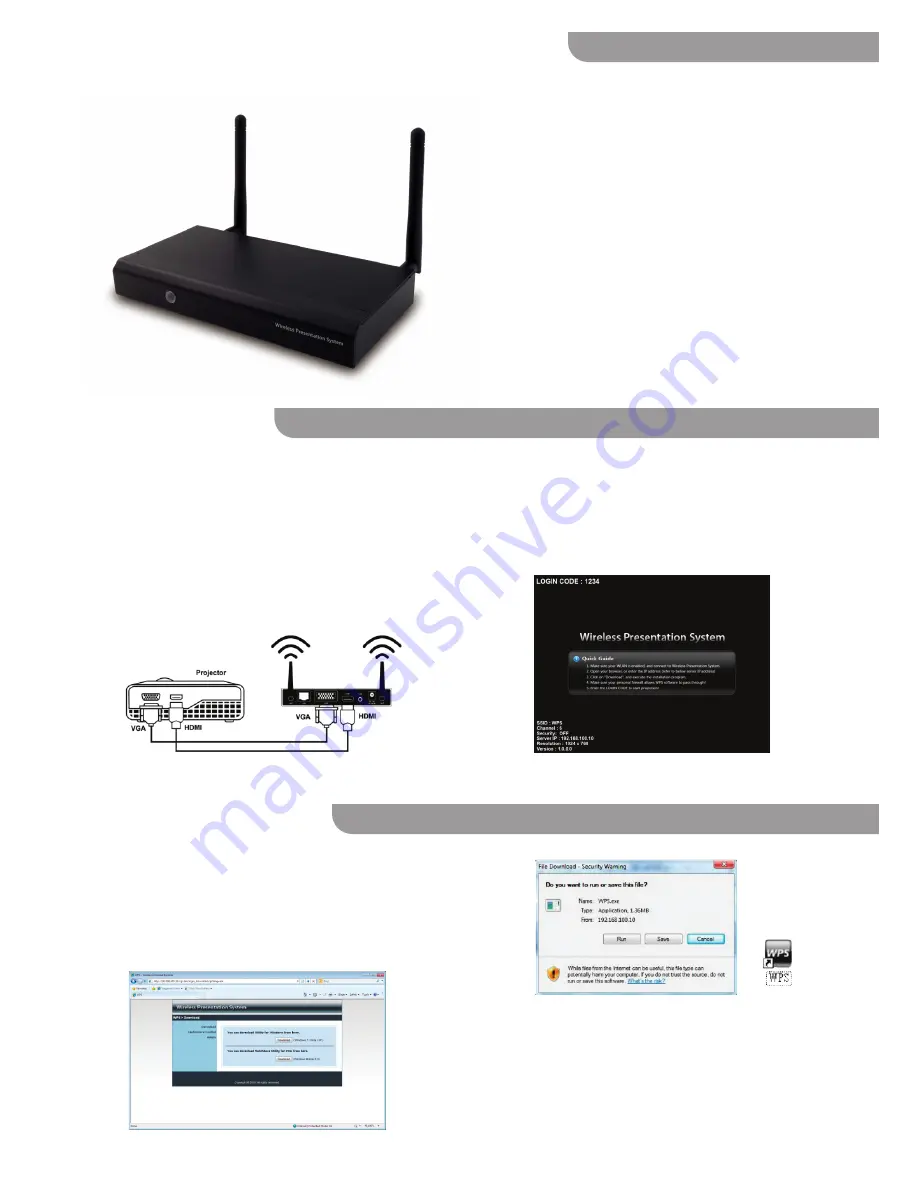
Congratulations on your purchase of the High-Definition Wireless
Presentation System (WPS-HD). With the WPS-HD, your projector
can wirelessly communicate with any WiFi-enabled computer
or laptop in order to project desktop contents in high definition
quickly and efficiently.
This Quick Start Guide is intended to help you begin enjoying the
benefits of wireless projection right away.
Your package should contain the following:
• High-Definition Wireless Presentation System (WPS-HD)
• Two (2) antennas
• Universal Power Adapter (DC 5V) with 4 interchangeable plugs
• USB Token with WPS software, full User Manual, and other
helpful applications
• Quick Start Guide (this document)
Note:
For a complete explanation of the features of the WPS-HD,
please refer to the user manual included on the
U
S
B
Token.
1. Open your available WiFi Internet connections, and choose
“WPS” to connect with. (If you are unsure how to access
available Internet connections, please see user manual for more
information.)
2. Open your Internet browser. The WPS main page may appear
automatically. If not, enter the Server IP found on the Startup screen
into your browser and press Enter to navigate to the main page.
WPS-HD is compatible with Windows PC — including Windows 7,
Vista, and XP — as well as Macintosh OS. Follow these steps to set
up your projector and computer for wireless projection:
1. Twist the antennas onto the gold-plated connectors on either
side of the back of the WPS-HD unit. Do not overtighten. Angle
the antennas upward for best reception.
2. Connect either the projector's VGA or HDMI cable into the VGA or
HDMI port on the back of WPS-HD.
Contents
Setting up WPS-HD
Setting up your computer
3. Attach the power supply to the back of WPS-HD. Insert the
appropriate plug for your country/region into the adapter firmly
until the tab clicks into place. Tab may be slid down in order to
remove plug. Insert the plug into an electrical outlet.
4. The projector will project a Startup screen. Important
information on this screen includes a Login code and the Server
IP of the WPS-HD.
3. Click “Download” on the WPS main page. Choose the Windows
7/Vista/XP download if using Windows, or the "Mac Utility"
download if using Mac. Follow the prompts to install the WPS
software.
4. Alternately, you can use WPS-HD, without the need to install the
software, using the included USB token.


