Step 5 - Fit the Collar Receiver
Step 4 - Test the Training System Functions
Step 3 - Pairing Collar Receiver to Transmitter
1. Rotate the Intensity Dial so it's no longer selecting “off,” the Remote Transmitter
will now be powered on.
2. Rotate the Receiver Selector Dial to 1, indicating the first receiver for pairing.
3. Ensure the Collar Receiver is off.
4. Align and the Remote Transmitter Pairing Symbol with the corresponding Collar
Receiver Pairing Symbol, hold until the Receiver Indicator Light is a steady
green, once the steady green light begins to flash, press any of the stimulation
buttons. Pairing is now complete.
5. If needing to pair a second or third Collar Receiver, repeat these steps but rotate
the Receiver Selector Dial to 2 or 3, depending on what Receiver Collar you're
pairing.
The testing methods will help determine whether the training system is functioning
as intended. Please ensure that the pairing process is complete before attempting
to test the functionality.
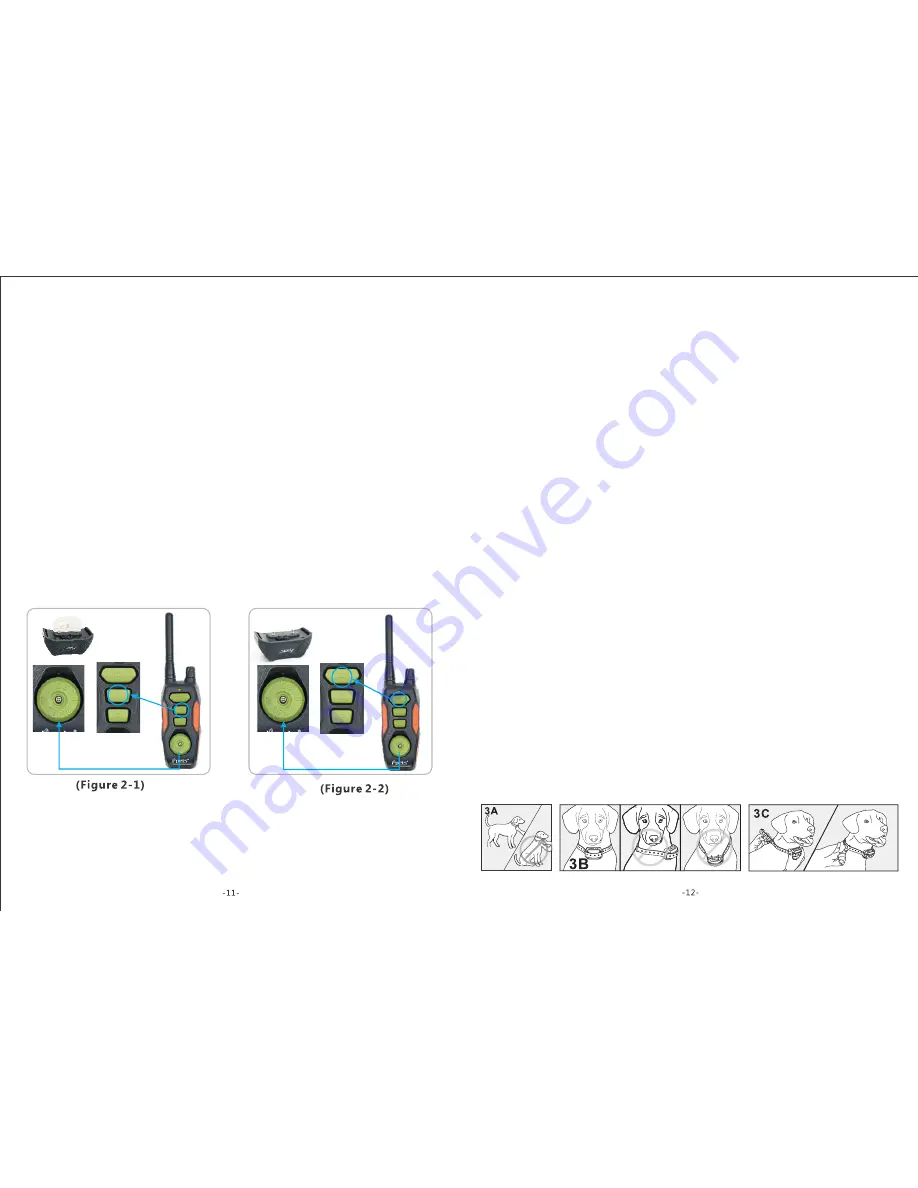
Testing the Static Shock Function(Figure2-1)
1. Put the test bulb over the Contact Points of the Collar Receiver.
2. Power on the Remote Transmitter and adjust the Intensity Dial off 0.
3. Select the correct Collar Receiver with the Receiver Selector Dial.
4. Press the Static Shock Button and the test bulb will flash orange, indicating the
static shock function is operating correctly.
Note: If wanting to test the shock function on yourself, please ensure your finger
or hand is across on contact points to ensure the connection is complete. Otherwise,
user will feel no stimulation.
Testing the Vibration Function(Figure2-2)
1. Power on the Remote Transmitter, and adjust the Intensity Dial off 0.
2. Select the correct Collar Receiver with the Receiver Selector Dial.
3. Press the Vibration Button and the Collar Receiver will respond appropriately.
Testing the Tone Function
1. To power on the Remote Transmitter move the Intensity Dial from the “off” position.
2. Select the correct Collar Receiver with the Receiver Selector Dial.
3. Press the Tone Button, the Collar Receiver will emit a tone.
Important: The proper fit and placement of the Collar Receiver is essential for
effective training. The contact points must have direct contact with the dog's skin.
(1) To fit the Collar Receiver, attach the Collar Strap to the Receiver.
(2) With the dog standing in front of you, place the Collar Receiver around the dog's
neck, so the receiver box and Contact Points are on the underside of your dog's
neck, making direct contact with the dog's skin. If direct contact is not possible,
shaving some fur away, ensuring good contact is recommended.
(3) Fasten the collar strap. The fit should be snug, but not taut. A finger should be
able to be placed beneath the collar strap when around the dog's neck.
(4) Allow the dog to wear the Collar Receiver for several minutes and check the
strap again. The dog will soon become more familiar with the Collar Receiver, so
it is crucial to ensure the fit comfortable and flattering.
Содержание PET618-1
Страница 1: ...www ipets mall com...
Страница 3: ...618 618 618 3 3 Components...


