RAD-Galaxy User’s Guide
51
© 2016 Intrepid Control Systems, Inc.
Version 1.2 - November 28, 2017
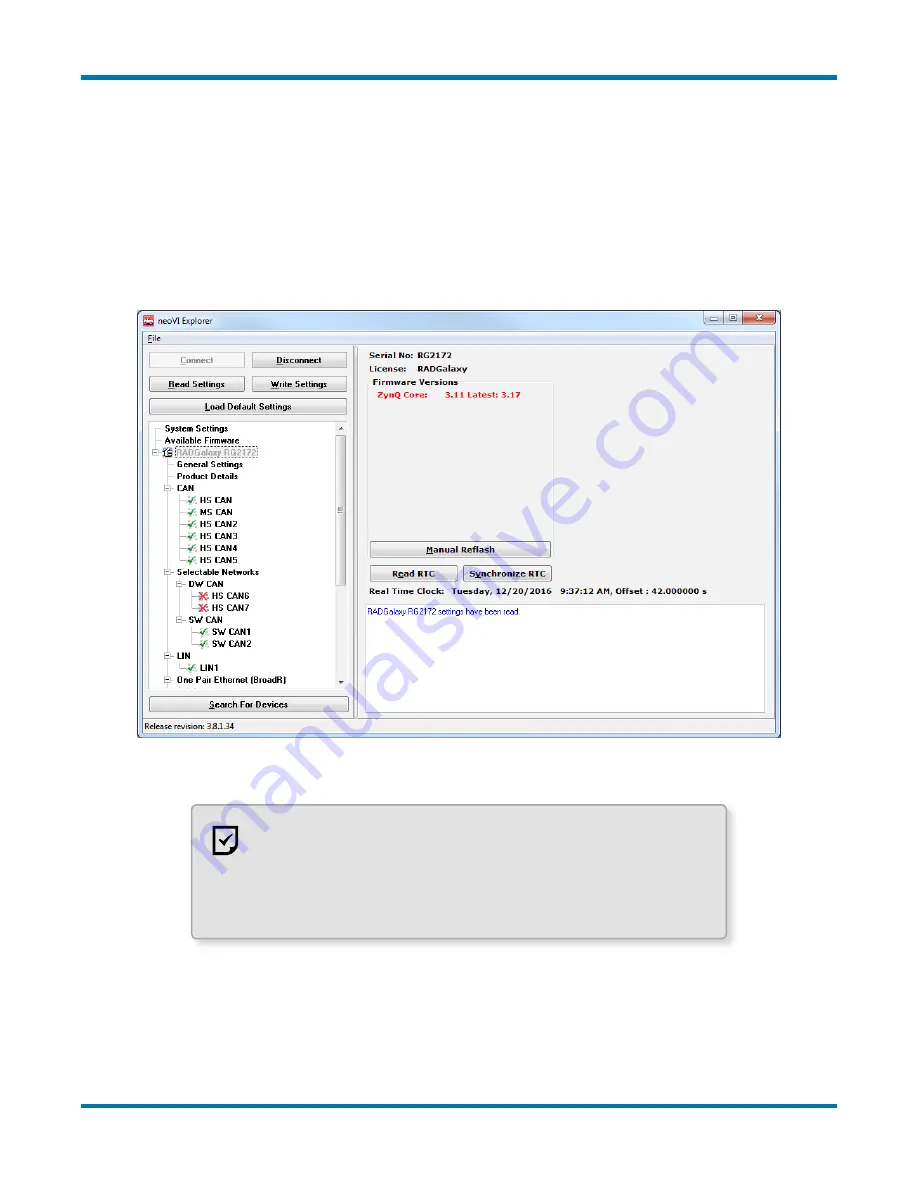
To manage your RAD-Galaxy, click on its entry in the navigation pane (if it is not already
highlighted) and then press the
Connect
button. After successfully connecting to the device,
you will see a “thumbs up” icon next to the device’s name, and checkmarks will appear next to
currently-enabled networks in the explorer area on the left. You should also see a message in
the message box on the right saying “RADGalaxy RGxxxx settings have been read”. This tells
you that neoVI Explorer has loaded the current settings from the unit. The information in the
upper right-hand part of the window is device-specific and described in
Section 4.2. The screen
as a whole should appear similar to that shown in Figure 56 (but note that the version number
shown at the bottom may be different).
Figure 56: Typical neoVI Explorer Window After Initial Connection to the RAD-Galaxy.
Note:
It is possible to click on various parameter groups at any
time, but they will not show valid data until you connect to the
device. Remember also to connect to the device before making
changes, or they will be erased when you do connect and the
settings in the hardware are loaded.
Writing and Reloading Settings
To avoid potential problems, neoVI Explorer will not save any changes to device parameters
until you instruct it to do so. This is done by pressing the
Write Settings
button, which will


