


TruVision 360° Camera Configuration Manual
23
8. Select a display mode for the camera from the
Display Mode
list box. Display
modes include:
•
Transparent & Not flashing
. The image appears through the text.
•
Transparent & Flashing
.
T
he image appears through the text. The text flashes
on and off.
•
Not transparent & Not flashing
. The image is behind the text. This is default.
•
Not transparent & Flashing
. The image is behind the text. The text flashes on
and off.
9. Select the
OSD size
that you want.
10. Click
Save
to save changes.
Note
: If you set the display mode as transparent, the text varies according the scenery.
With some scenes, the text may be not clear.
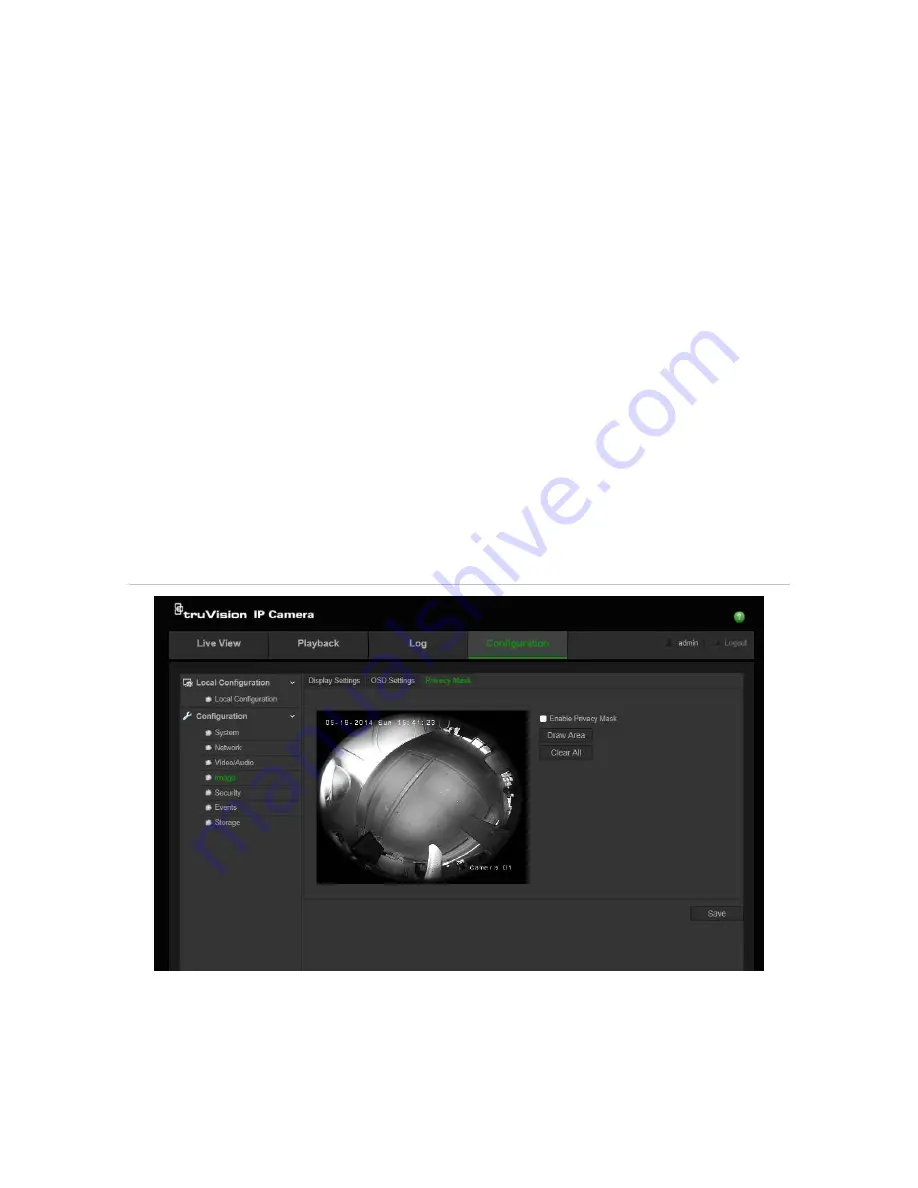
Configuring privacy mask
Privacy masks let you conceal sensitive areas (such as neighboring buildings) to
protect them from view on the monitor screen and in the recorded video. The masking
appears as a blank area on screen. You can create up to four privacy masks per
camera.
Figure 10: Privacy mask menu
To add privacy mask area:
1. Click
Configuration
>
Image
>
Privacy Mask
.
2. Check the
Enable Privacy Mask
.
3. Click
Draw Area
.


