


3
P
ag
e3
General Settings
–
Email Notifications, cont.
15.
Scroll down and click on 2-Step Verification
16.
Follow the steps. Enter the password for your
account. It will ask you to use a phone as your
second sign-
in step. You can use “Google
Prompt” or alternatively, set up a text msg or
phone call. If using a text msg, wait for the text
to arrive, then enter it where asked. Then “Turn
On 2-step Verification.
17.
Return to the main Security menu. Scroll down
to Signing in to Google. Now the option of “App
Passwords” is available. Click on it.
6.
Once again enter your password. This will open a
new page. Confirm your account and enter in
the text msg
code.
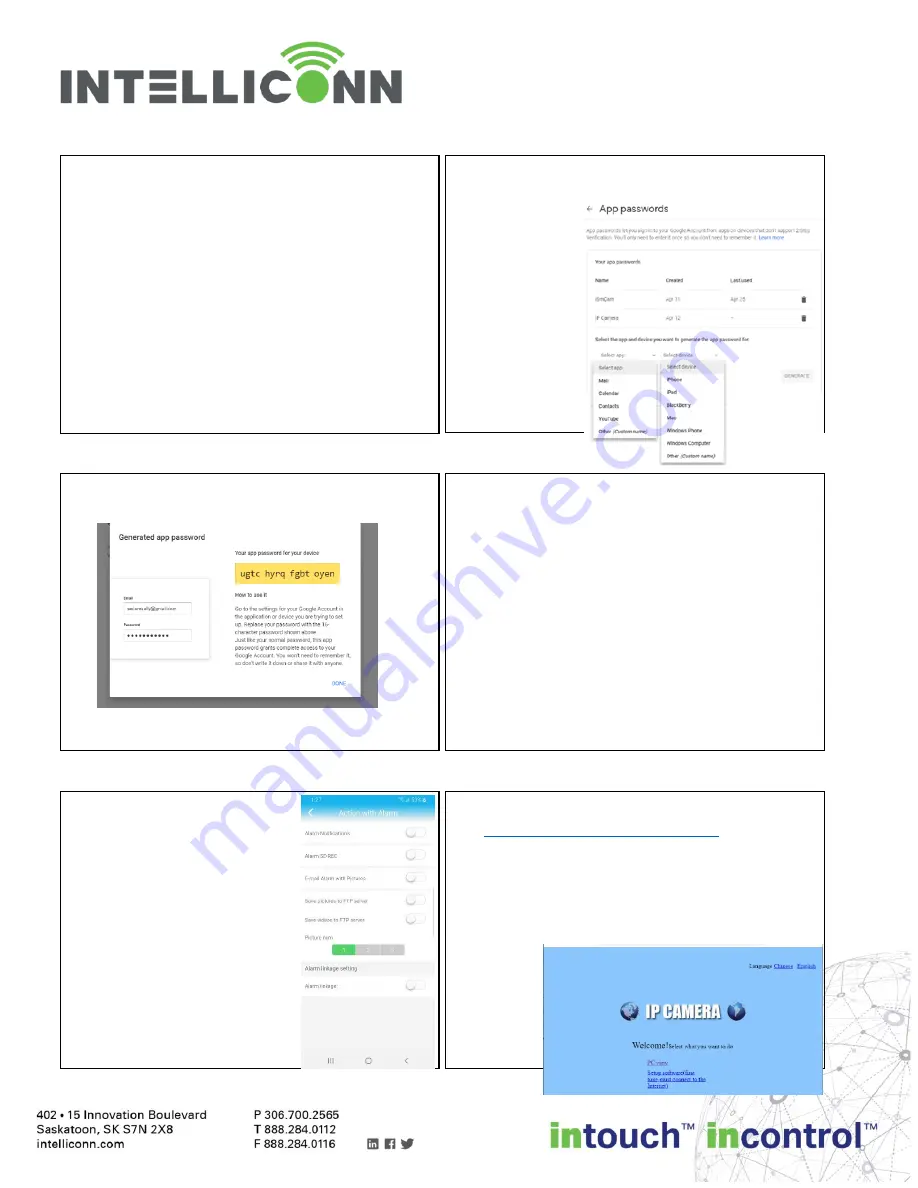
7.
The App
Passwords
screen will
appear. Use
either “app” or
device. Select
“Other” and
“Generate”.
9.
Copy the password down. This is a unique
password that will only work for one app login.
And return to iSmCam. Go to Email Settings.
7.
Enter the following information:
SMTP Server:
smtp.gmail.com
Server Port:
465
Encrypt Type:
SSL
Username:
{your full Gmail address}
ie [email protected]
Password:
{App password just generated}
Send to:
(an email address to receive notices}
Sender:
{a camera identifier, ie “Barn Cam”}
Subject:
{ie. “alarm”, “motion detected”}
Message:
{your choice, ie “Motion was detected”}
Tap TEST. If Successful, tap APPLY
11.
Exit to the camera settings,
and choose Action with
Alarm. Turn on the “E
Alarm with Pictures”. Also
choose between 1 to 3
pictures to attach.
12.
The mobile app defaults to
24/7 alarm. To get alarm
emails only at certain times,
set up a schedule through
either a web browser, or use
the PC software.
13.
PC software may be downloaded at
https://intelliconn.com/downloads
To use a web browser, check
“Device
information” for the IP address, then open a
browser on a PC and type the IP address into the
address bar. A pop-up login screen will appear.
Type in “admin” and your password.
14.
Click on
PC View.


