Installing the Heat Sink(s)
Note:
The heat sink has thermal interface material (TIM) located on the bottom of it. Use
caution when handling the heat sink so you do not damage the TIM.
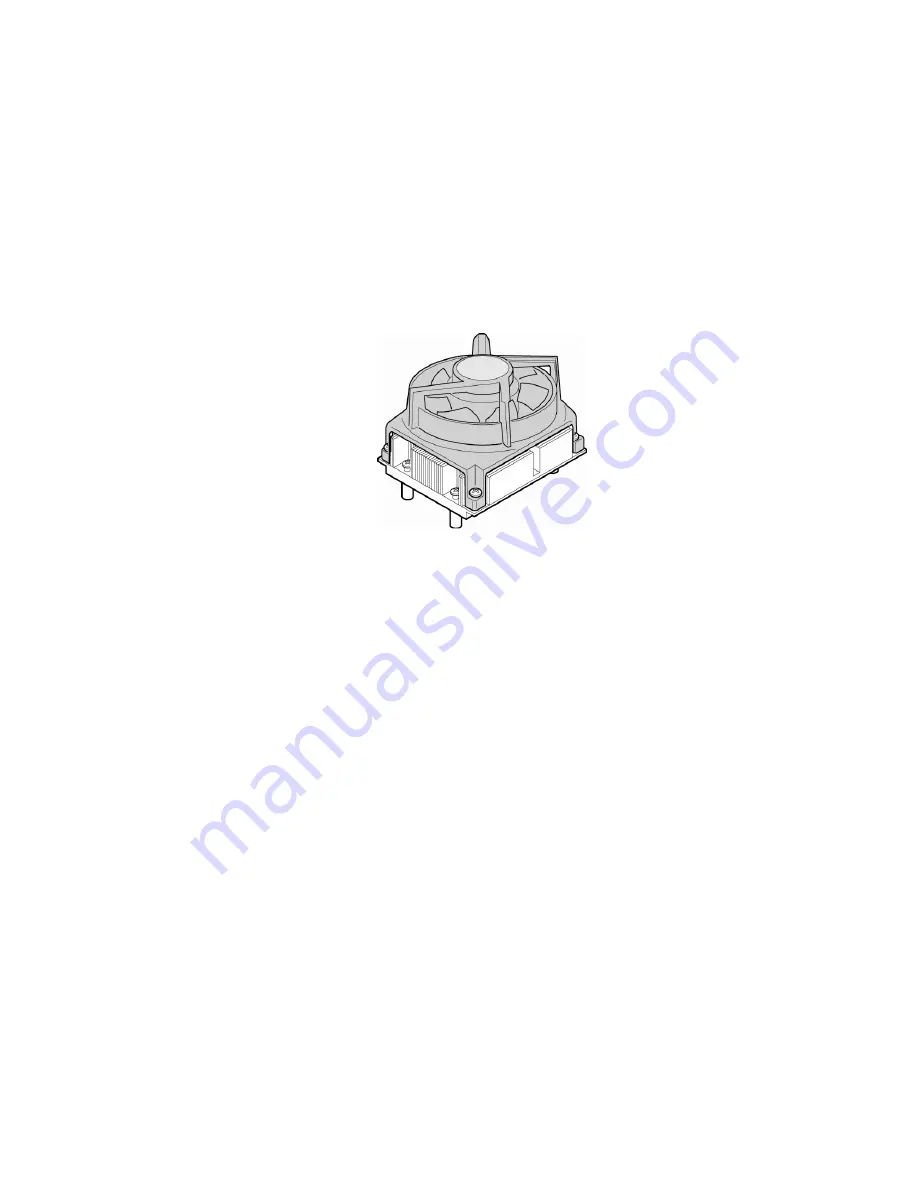
Each processor requires a heat sink. Depending on your chassis, you may need to use
either a active (
Figure 6
) or an passive heat sink (
Figure 7
). An active heat sink has a fan
attached to the top of it and a cable that needs to be connected to the server board.
AF000099
Figure 6. Active Heat Sink (Cable Not Shown)
Use the following steps to install a heat sink.
1.
Set the heat sink over the processor, lining up the four captive screws with the four posts
surrounding the processor.
2.
Loosely screw in the captive screws on the heat sink corners in the order shown by
Figure 7
.
Do not fully tighten one screw before loosely attaching the others.
3.
In the same order, gradually and equally tighten each captive screw until each is firmly
tightened. Do not fully tighten one screw at a time.


