

Page 2 of 2
Rev. 111908
Assign an X10 Address to SwitchLinc 220V
1)
Press & hold the top (On) of the SwitchLinc paddle for about 10 seconds (until the LED begins blinking)
SwitchLinc 220V’s top LED will be blinking
2)
Using any X10 controller, send the desired X10 address 3 times (e.g. B5 ON -> B5 ON -> B5 ON)
SwitchLinc 220V’s top LED will stop blinking
3)
Test by sending your X10 address followed by an on, then an off
Questions ?
Click: For Advanced Features and compatibility refer to:
http://wiki.smarthome.com//index.php?title=2494S220OwnersManual
Click: For a wiki with tips, compatible codes and discussion refer to:
http://wiki.smarthome.com//index.php?title=2494S220Wiki
Call: Friendly tech support @ 866-243-8018
SmartLabs Limited Warranty – SmartLabs warrants to original consumer of this
product for a period of 2 years from date of purchase, this product will be free from
defects in material & workmanship & will perform in substantial conformity with its
owner's manual. Warranty shall not apply to defects caused by misuse or neglect.
©Copyright 2008 SmartLabs, 16542 Millikan Ave., Irvine, CA 92606, 866-243-8018
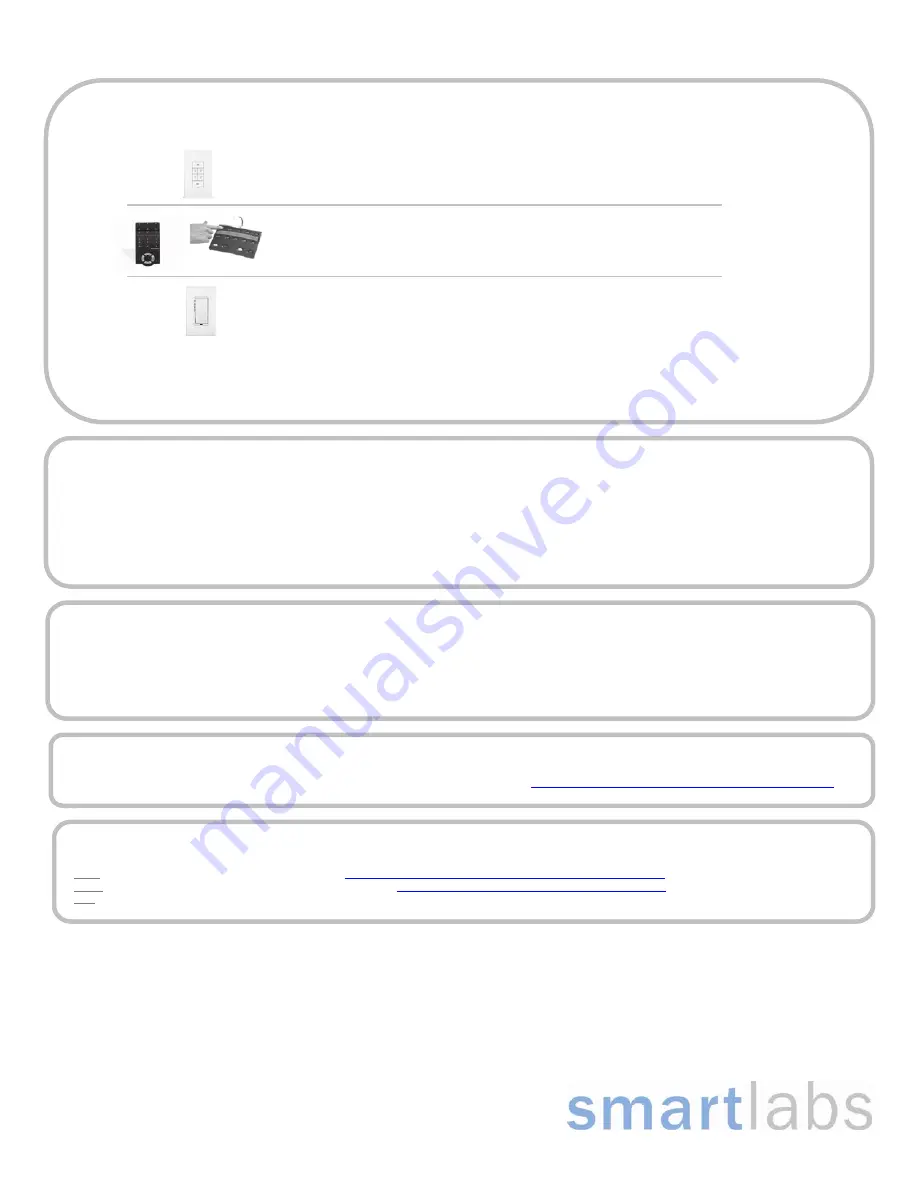
Adding SwitchLinc 220V to a Controller’s Scene
1)
Identify your Controller type from the list below and perform the appropriate steps listed:
Press & hold the desired button (for about 10 seconds) until its LEDs begin blinking
LEDs will continue blinking
Press & hold the ON button of the desired button pair (for about 10 seconds) until it beeps
LED will begin blinking
Press & hold the top paddle until LED begins blinking
LED will continue blinking
If your Controller is not shown – consult its Owner’s Manual
2)
Tap the bottom of the SwitchLinc 220V (it will turn off if it was on)
3)
Press & hold the SwitchLinc 220V’s Set button until the switch (and the connected load) turns on
LEDs on your Controller will stop blinking (and it may beep)
4)
Test by turning your SwitchLinc 220V On and Off from your controller
Controlling other INSTEON Devices from SwitchLinc 220V
1)
Press & hold the top (On) of the SwitchLinc 220V paddle for about 10 seconds (until the LED begins blinking)
SwitchLinc 220V’s top LED will be blinking
2)
Press & hold the Set button on your INSTEON responder
1
for at least 3 seconds
SwitchLinc 220V’s top LED will stop blinking
3)
Test by tapping on and off on the SwitchLinc 220V, your responder should turn on and off in unison.
1
If your responder is a multi-button device (e.g. KeypadLinc), tap the button of choice before pressing & holding its Set button
More Features
SwitchLinc 220V contains a fully featured 2476S. Please see the owner’s manual for the 2476S at
http://wiki.smarthome.com//index.php?title=2476SOwnersManual
for a full documentation of all its features.


