USER MANUAL
– EN
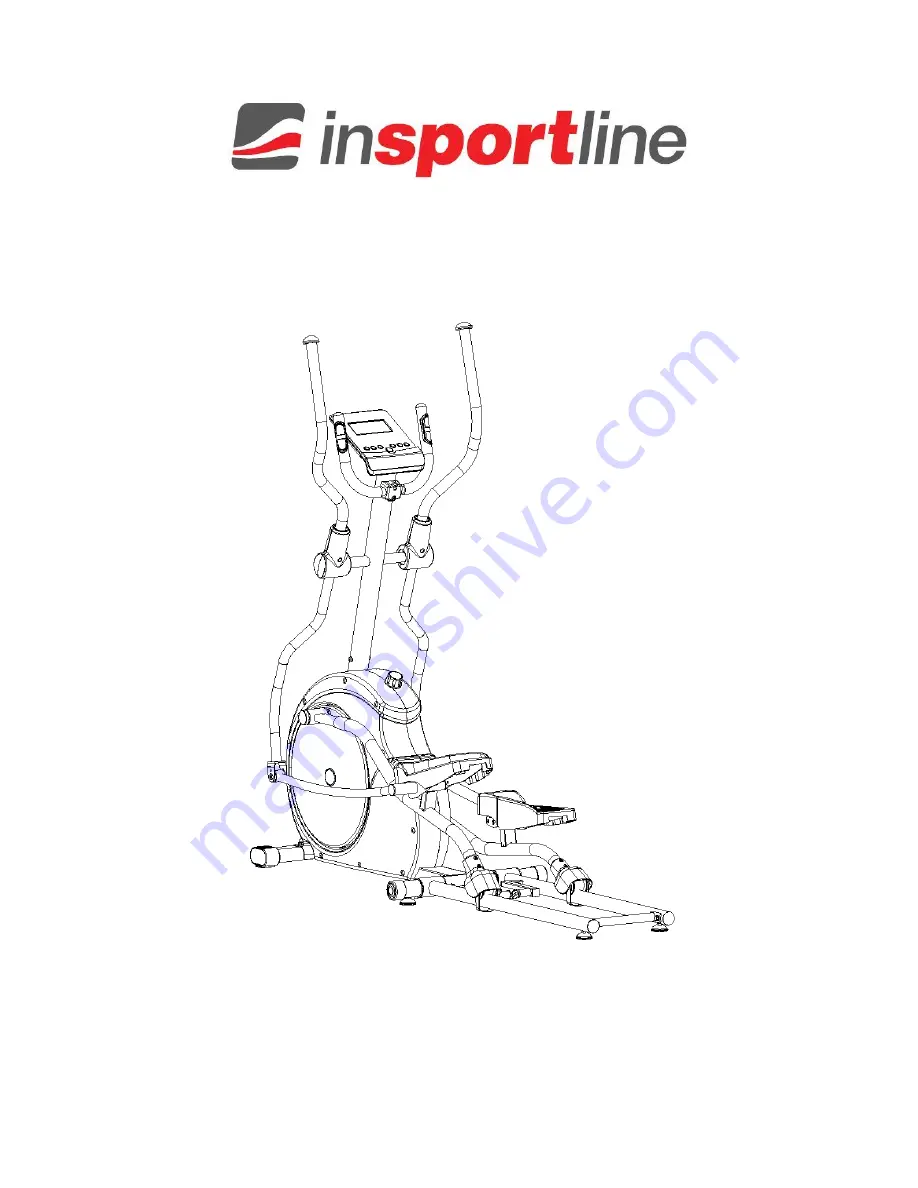
IN 14169 Elliptical trainer inSPORTline Combre
Страница 1: ...USER MANUAL EN IN 14169 Elliptical trainer inSPORTline Combre...
Страница 2: ...4 Parts list 6 Assembly steps 7 FOLDING AND UNFOLDING THE MACHINE 14 Folding 14 Unfolding 15 CONTROL PANEL 15 Key functions 15 Operations 16 USING AN ELLIPTICAL TRAINER 18 EXPLODED DRAWING 19 COMPONEN...
Страница 3: ...he loose parts could get stuck in parts of the machine Always wear sports shoes with rubber soles Place the machine on a flat and even surface It is not recommended to use or store the machine in damp...
Страница 4: ...4 ASSEMBLY Tools H 1 Allen bolt M8 16L 2 H 20 Lock nut M8 6...
Страница 5: ...2 H 9 Flat washer 17 3 25 0 3T 4 H 17 Allen bolt M8 P1 2 H 15 Carriage bolt M8 40L 4 H 16 Curved washer 6 H 19 Flat washer 2 H 21 Screws M5 14L 10 H 4 Acorn nut M8 2 H 8 Teflon washer 10 25 0 5T 2 H 1...
Страница 6: ...5L 2 Allen key 1 Box spanner 2 Parts list Handlebars 1 Control panel 1 Pedals Pedal arms 1 each Handlebar post 1 Upper handlebars 1 each Lower handlebars 1 each Support tubes 1 Pedal crank arms 1 eac...
Страница 7: ...rriage bolts H 2 semicircle washers H 16 and nuts H 4 STEP 2 1 Attach the left crank arm F 7 to the cross disc G 12 using a flat washer H 7 a nylon screw H 6 and a cover H 22 2 Attach the right crank...
Страница 8: ...crank arm F 8 F 7 using screws F 19 STEP 3 1 Remove the preinstalled mounting hardware from the main base 2 Connect the upper C 2 and lower G 2 cable wire 3 Affix the handlebar post C 1 to the main b...
Страница 9: ...axle using a plastic washer H 8 a flat washer H 7 and a nylon screw H 6 KROK 4 1 Take both pedal arms F 1 F 2 and pass them through the corresponding crank arms F 7 F 8 2 Attach the right and left pe...
Страница 10: ...ls F 26 F 27 with the corresponding pedal arm plates Secure each foot plate to the pedal arm using screws H 21 Make sure the pedal plates are facing the correct direction STEP 5 1 Connect the left upp...
Страница 11: ...ndlebar I 3 I 4 first 4 Attach the covers F 29 F 30 for the left and right upper handlebars I 1 I 2 and fasten them with 4 screws I 8 STEP 6 1 Attach the front handlebar B 1 onto the handlebar post C...
Страница 12: ...12 2 Place the plastic cover H 14 on the front handlebar B 1 3 Thread the hand pulse wire B 5 through the handlebar post hole...
Страница 13: ...installed screws on the control panel A 2 first 2 Connect the control panel cable C 2 and the hand pulse wire B 5 to the control panel A 1 Then attach the control panel A 1 to the console panel bracke...
Страница 14: ...14 FOLDING AND UNFOLDING THE MACHINE Folding Find the knob on the front chain cover and turn in clockwise so that the two arrows marks line up Lift up the linkage tube until you hear a click...
Страница 15: ...ress with your foot until the linkage arm unfolds completely NOTE Make sure the linkage arm is completely on the ground CONTROL PANEL Key functions MODE With the MODE key you confirm all the set data...
Страница 16: ...PROGRAM 12 programs available USER PROGRAM TARGET H R target heart rate program 4 Quick start in manual mode In the main menu user may press START STOP to start a workout in manual mode All the exerc...
Страница 17: ...frequency 9 User program The user may create their own program using the UP and DOWN keys and confirming with MODE each program has 16 resistance columns If you hold the MODE key for more than 2 secon...
Страница 18: ...l settings and exercise data will be stored until the user starts exercising again 3 If the control panel behaves abnormally please plug out adaptor and then plug it in again USING AN ELLIPTICAL TRAIN...
Страница 19: ...19 EXPLODED DRAWING...
Страница 20: ...bar 1 G 18 Sensor holder 1 B 6 Cap for pulse wire 1 G 19 Sensor box w wire 1 C Handlebar post set 1 G 20 Screw M4x10L 1 C 1 Handlebar post 1 G 21 Shaft 1 C 2 Upper console cable 1 G 22 Hex Screw M8xP1...
Страница 21: ...sher 2 E 10 Nylon nut M8 1 H 11 Flat washer 1 E 11 Hex Screw M8xP1 25x20L 2 H 12 Spring washers 1 E 12 semicircle washer 2 H 13 Screw M7xP1 0x30L 1 E 13 End cap 4 H 14 Cover for handlebar 1 E 14 Adjus...
Страница 22: ...Screw M8 P1 25 16L 4 J 4 Flat Washer 2 F 21 Flat washer 4 J 5 Adjustor for gear box 1 F 22 Bearing 4 J 6 Screw M4x12L 1 F 23 Fixed tube for roller wheel 2 J 7 Hex Nut M4 1 F 24 Roller wheel 2 K Flywhe...
Страница 23: ...s activities The Buyer who is not the End Customer is a Businessman that buys Goods or uses services for the purpose of using the Goods or services for his own business activities The Buyer conforms t...
Страница 24: ...claim a compensation for costs arising from the false Warranty Claim In case the Buyer makes a claim about the Goods that is legally covered by the Warranty provided by the Seller the Seller shall fix...
Страница 25: ...25 VAT ID SK2020177082 Phone 421 0 326 526 701 E mail objednavky insportline sk reklamacie insportline sk servis insportline sk Web www insportline sk Date of Sale Stamp and Signature of Seller...