background image

IIVZINRS0101-Quick-Setup.doc  


Page  3  of 5 


Powering up the system and Accessing the Main Menu 


Powering On 

 
Press the 

Power

 button on the remote control to power the system up (remember the SD Card should be inserted before 

you power up) – a welcome message appears 


Access Main Menu 

 
   Press the 

Menu

 button on the remote control to access the Main Menu > 


Now

; use the “

Up

”, “

Down

”, “

Left

” & “

Right

” 

Arrows

 and the “

OK

” and “

ESC

” buttons to navigate your way around the 

on screen menus and make your selections.  


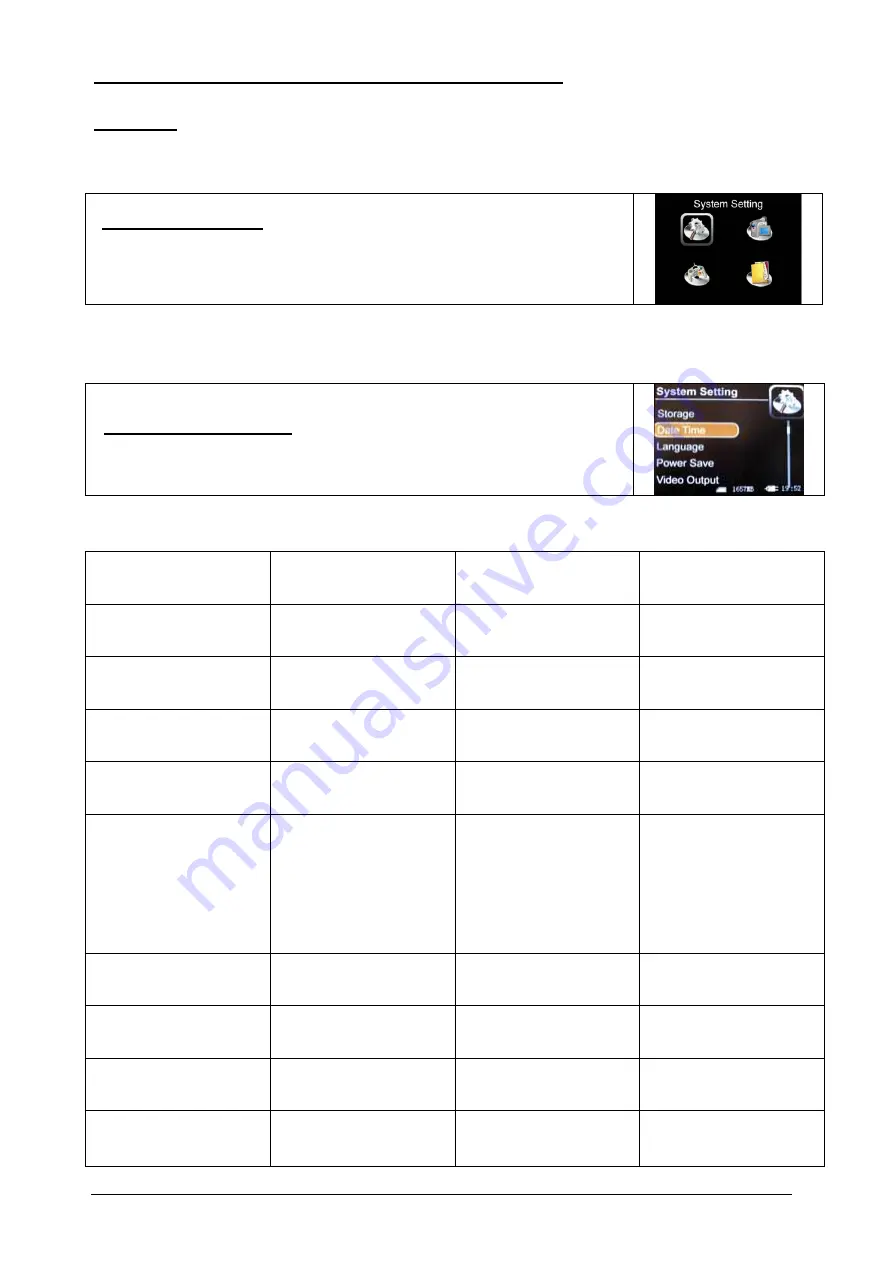
  Select System Setting

   (from the main menu)


  …then select and action each menu heading as shown below; 


Menu Heading   

     Select 


          Select 


   Comments / Info 


Storage 


> SD Card 


Time & Date 


> Set time and date 


Language 


> English 


Power Save 


> Power Off 

 
> Never 


Video Output 


> Video Output 

 
> PAL 


Format 

 
> Select “Yes or No”  


WARNING: formatting the SD 
Card will erase any stored data 
currently on the card. You 
should therefore only format 
the card before you use it with 
your DVR for the first time, or 
when you want to erase all 
previous recordings. 


Firmware Update 


Ignore this heading 


Default Setup 


Ignore this heading 


WARNING: This will reset all 
options to the factory setup 

 
Memory 


Ignore this heading 


Note: this is an information 
screen only 

 
Version 


Ignore this heading 


This shows the current 
Software Version loaded 
 

Содержание VZ INRS0101

Страница 1: ...eo and audio from a single connected camera or the Full User Manual before setting up or operating the unit Note The Unit Must be Switched Off before inserting or removing the SD card Turn off the power when the unit is not in use Do not connect the unit to a PC while it is in recording operating mode Do not attempt to open or carry out repairs to the unit in the event of failure of the unit pleas...

Страница 2: ...e on the loom Connecting to a Monitor TV if required Connect the monitor to the AV Out connection on the wiring loom see 11 above the cables on the wiring loom are clearly marked Video Out and Audio Out The monitor can be used to monitor the live camera during recording or to play back recorded images recorded video can also be played back by the USB connection to a PC Insert your SD Card note max...

Страница 3: ...n select and action each menu heading as shown below Menu Heading Select Select Comments Info Storage SD Card Time Date Set time and date Language English Power Save Power Off Never Video Output Video Output PAL Format Select Yes or No WARNING formatting the SD Card will erase any stored data currently on the card You should therefore only format the card before you use it with your DVR for the fi...

Страница 4: ...On above MD Setup if motion detect On Area Setting Size Position the desired detection area This displays a box red outline which can be sized and positioned on the screen to define the area for motion detection which will trigger the recorder The OK button increases the size of the detection area The MENU button decreases the size of the detection area Use the Up Down Left Right arrows to positio...

Страница 5: ...ng continuously over recording the oldest images first Transit Stamp Off GPS positioning related not a feature of this DVR Time Stamp On Note set this to On to record time and date on the video images Congratulations if you ve completed the quick set up as above your system is now ready to record Powering on and off Auto Recording The system automatically starts recording images from the camera wh...

Отзывы: