


Q
Q
U
U
I
I
C
C
K
K
R
R
E
E
F
F
E
E
R
R
E
E
N
N
C
C
E
E
G
G
U
U
I
I
D
D
E
E
10
3
3
.
.
1
1
.
.
2
2
R
R
u
u
n
n
n
n
i
i
n
n
g
g
N
N
V
V
R
R
1
1
0
0
0
0
P
P
r
r
o
o
g
g
r
r
a
a
m
m
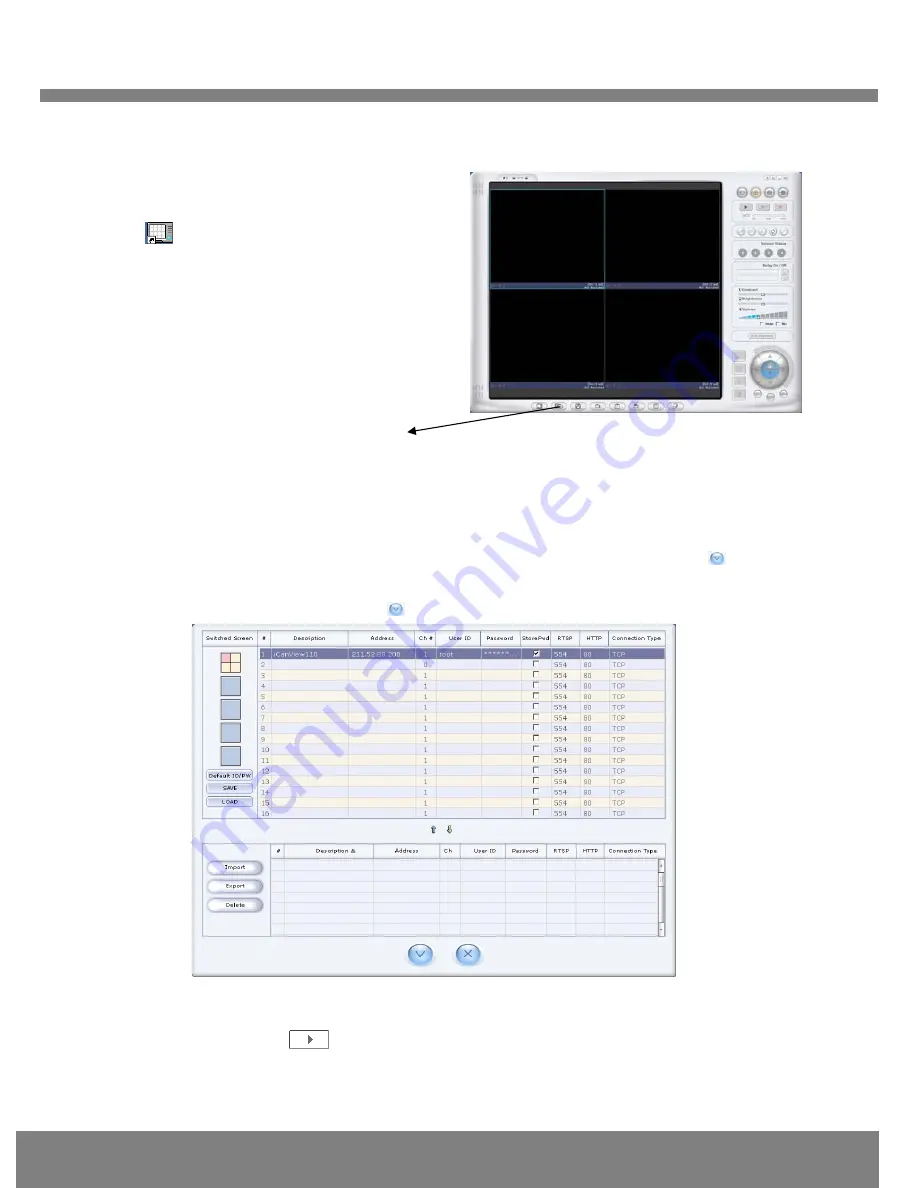
Fig 3-1 NVR100 Initial Mode
③
Click the “Camera Assignment” button at the bottom, the second from the left. The
IP setting mode screen will appear as shown in Fig 3-2. “Camera Assignment” can be
selected also by clicking the right button of the mouse. As in Fig 3-2, insert the IP
address, channel, user IP (default: root) and password (default: dw2001) and click
at the bottom of the window, then the values set will be saved. (Please make sure that
“Store Pwd” is checked before clicking
. Otherwise, the values will not be saved.)
Fig 3-2 NVR100 IP Address Setting Mode
④
Click the start button,
, and the live video connected to the unit will be transmitted and
appear on your pc screen as shown in Fig 3-3.
① Start the software by d
ouble-clicking the
icon,
, on your windows desktop. The
NVR100 software is shown in Fig 3-1.
②
The
NVR100 is designed to display 16
channels simultaneously. The user can
customize the display mode accordingly to fit
their needs. (Refer to NVR100 user’s Guide for
more detail.)
Camera assignment Button


