5
2.1.3
8012-B1
’s Back Panel
ON/OFF
:
Power button turning on/off the Router‘s power
PWR
:
the power socket for power adapter.
Notice:
please use the matched power adapter (DC9V600mA). Use of a different adapter may damage your Router.
Reset Button
:
The reset button for restoring to factory default settings
Caution: do NOT press Reset button unless you want to have current configurations deleted. To reboot the Router and restore factory
default settings, Press and hold the button for 3 seconds with something pointed.
LAN:
RJ-
45 LAN port for connecting to hub, switch or PC‘s network adapter in your local network.
LINE:
Used to connect to the Modem port of Voice Splitter.
2.2
Installation Environment
2.2.1 Physical Environment Requirement
Install the device horizontally
Do not wipe the device with wet cloth
Keep the device far away from hot objects
Keep the environment clean and dry
Power off the device and unplug the power adapter in lighting storm weather
2.2.2 Recommended Working Environment
Temperature: 0˚C ~ 40
۫
C
Humidity: 10%~90% RH non-condensing
2.3
Hardware Installation
2.3.1 Installation Requirement
Before installing the device, make sure the following requirements are met.
1.
Have enabled ADSL service and acquired at least one WAN IP address or user name and password
provided by your ISP
2.
One or more PCs with 10Base-T/100Base-T Network Adapter(s)
3.
PC supporting Internet Explorer browser 6.0 or above
2.4
Installation Procedures
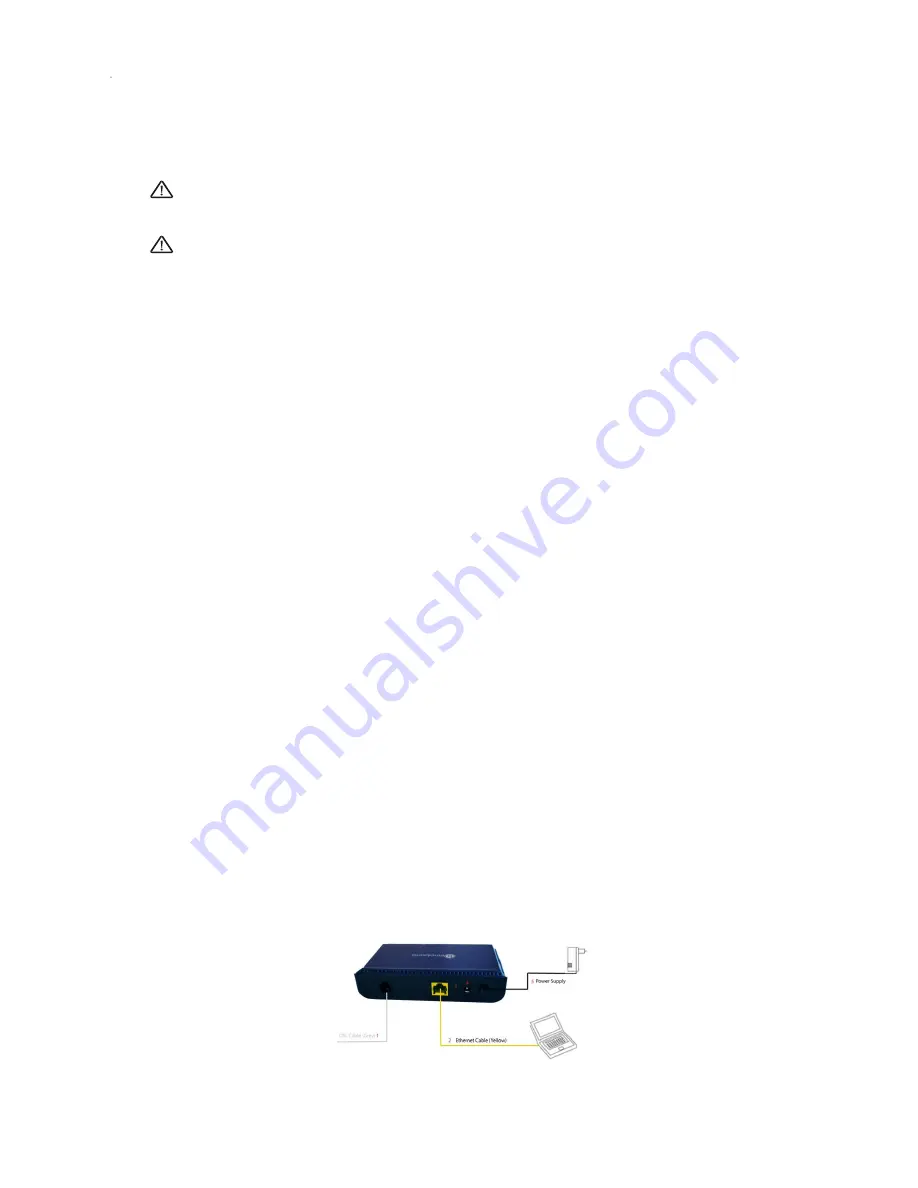
Connect the Voice Splitter‘s Modem port to 8012-B1Router‘s LINE port with telephone line (RJ11) and ―Phone‖ port to a
telephone. Insert a telephone line to the splitter‘s ―Line‖ port.
Connect one end of a network cable to 8012-B1
‘ LAN (RJ45) port and the other end to PC‘s NIC.
Plug the included power adapter into the Power socket on 8012-B1 Router and turn on the power switch.
Check all connections as shown in the below figure to see if everything is ready.
8012-B1 Hardware Installation


