Instruction Manual
4
Connecting SAT3510U2 to the host computer
1. Connect the power adapter (included) to the drive enclosure, using the power port on
the rear panel of the enclosure (marked
DC12V
). Connect the remaining end of the
power adapter to an available power outlet.
2. Insert the type ‘B’ connector provided by the USB cable (included) into the port
marked
USB 2.0
on the rear panel of the drive enclosure. Insert the remaining (type
‘A’) connector into an available USB port on the host computer.
3. On the rear panel of the enclosure, move the Fan Switch to the
ON
position.
4. Power the drive enclosure by pressing the side of the remaining switch marked with a
dot.
Please note:
SAT3510U2 features an
ON
/
OFF
switch that controls the
internal cooling fan. Please note that to ensure the best possible operating
environment for the installed hard drive and reduce the risk of damage to the
drive, the fan should be left in the
ON
position. This feature is intended for
temporary use only, as necessary for quiet environments.
DDiissccoonnnneeccttiinngg SSAATT33551100UU22 ffrroom
m tthhee hhoosstt ccoom
mppuutteerr
WARNING
: Do not disconnect any cables or power sources while the hard drive
is active. This can result in data loss and possible damage to the hard drive.
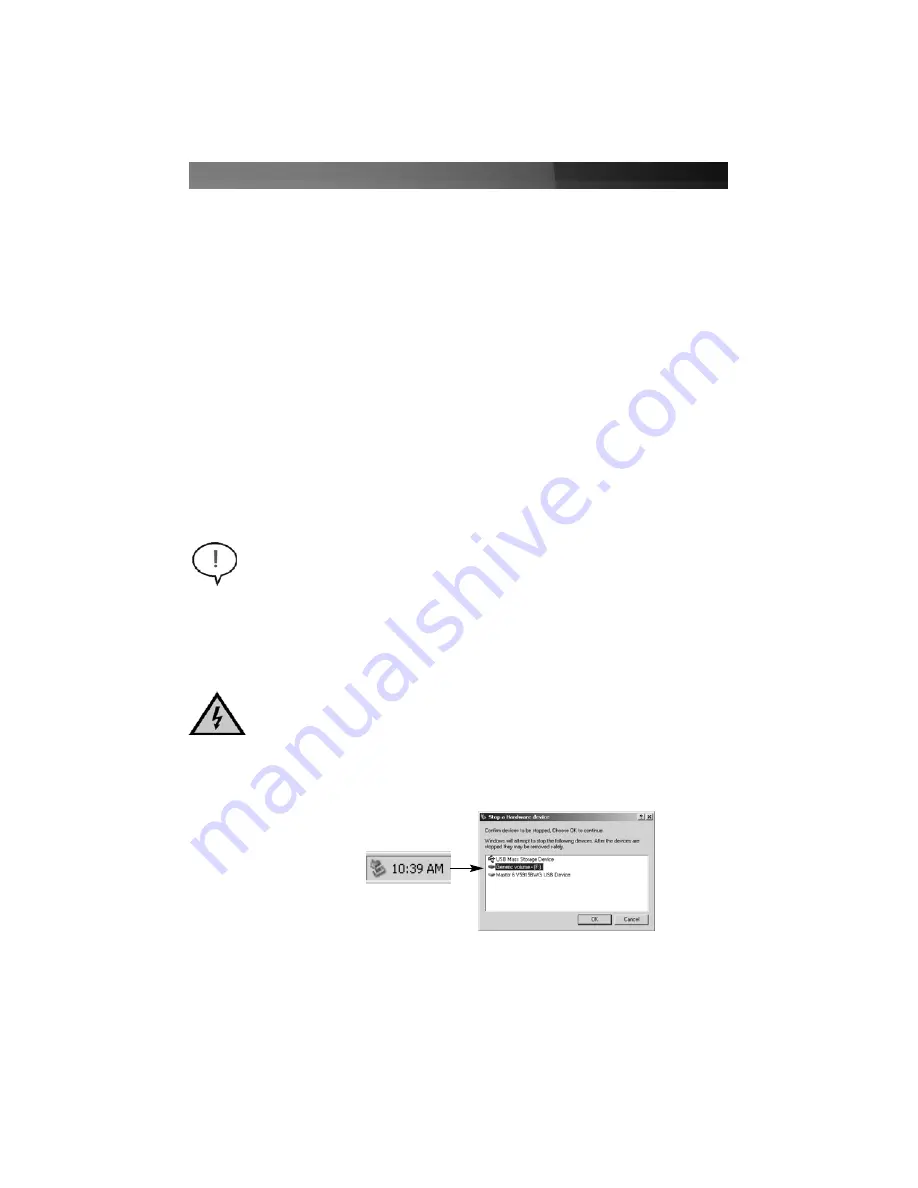
1. In Windows, click on the
Safe Remove
icon located in the taskbar, and select the
connected enclosure from the menu provided, then click
Stop
. From the menu that
appears next (pictured below), select the device to disconnect, and click
OK
.
*Safe Remove
2. Once the connected hard drive activity has terminated, it is safe to power down and
remove the enclosure from the host computer, by disconnecting the USB cable from
the host computer.
Please note that if you are using Windows 98/98SE, you are required to install the
necessary drivers, prior to usage. These files can be located in the StarTech.com
Downloads
section. If you are using Windows ME, 2000, XP or higher, no driver
installation is required, as the operating system will automatically install the necessary
files upon successful connection to the host computer:


