


14
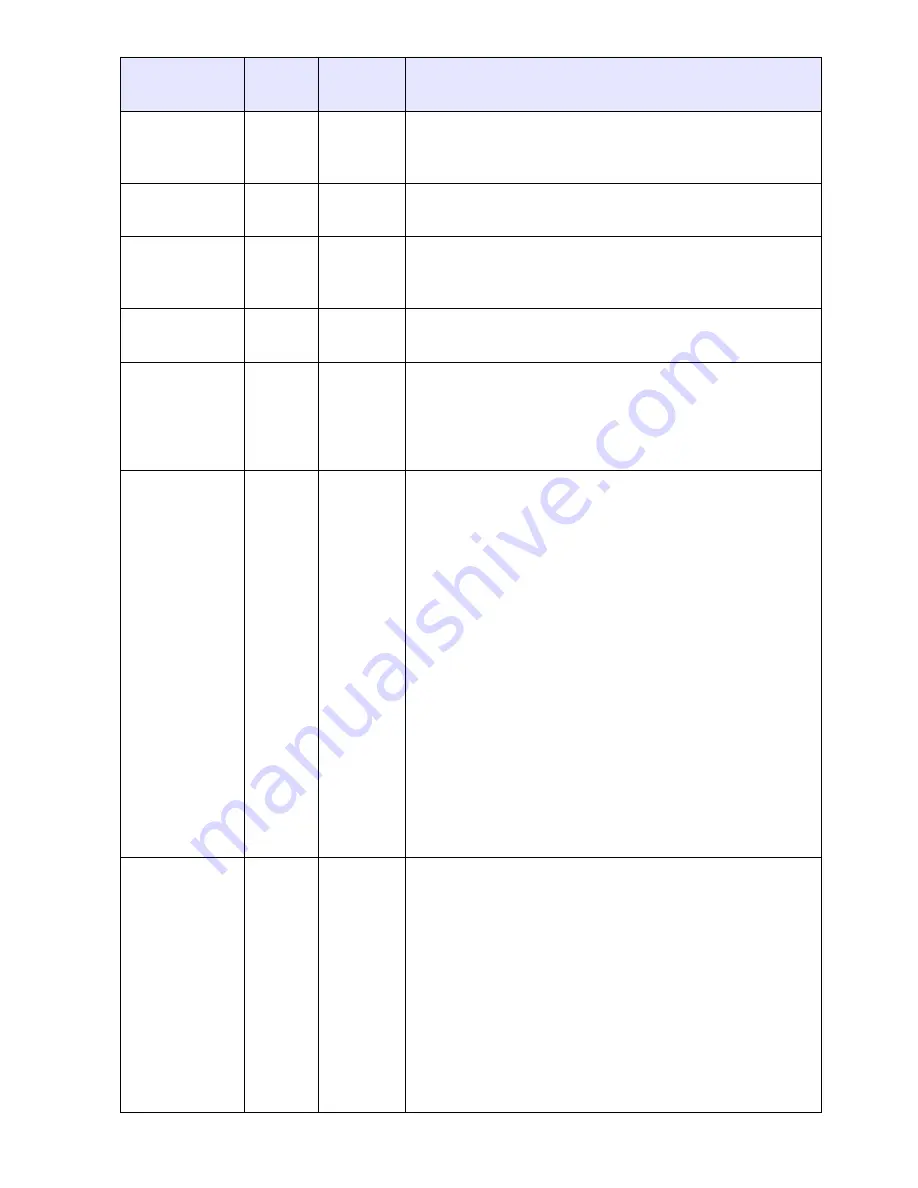
Image Adjustment Main Menu
Setting Name
Input
Setting
Unit
Description
Brightness
RCVU
Source
Specific
Use this sub-menu to adjust the brightness of the
projected image. A larger value produces a brighter
image.
Contrast
RCVU
Source
Specific
Use this sub-menu to adjust the contrast of the projected
image. A larger value produces a stronger contrast.
Sharpness
RC
V
Source
Specific
Use this sub-menu to adjust the sharpness of the outlines
in the projected image. A larger value makes the image
sharper, while a smaller value makes it softer.
Saturation
RC
V
Source
Specific
Use this sub-menu to adjust the color saturation of the
projected image. A larger value increases color saturation.
Tint
RC
V
Source
Specific
Use this sub-menu to adjust the tint of the projected
image. A larger value makes the overall image more
bluish, while a smaller value makes the overall image
more reddish. This setting is supported only when the
signal is NTSC or NTSC4.43.
Color Mode
RCVU
Source
Specific
You can select from among five different color mode
settings to optimize the projected image in accordance
with image contents and projection conditions.
Presentation
*
:
Use this setting for standard presentations in a well-lit
area. This is the initial default setting when the input
source is RGB.
Standard:
Use this setting when you want to highlight the colors of
your presentation.
Graphics:
Use this setting when you want photographs and graphics
to appear natural.
Theater
*
:
Use this setting to bring out the dark portions of your
images. This is the initial default setting when the input
source is either component video or video.
Blackboard:
Use this setting for easy viewing when projecting onto a
blackboard.
Color Balance
RCVU
Source
Specific
This sub-menu lets you adjust the color balance of the
projected image. Color balance lets you select either
“Color Temperature” or “Color” (for individual adjustment of
red, green and blue) as the adjustment method.
Color Temperature:
Select this option when you want to adjust the color
temperature. Selecting “LO” gives whites a reddish cast,
while “HI” gives them a bluish cast. Selecting “NORM
*
”
sets a medium setting between the two colors.
Color:
Select this option when you want to individually adjust the
intensity of red, green, and blue. For all of the colors, a
larger value makes the color stronger.
Содержание IN15
Страница 1: ...IN15 15...