Copyright ©2018, Infoblox, Inc.All right reserved.
LAN2 Port
A 10/100/1000-Mbps gigabit Ethernet port that connects a NIOS appliance to the network. The LAN2 port is disabled by
default. You can enable the LAN2 port and define its use through the Grid Manager after the initial setup.
UID Button
The unit identification button. Pressing the UID button illuminates the blue UID LED on the rear panel. In a rack
environment, the UID feature enables easier location of a server when moving between the front and rear of the rack. You
can also identify the appliance through the Infoblox Grid Manager and CLI command.
CC and FIPS for Trinzic TE-825 and TE-V825
The Trinzic TE-825 and TE-V825 appliances can be made compliant with CC and FIPS 140-2 security standards. Both CC and FIPS give
assurance that the product satisfies a set of internationally recognized security measures. CC is a set of rules and specifications to evaluate the
security of Information Technology (IT) products. FIPS is a U.S government computer security standard that is designed to validate product
modules that use cryptography. This is necessary to maintain the integrity and confidentiality of the end-user information that is stored, processed,
and transferred by the product module. To ensure that your appliance is CC and FIPS compliant, make sure that your hardware and software
settings match the evaluated configuration that was certified for both CC and FIPS. For information about how to configure CC and FIPS, refer to
the Infoblox NIOS Administrator Guide.
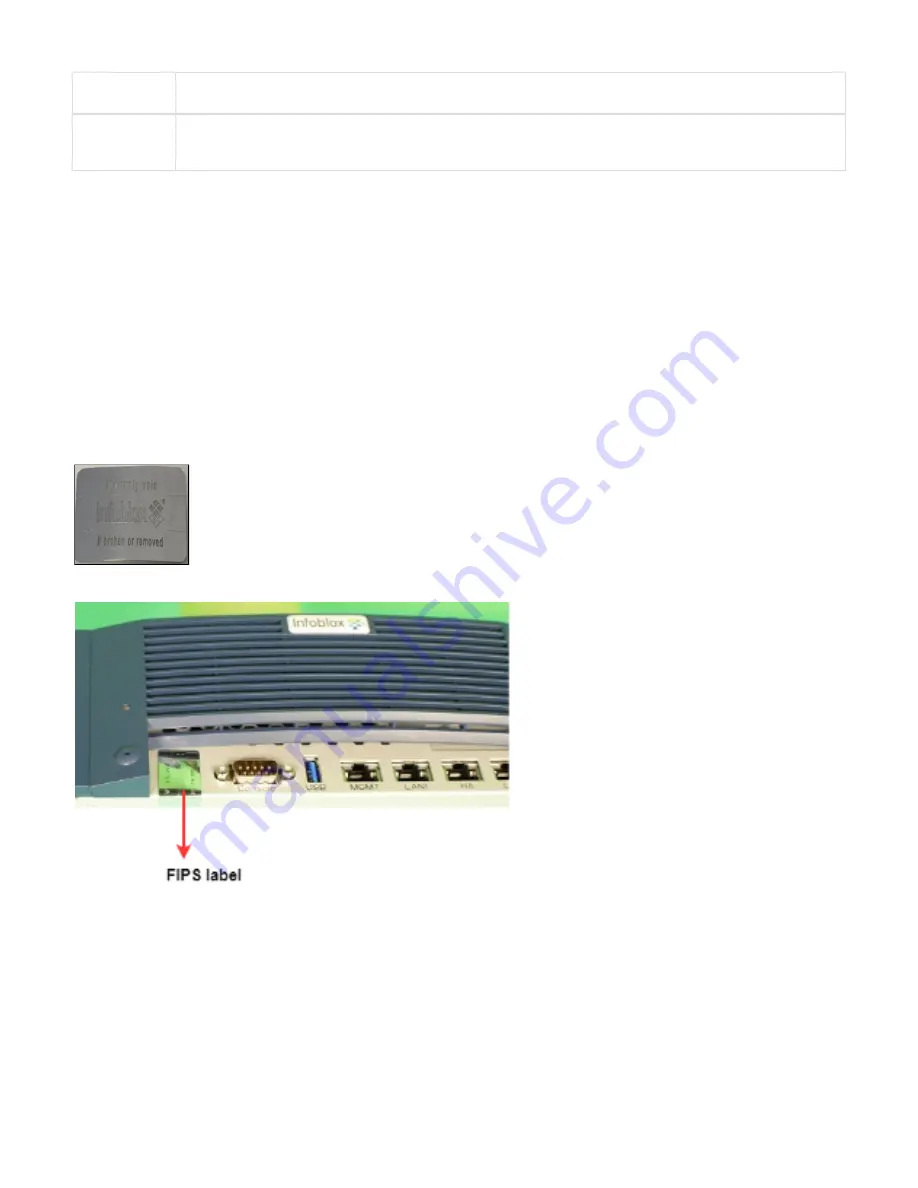
Infoblox provides tamper evident FIPS labels that you must affix on the HDD cover and over the IPMI port of the appliance to make it FIPS
compliant. You must install the FIPS tamper evident labels correctly onto the device for compliance with FIPS. This label is valid for Trinzic
TE-825 appliances only.
Clean the chassis before affixing tamper evident FIPS labels. Apply these labels as shown in the figures below:
FIPS label
Install a sticker covering the IPMI port as shown in this picture
Install a sticker on both of the back corners of the top cover as shown in this picture


