background image

6

7

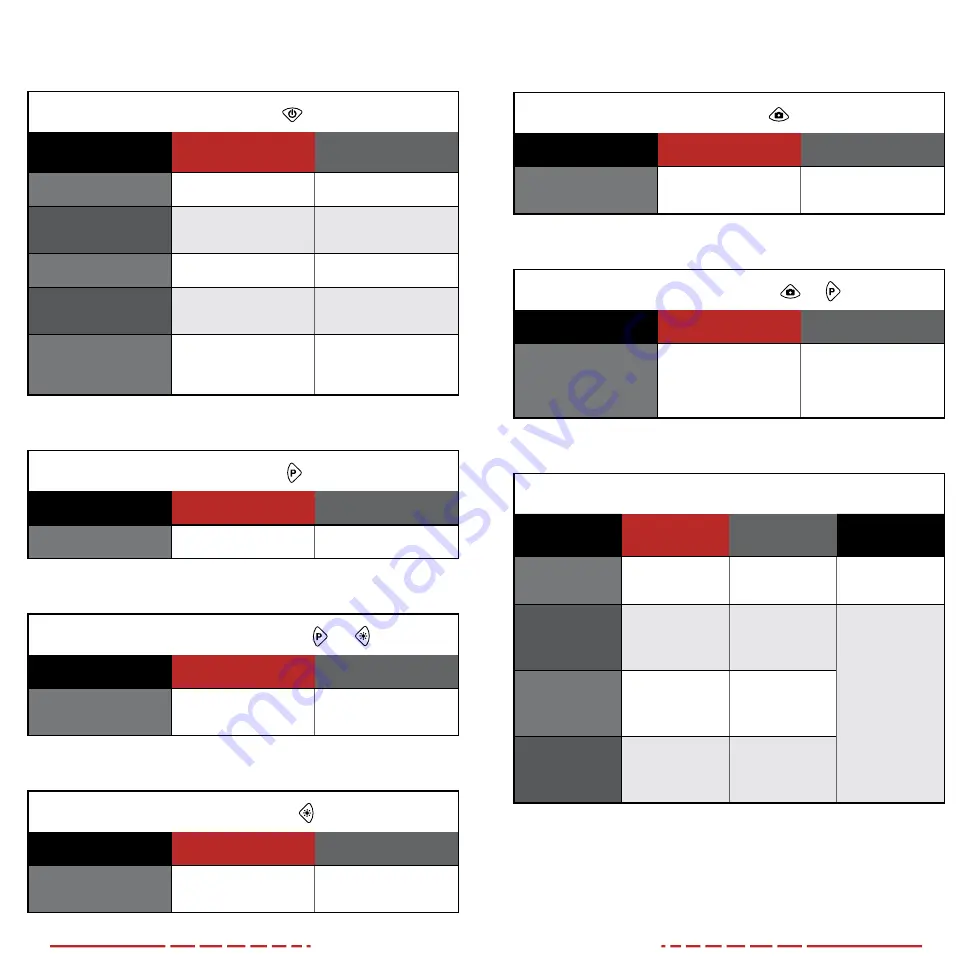
7.  DESCRIPTION OF CONTROL 

BUTTONS AND SHORTCUTS

Power Button 


Current Screen / Menu 

or Device Status

Short Press 

Long Press 

Device off

——

Power on the device

Home screen 

Enter standby mode

Power off the device

Standby mode

Exit standby mode

——

Main menu

Return to previous 

without saving changes

——

Reticle zeroing  

interface

Exit interface and return 

the reticle to the last 

saved zero position

——

Palette Button  

Current Screen / Menu

Short Press

Long Press

Home screen

Switch the imaging mode Turn PIP window on / off

Palette  

+

  Brightness Button 


Current Screen / Menu

Short Press

Long Press

Home screen

——

Activate / deactivate  

the reticle

Brightness Button  

Current Screen / Menu

Short Press

Long Press

Home screen

Adjust the screen 

brightness

Enter / exit the 

stadiametric rangefinder

Photo Button  


Current Screen / Menu

Short Press

Long Press

Home screen

Take a photo

Start / stop recording 

video

Photo  

+

  Palette Button 


+


Current Screen / Menu

Short Press

Long Press

Reticle zero interface

——

Freeze image to keep 

reticle centered on 

aiming point; press again 

to clear frozen image

Control Turret

Current Screen / 

Menu

Short Press

Long Press

Rotate

Home screen

Enter quick menu

Enter main menu

Adjust digital 

zoom level

Quick menu

Adjust parameters 

for a menu item

Return to home 

screen

Switch menu 

options; move 

menu cursor; 

move reticle 

position

Clockwise:   

Move left / down

Counterclockwise:

Move right / up

Main menu

Confirm changes; 

open the submenu

Return to home 

screen

Reticle zero 

interface 

Switch between  

X and Y Axis 

Save changes 

and exit to home 

screen

Содержание BOLT DIGITAL Series

Страница 1: ...I N F I R A Y O U T D O O R BOLT DIGITAL SERIES Bolt Action Optimized Digital Night Vision Scope User s Manual Outdoor...

Страница 2: ...the receiving antenna Increase the separation between the equipment and receiver Connect the equipment into an outlet on a circuit different from that to which the receiver is connected Consult the d...

Страница 3: ...i Fi module for external connectivity to App Picture in Picture PIP Extended eye relief User friendly interface 3 TECH SPECS BOLT TD50L SERIES TD50L SENSOR Resolution 1440 1080 Pixel Size 4 m Frame Ra...

Страница 4: ...AC18 BOLT Standard Scope Mount Rings IRAY AC37 BOLT 18650 Battery Extender IRAY AC70 BOLT Digital Series Infrared Illuminator IRAY AC71 Standard Rubber Eyeguard for BOLT IRAY AC74 Objective Lens Cap...

Страница 5: ...ort Press Long Press Home screen Adjust the screen brightness Enter exit the stadiametric rangefinder Photo Button Current Screen Menu Short Press Long Press Home screen Take a photo Start stop record...

Страница 6: ...s and hold the Brightness and Palette Buttons at the same time for 15 seconds to activate the reticle 2 Short press the Control Turret to enter the quick menu see Using the Quick Menu on page 21 a Sel...

Страница 7: ...battery b See Battery Status Icons on page 12 for additional battery information WARNING Never charge the battery pack with a USB adapter that is greater than 5V 2A NOTES You may charge and operate B...

Страница 8: ...included are compatible with the BOLT TD50L Using with the Optional Auxiliary Battery When both the built in battery pack and the auxiliary battery are fully charged the BOLT TD50L will select the aux...

Страница 9: ...y turning it counterclockwise 2 Connect the smaller USB C end of the data cable to the USB C port 9 3 Connect the standard USB end of the data cable to the external power supply The BOLT TD50L will au...

Страница 10: ...ses concentrated infrared light which while not visible to the human eye can cause permanent physical damage 17 OPERATING INSTRUCTIONS Control Features The BOLT TD50L is operated via four control butt...

Страница 11: ...icle appear sharp and in focus No additional diopter adjustments are required unless the user wishes to make changes NOTES After this initial adjustment there is no need to rotate the eyepiece adjustm...

Страница 12: ...on the operating status of the BOLT TD50L Series 1 2 3 4 5 6 7 8 9 1 Imaging Mode Shows the set imaging mode day moon star Day is the default 2 Zeroing Profile Distance Shows the selected zero profile...

Страница 13: ...he desired zero distance 2 Confirm that the rifle is empty safe and pointed in a safe direction with no ammunition near the weapon 3 Adjust the image and device settings following the steps in the Qui...

Страница 14: ...Recorded photos are saved to the internal memory card in jpg format videos are saved in mp4 format a Photos are saved in IMG_HHMMSS_XXX jpg format b Videos are saved in VID_HHMMSS_XXX mp4 format c HH...

Страница 15: ...3 Enter the Wi Fi password The default password is 12345678 4 Press the Join button When Wi Fi is successfully connected the user may manipulate the BOLT TD50L via the InfiRay Outdoor App See Using th...

Страница 16: ...app are saved to the mobile device instead of the internal storage of the BOLT TD50L Once connected you can access files saved to the mobile device In the App press the ViewFinder icon at the bottom...

Страница 17: ...xpand the space between the lines b Rotate counterclockwise to shrink the space between the lines 2 As you adjust the space between the horizontal lines the rangefinder values on the right side of the...

Страница 18: ...C with distance selected See the Zero Distance Submenu and Reticle Zeroing on the next page for instructions on customizing the nine zero distances 1 Long press the Control Turret to enter the main m...

Страница 19: ...sition 5 White Dot Indicates center of initial reticle position NOTE The red X indicates the point of impact It is shown in the figure for illustration purposes and is not an interface element To zero...

Страница 20: ...e two triangle icons will indicate the selected digit 5 Long press the Control Turret to save the custom zero distance and return to the Zero Distance submenu 6 The new zero distance appears in the st...

Страница 21: ...ss the Control Turret to switch between digits The two triangle icons indicate the selected digit 5 Long press the Control Turret to save the date and return to the home screen SETTINGS MENU TIME Set...

Страница 22: ...ol Turret to select the status auto hiding menu item 2 Short press the Control Turret to enter the auto hiding submenu 3 Rotate the Control Turret to move through the options on and off Auto hiding is...

Страница 23: ...ing your published warranty period iRayUSA will repair or replace at its discretion any optic that becomes defective during normal use Additionally if we cannot fix your optic in less than one week we...

Страница 24: ...microfiber lens cloth There is condensation on the interior or exterior optical surfaces of the lens Wipe the outside optical surfaces with the included microfiber lens cloth Allow the BOLT TD50L to...

Страница 25: ...ubject to change without notice For the most up to date specs go to irayusa com Not responsible for typographical errors Ver 1 1080122 800 Railhead Road 316 Fort Worth TX 76106 800 769 7125 682 499 00...

Отзывы: