18 | ILM-17/19 PA
ILM-17/19 PA | 19
ENG
CONNECTING WITH EXTERNAL EQUIPMENT
6. CONTROLS AND FUNCTIONS
4. CONNECTING WITH EXTERNAL EQUIPMENT
5. REMOTE AND FUNCTIONS
CONTROLS AND FUNCTIONS
BOTTOM PANEL CONTROL
6.1
CONTROLS AND FUNCTIONS
1
2
3
4
5
6
7
8
9
10
11
1. DC 12V IN
2. D-SUB IN
3. VIDEO 1(AV1) IN
4. VIDEO 1(AV1) OUT
5. VIDEO 2(AV2) IN
6. VIDEO 2(AV2) OUT
7. 8 AUDIO IN (L+R)
9. S-VIDEO (Y/C) IN
10. S-VIDEO (Y/C) OUT
11. PC STEREO IN
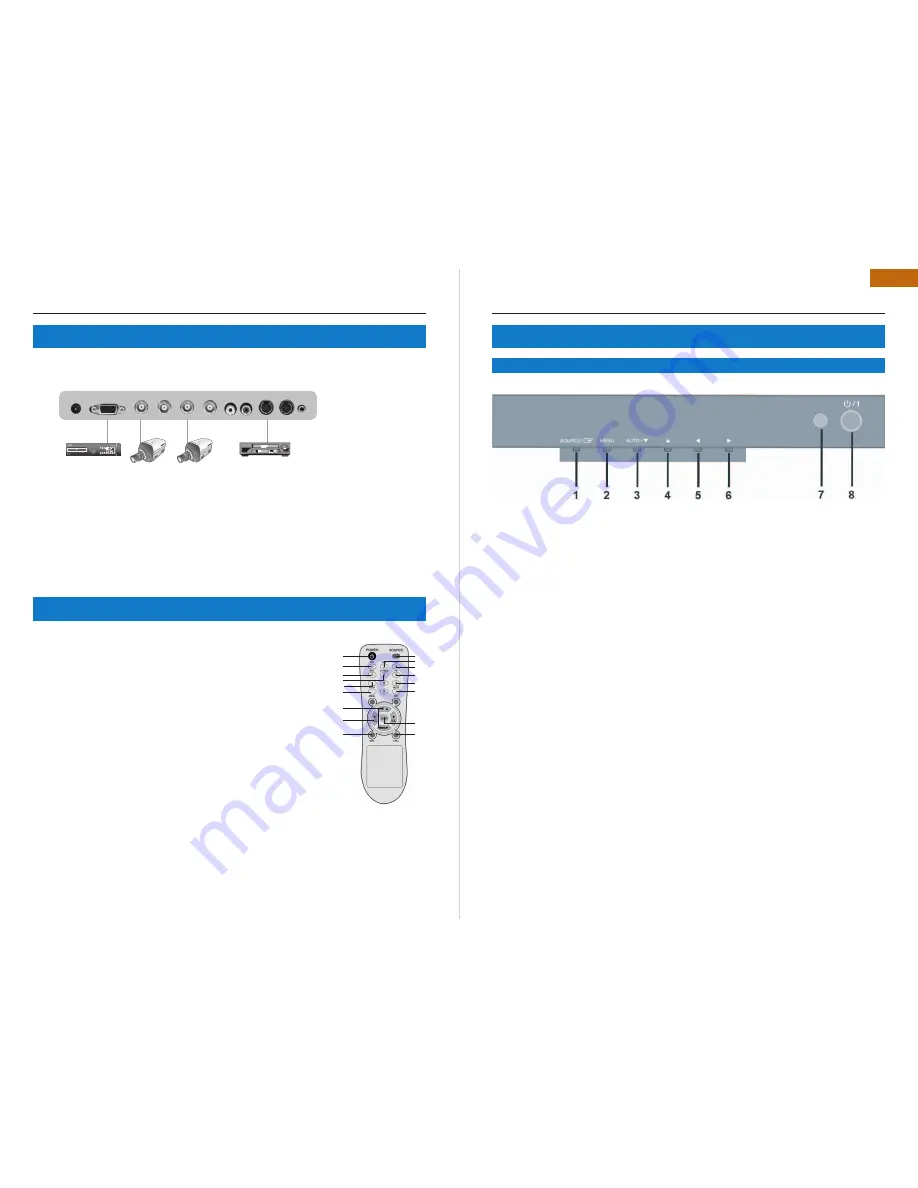
1. SOURCE
Select input source, and move the previous menu.
2. MENU
Activates and exits the On Screen Display. This button can also be used to move previous menu or status.
OSD MENU(MAIN) : Custom, Picture/Sound,Setup
3/4. AUTO/
/
This button allows user to enter the sub-menu of the activated function
AUTO: Auto geometry adjustment in PC Source.
5/6.
VOL
Adjust the volume / Adjust menu settings.
7. IR Sensor : Remote controller sensor.
8. POWER ON/OFF( )
Turns the power ON or OFF. There will be a few seconds delay before the display appears.
The power LED(next to the power switch) lights with green when the power is turned ON.
The power is turned off by pressing the power switch again and the power LED goes Red.
POWER Turns the power ON or OFF. There will be a few seconds delay
1.
before the display appears.
SOURCE Select pc or video( AV1 / AV2 / S-Video / PC ) sources.
2.
APC (Auto Picture Control) Select picture mode.
3.
ACC (Auto Colour Control) Select Colour mode.
4.
AV1 Select AV1 mode
5.
AV2 Select AV2 mode
6.
S-VIDEO Select S-VODEO mode
7.
PC Select PC mode
8.
AUTO Auto geometry adjustment in PC Source.
9.
MUTE Mute the sound.
10.
MENU Activates and exits the On Screen Display.
11.
EXIT Exit the On Screen Display.
12.
VOL Increases or decreases the level of audio volume.
13.
UP/DOWN Move to OSD menu.
14.
ENTER Accepts your selection or displays the current mode.
15.
INFO Input mode information Display.
16.
STILL Pause the picture.
17.
1
13
16
2
5
8
10
12
4
15
17
3
6
14
11
9
7
Содержание ILM-17 PA
Страница 16: ...www infinity cctv com ...


