Application Note
7
Revision 1.0
2016-11-01
Getting Started with the XDPL8220 Reference Board Using .dp Vision Software
2.2
Software Installation
After the required software tools are downloaded, please follow the steps below to make the correct software
installation.
•
Install first the .dp Vision software.
•
After the .dp Vision is successfully installed, please install the project addon.
•
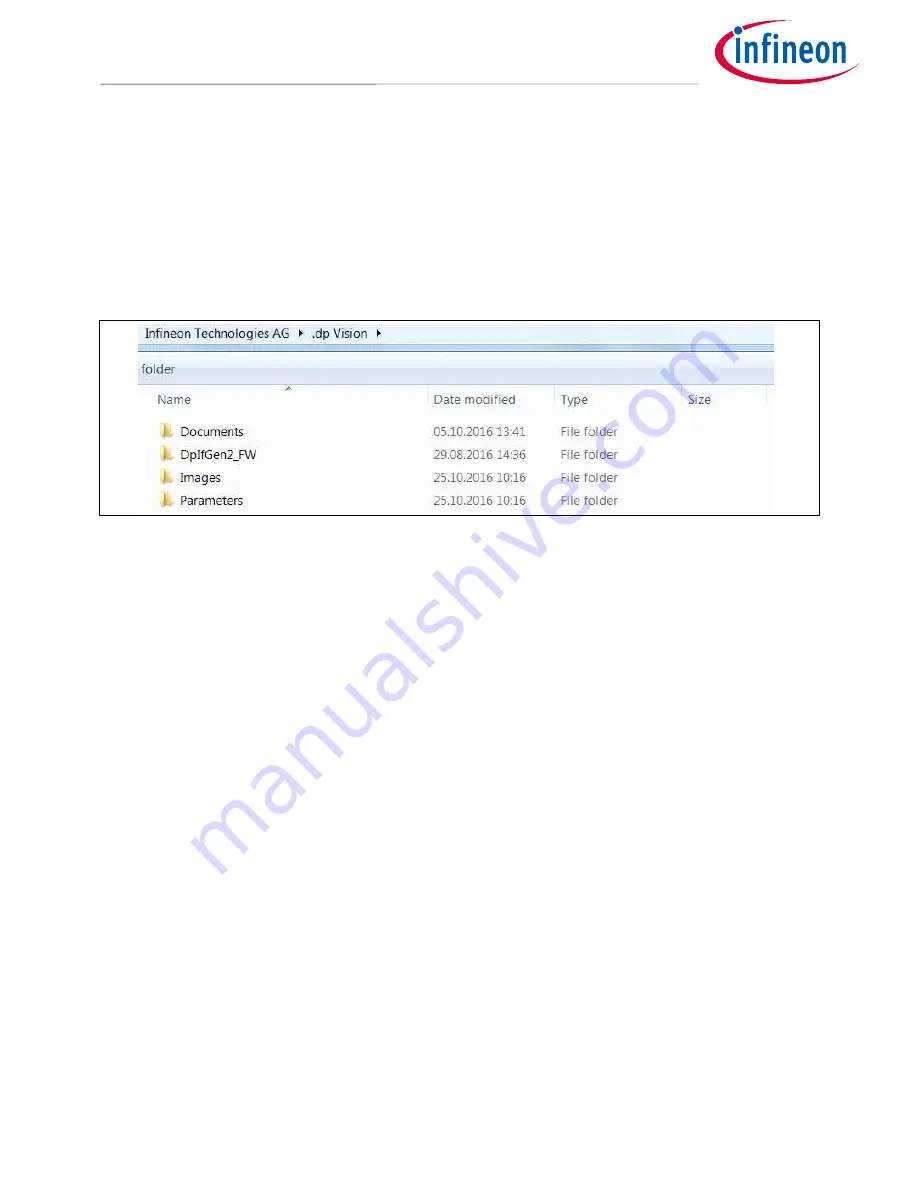
After the .dp Vision and project addon are successfully installed, four sub folders are created under the “.dp
Vision” folder as shown in the following
Figure 6
:
Figure 6
Four Sub-folders Under .dp Vision
Note:
Please use the shortcut generated on the desktop to access to these folders quickly!
•
In the “Documents” folder you will find all the related documentation like datasheet, board description, CSV
file description and Design guide.
Attention:
Please make sure that before getting started to operate the XDPL8220 reference board,
read the “XDPL8220 Board Description” thoroughly. A wrong operation of the reference board
could be dangerous to health and even to life!
•
In the “DpIfGen2_FW” folder, the firmware of the interface board .dp Interface Gen2 is stored.
Attention:
Please make sure that the firmware version of the interface board for XDPL8220 has
always a format of “dpIfGen2_Rev2-x-x.hex”. If the firmware version has a format of
“dpIfGen2_Rev1-x-x.hex” (f.g. for XDPL8105), please update if first or it will show error
message when connecting to XDPL8220.
•
In the “Images” folder, the images related to the XDPL8220 parameters CSV file are stored.
Attention:
Please make sure that the all necessary images are stored in this folder. If any image is
missing, the CSV file will not be opened by the .dp Vision and an error message will show.
•
In the “Parameters” folder, the XDPL8220 parameters CSV file is stored.


