TM
11 of 15
iMOTION2go
Starter kit for iMOTION
TM
ecosystem application note
Getting started with iMOTION2go
6
Getting started with iMOTION2go
The iMOTION2go is shipped with all software and parameters programmed. The motor on board will
automatically run by an embedded demo code once it is plugged into your computer USB socket, so don’t
touch the motor when you plug the board to the slot. The motor speed can be tuned via the RP1 with a
screwdriver. All files which are used for setting up this demo are available as .zip package at
www.infineon.com/imotion2go/software.
File list in this package:
1. IMC101T-T038_A_V1.02.20.ldf------------------------------------------------------MCE firmware code
2. iMOTION2go190904-Neweco2_Script.ldf---------------------------------------------------script code
3. iMOTION2go190904-Neweco2_IMC101T.map---------------------------------variable list in script
4. Test190904-Neweco2.txt--------------------------------------------------------------------parameter file
5. IMC101T_V1.02.20_iMOTION2go.irc-----------------------------------------MCEDesigner tuning file
The iMOTION™ software tools MCEDesigner and MCEWizard are required in order to study the design platform.
These tools are available for download via the Infineon website (
http://www.infineon.com/imotion-software
).
All supported tool and software versions are listed there. Please visit this page periodically to check for
tool/software updates.
Once the tools are installed, you can use them to check waveform/tune parameters/function control of this board
by. When the board is plugged into the board in the USB slot, the motor will automatically run, it is controlled by
the demo script code. To switch to be controlled by MCEDesigner, these steps are to be followed:
1.
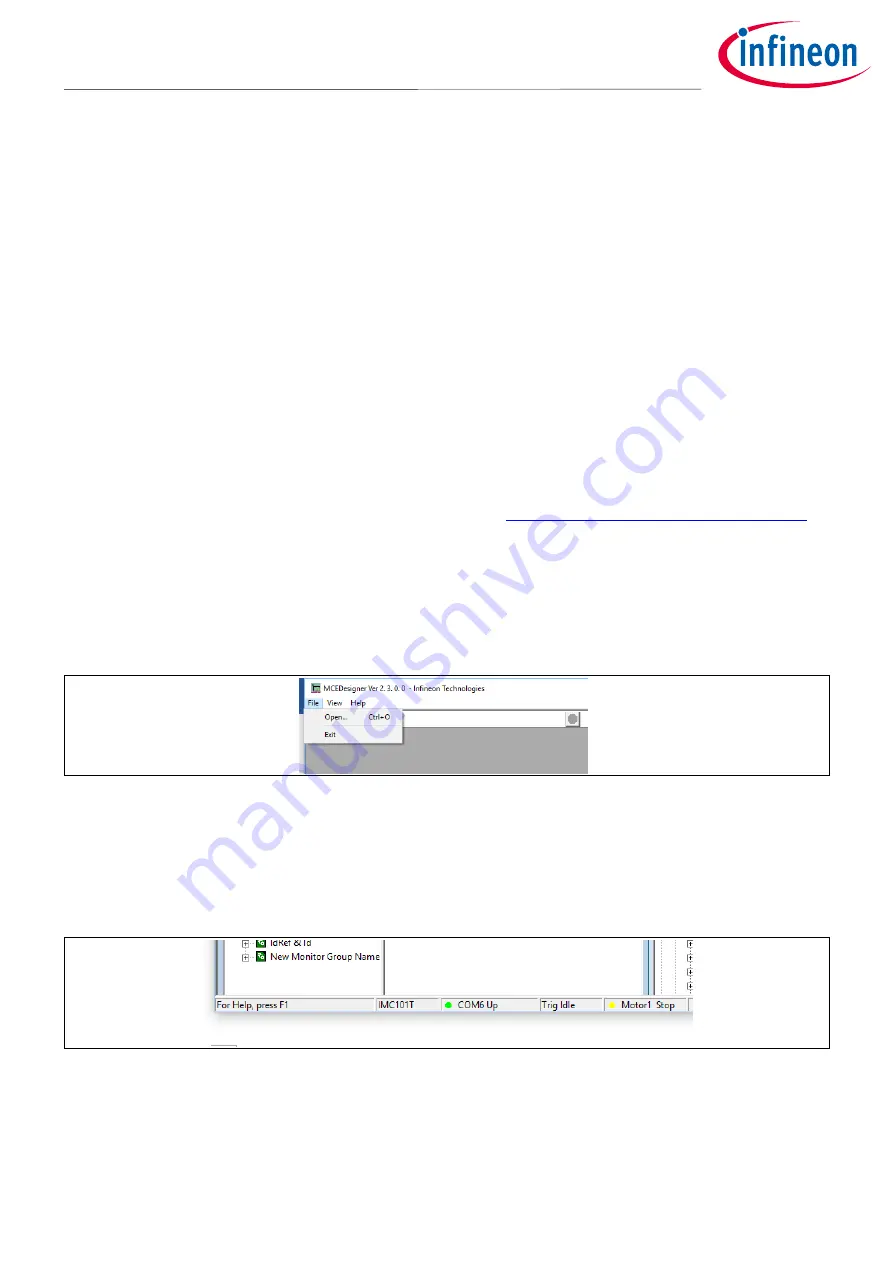
Start MCEDesigner and open the tuning file, IMC101T_V1.02.20_iMOTION2go.irc by clicking “File” > “Open”.
Figure 9
Open the tuning file(.irc)
2.
MCEDesigner should automatically connect to the IMOTION2go evaluation board using default COM port
(indicated by green circle next to “COMx Up” status in the bottom frame of the MCEDesigner GUI). If it cannot
establish the connection, change COM port by doing the following: click on the “System” window and then
click on “Preferences” > “Connection” > “Connect using”, and choose one of the other available COM ports
from the drop-down list.
Figure 10
Connection to the board
3.
In the “Motor” window, you can set register 'Script_Command' to '1' or '0' to switch the control by embedded
script code or by MCEDesigner. Before changing this setting user needs to stop the motor if it is running (klick
on red traffic light icon) and afterwards he needs to start it again (green traffic light icon) with new setting
active.


