XTT301-0-0-GB-15
December 2010
Page 5
XTT909
WARNING: DO NOT MOUNT THE IMPROX CA IN THE SAME ELECTRICAL
JUNCTION BOX AS THE MAINS ELECTRICAL SUPPLY.
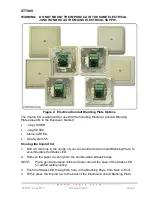
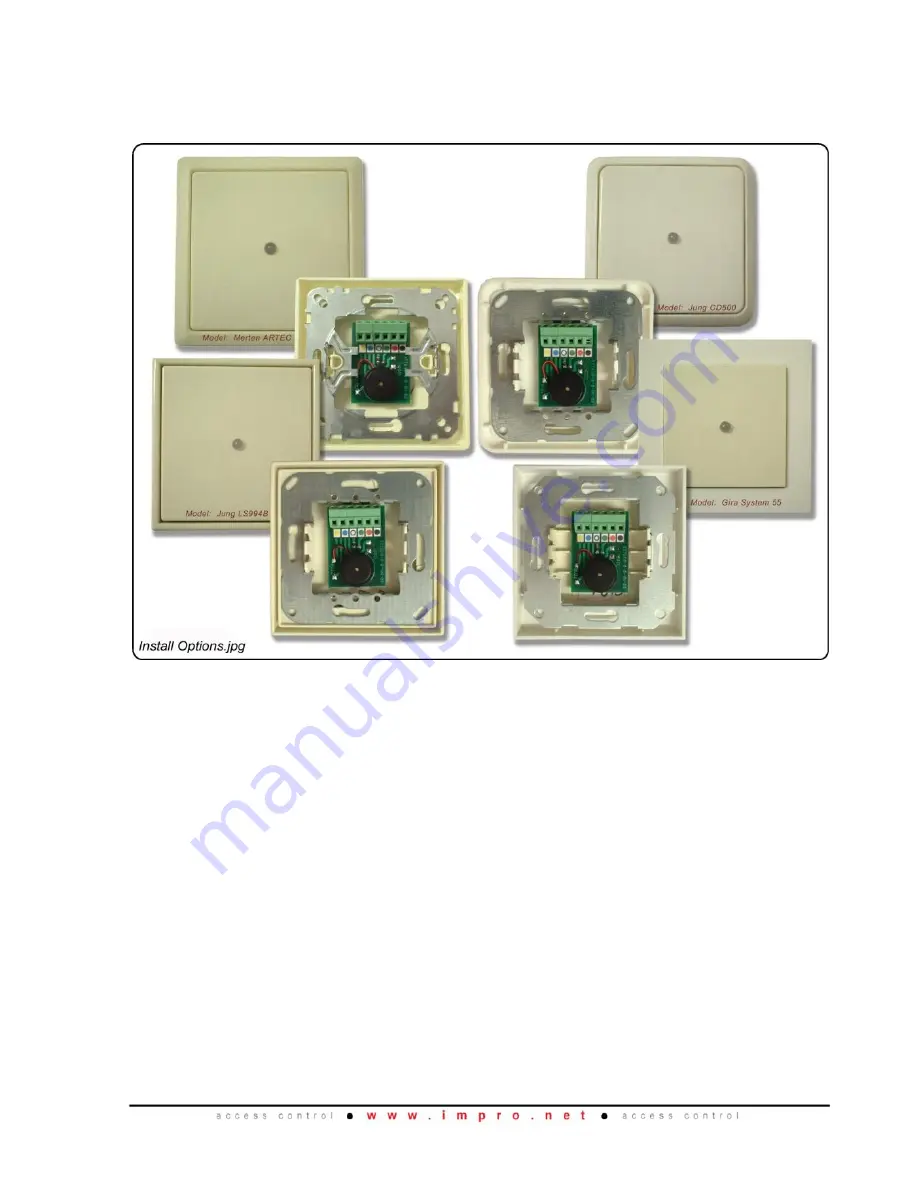
Figure 2: Electrical Conduit Blanking Plate Options
The ImproX CA is approved for use with the following Electrical Conduit Blanking
Plates (specific to the European Market):
Jung LS994B.
Jung CD500.
Merten ARTEC.
Gira System 55.
Housing the ImproX CA
1. Drill a 5 mm hole in the centre of your chosen Electrical Conduit Blanking Plate, to
accommodate the Status LED.
2. Remove the paper covering from the double-sided adhesive tape.
NOTE:
Place general purpose Silicone Sealer around the base of the Status LED
for added waterproofing.
3. Push the Status LED through the hole, in the Blanking Plate, from back to front.
4. Firmly press the ImproX CA to the back of the Electrical Conduit Blanking Plate.
Содержание XTT901-1-0-GB-00
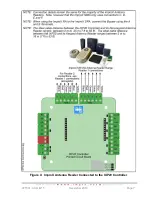
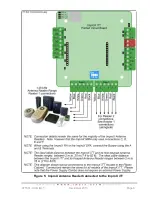
Страница 8: ...XTT301 0 0 GB 15 December 2010 Page 8 Figure 5 ImproX Antenna Reader Connected to the ImproX iTT ...
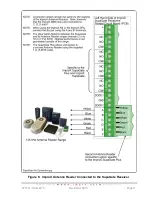
Страница 10: ...XTT301 0 0 GB 15 December 2010 Page 10 Figure 7 ImproX Antenna Reader Connected to the ImproX MfT ...
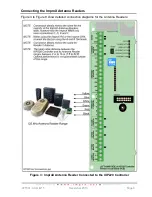
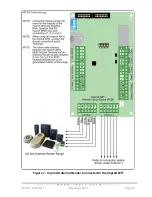
Страница 11: ...XTT301 0 0 GB 15 December 2010 Page 11 Figure 8 ImproX Antenna Reader Connected to the IXP110 Controller ...


