


ENGLISH
Signal Timing
Change to the desired signal timing listed on page 21: COMPLIANT TIMING.
Windows 95/98/2000/Me/XP/Vista Plug & Play
The iiyama LCD monitor complies with DDC1/2B
TM
of VESA standard. The Plug & Play function runs
on Windows 95/98/2000/Me/XP/Vista by connecting the monitor to DDC1/2B
TM
compliant computer
with the Signal Cable supplied.
For installation on Windows 95/98/2000/Me/XP/Vista: The monitor Information File for iiyama monitors
may be necessary for your computer and obtained via the Internet, using the address:
http://www.iiyama.com
Monitor Drivers are not required in most cases for Windows Vista,Macintosh or Unix
operating systems. For further information, please contact your computer dealer first for
advice.
For additional information on how to download the driver for your touch screen monitor,
please access the internet site noted above.
NOTE
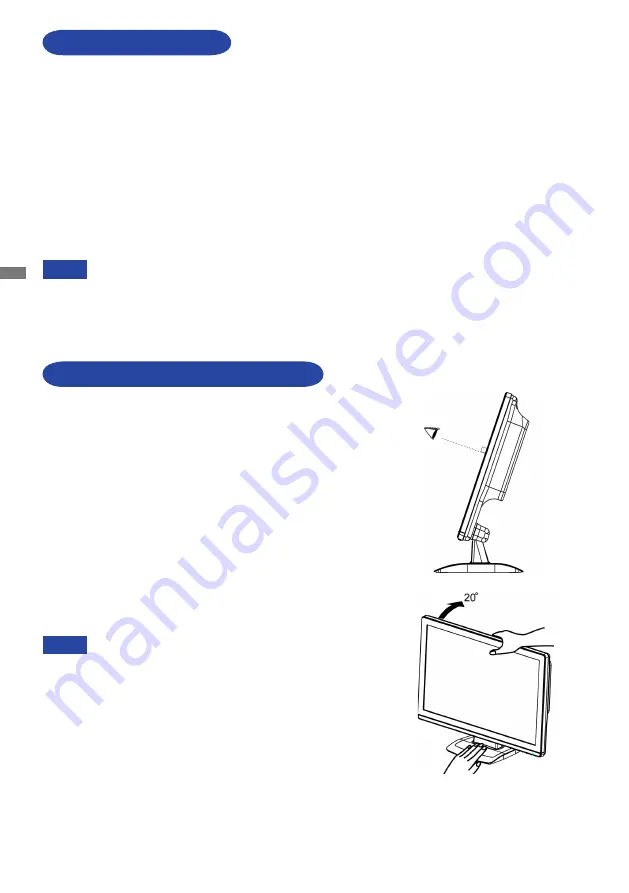
NOTE
For optimal viewing it is recommended to look at the full face
of the monitor.
Hold the stand so that the monitor does not topple when you
change the monitor’s angle.
You are able to adjust the monitor’s angle up to 20 degrees
backward. (The indication of 20 degrees: tilted LCD panel holds
for a moment at this point. Tilt the panel gently; using too much
force can easily cause the tilt angle to exceed 20 degrees.)
In order to ensure a healthy and relaxed body position
when using the monitor at visual display workstations, it is
recommended that the adjusted tilt angle should not exceed 10
degrees. Adjust the monitor’s angle to your own preference.
Do not touch the LCD screen when you change
the angle. It may cause damage or break the LCD
screen.
Careful attention is required not to catch your fingers
or hands when you change the angle.
Do not tilt the post beyond 20 degrees except when
repacking the monitor in its box.
To do so may cause the monitor to fall over and
break.
COMPUTER SETTING
ADJUSTING THE VIEWING ANGLE
8 BEFORE YOU OPERATE THE MONITOR
NOTE
NOTE
Содержание ProLite E2207WS
Страница 26: ......


