iiNet BizPhone W76P Скачать руководство пользователя страница 10


P a g e | 

10


Public 

: Call Features 

 To access the features of Call Forward, Do Not 

Disturb, Call Waiting, Anonymous Call Rejection, Anonymous Call and 
Paging. 

: Directory 

 To access the directory and manage the contacts. 

: Settings 

 To personalise the setting of your handset. 

: History 

 To access the call history list. 
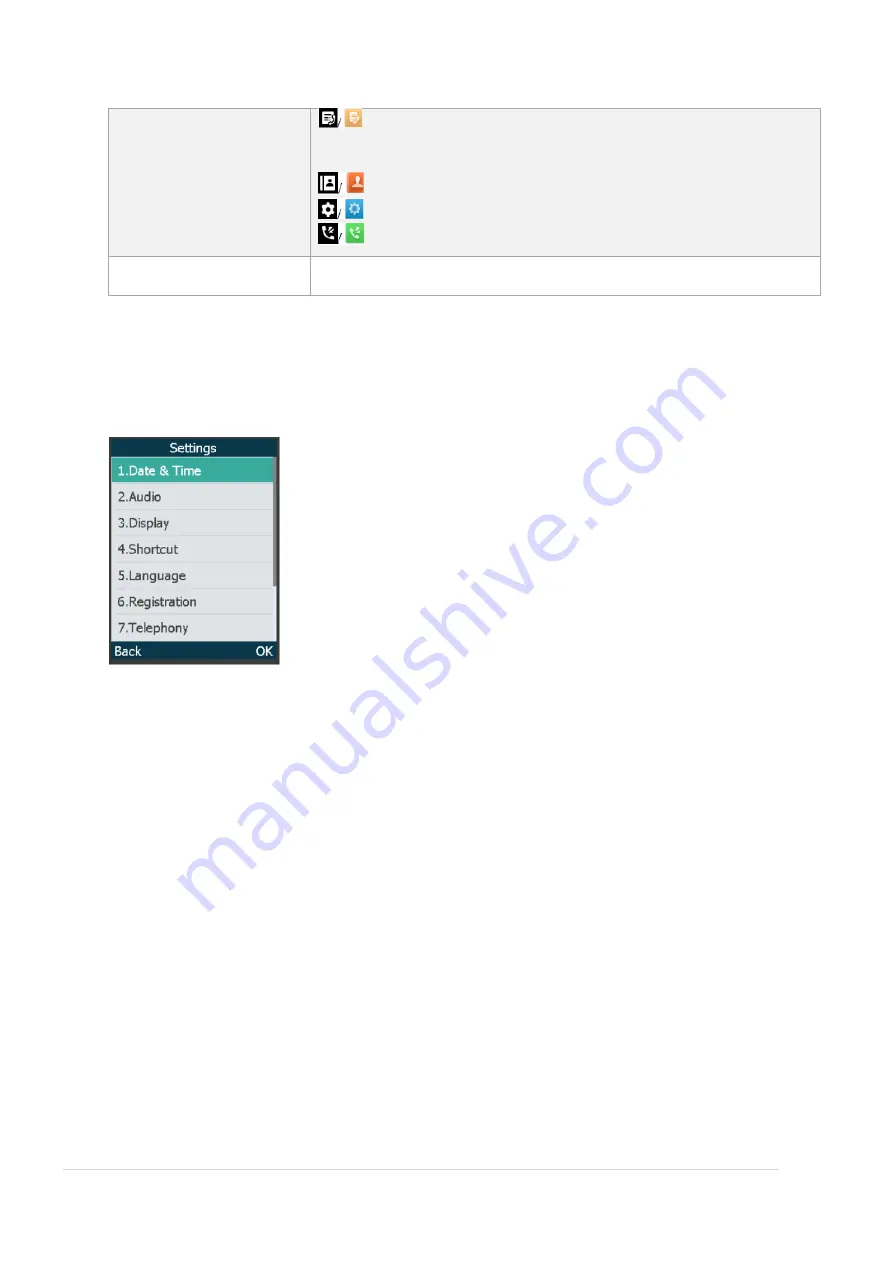
Soft key label 


Submenu 
 

The functions in the submenus are displayed as lists. You can open the submenu to access a 
function. 


Accessing the Main Menu Feature 

After entering a certain menu, you can use the navigation keys to access the desired submenu. 
 

1.


Press the up and down navigation keys to highlight the desired submenu. 

2.


Press OK to open the submenu. 

3.


Press the On-hook key or Back to return to the previous screen. 


Returning to Idle Screen 

Long press the On-hook key to quickly exit the menu and return to the idle screen. 


Содержание BizPhone W76P

Страница 1: ...Public BizPhone Small Business Phone System Cordless W76P IP Dect Phone User Guide ...

Страница 2: ... the Main Menu Feature 10 Returning to Idle Screen 10 Contact Management 13 Blacklist 14 Call History Management 15 Basic Call Features 16 Placing Calls 16 Speed Dial 17 Answering Calls 18 Answering a Call 18 Answering when in a call 18 Ending Calls 18 Redialling Numbers 18 Call Mute 18 Call Hold Resume 19 Do Not Disturb DND 19 Call Forward 19 Call Transfer 20 Three Way Conference 20 Advanced Phon...

Страница 3: ...emble and start up your handset The BizPhone Quick Startup Guide is available on your BizPhone Resources page www iihelp iinet net au BizPhone_Support_Resources The topics covered in the Quick Startup Guide include Packaging Contents Assembling the Phone Starting up the Phone Basic Handset Settings Basic Call Features If you require additional assistance with your new handset please contact your S...

Страница 4: ...ging status Phone Screen Shows information Soft Keys Access the function directly It depends on the operating situation Message Key Accesses the voice mail or missed call Speakerphone Key Switches between the receiver headset and handsfree modes Answers an incoming call Places a call in handsfree mode Navigation Keys Scroll through information or options on the screen OK Key Confirms actions or en...

Страница 5: ...ion Solid Red The handset is charging Fast Flashing Red 0 3S The handset is ringing Slow Flashing Red 1S The handset receives the voice mail or missed call Off The handset is powered off The handset is idle The handset is fully charged Icon Instructions Icons in the Idle Screen Below is the description of the icons on the idle screen Icons Description Icons Description The ringer volume is 0 and t...

Страница 6: ... Hold Call Mute Conference Call Icons on the Line Status Screen Below is the description of the icons on the line status screen Icons Description Icons Description Call Forward Do Not Disturb DND Anonymous call rejection is enabled Anonymous call is enabled Unassigned outgoing line ...

Страница 7: ... the keypad Long press the key when the locked handset is idle until the phone prompts you the handset is unlocked The lock icon disappears from the status bar Note If the keypad is locked only the emergency numbers can be dialled out You must enter the emergency number continuously and completely To place emergency calls you should configure the emergency numbers in advance Backlight Handset back...

Страница 8: ...le To configure the time and date manually on your phone 1 Go to OK Settings Date Time 2 Edit the date and time 3 Confirm the action The date and time set on the handset will change accordingly To configure the time format on your phone You can set the phone to display the time in 12 hour or 24 hour format You can also change the date format including the options to display the day D month M and y...

Страница 9: ...tems Status Intercom Voice Mail Call Features Directory Settings and History Accessing the Main Menu Feature After entering the main menu you can use the navigation keys to access the desired menu 1 Press the OK key when the handset is idle 2 Press the navigation keys to select a different menu icon 3 Press OK to open the selected menu Name Description 1 Menu item you selected 2 Menu icon Status T...

Страница 10: ...label Submenu The functions in the submenus are displayed as lists You can open the submenu to access a function Accessing the Main Menu Feature After entering a certain menu you can use the navigation keys to access the desired submenu 1 Press the up and down navigation keys to highlight the desired submenu 2 Press OK to open the submenu 3 Press the On hook key or Back to return to the previous s...

Страница 11: ...cription Signal Strength Week to Strong No Reception Eco mode is on Battery Status Low to full Need Charging Status Bar Displays the feature status icons The status icons are displayed when features are activated Handset Name Displays internal handset number and registered handset name Soft Keys The soft key labels on the screen directly above the soft keys shows the functions available at that pa...

Страница 12: ...line status When the handset is idle you can press Line to enter the line status screen Line Status Description Outgoing Line Display the registered line number and the corresponding line Line Status Display the icon of line status The icon indicates the corresponding feature assigned to the line ...

Страница 13: ...ss one or more times to switch among input modes The current input mode is displayed on the right bottom of the phone screen Enter letters Press a key one or more times depending on what input mode you are in to enter the possible characters that are displayed on the keypad key Enter special characters Press to enter the space character or the following special character list _ Press If it is in t...

Страница 14: ...rectory or OK Directory Local Directory 2 Highlight the desired contact and select Option Delete All The phone prompts you whether to delete all contacts 3 Confirm the action Blacklist Incoming calls from the Blacklist are rejected automatically You can store up to 30 contacts in the blacklist to block unwanted callers To add a contact to the Blocklist 1 Go to OK Settings Telephony Blocklist 2 Sel...

Страница 15: ...d Missed Calls and each list holds 100 entries Call History Icons Icons Description Icons Description Received Call Missed Call Placed Call To view Call History 1 Press History 2 Select the desired list 3 Highlight the desired entry and select Options Option Detail To delete an entry from the Call History list 1 Press History 2 Select the desired list 3 Highlight the desired entry and select Optio...

Страница 16: ...y and select Directory to select a contact from the directory to dial out Placing Calls from Local Directory To place a call to a contact from the local directory 1 Go to OK and select Directory 2 Select the desired directory 3 Highlight the desired contact and press the Off hook key or Send Placing Calls from Call History To place a call from the Call History list 1 Press History or go to OK and ...

Страница 17: ...he selected speed dial key Changing a Speed Dial Number You can assign a contact number to the digit key as a speed dial umber A maximum of 8 speed dial numbers are allowed The assigned number should exist in the directory 1 Go to OK Settings Telephony Speed Dial 2 Highlight an assigned speed dial key 3 Select Options Change 4 Select Directory and select the desired contact from the directory 5 Pr...

Страница 18: ...bers To redial the last dialled number from your phone 1 Press twice when the handset is idle A call to your last dialled number is attempted To redial a previously dialled number from your phone 1 Press when the handset is idle to access the redial list 2 Select a record to dial out Call Mute You can mute the microphone during an active call When muting the microphone you can hear the other party...

Страница 19: ...ls list To activate DND on your phone 1 Go to OK Call Features Do Not Disturb 2 Enable DND 3 Confirm the action The status bar displays the DND icon Note Do Not Disturb is local to the phone and may be overridden by the admin settings For more information contact your system administrator Call Forward You can configure your phone to forward incoming calls to another party through Call Forwarding T...

Страница 20: ...e a contact 3 Press TRAN or Transfer to complete the transfer To perform a semi attended attended transfer 1 Select Options Call Transfer or press the TRAN key during a call 2 Enter the number you want to transfer to and dial out 3 Do one of the following When you hear the ringback tone press the TRAN key or Transfer to finish a semi attended transfer After the contact answers the call press the T...

Страница 21: ... Go to OK Voice Mail Play Message or press the Message key 2 Press OK soft key to dial the Voice Portal 3 Enter your voice portal passcode Follow the voice prompt to listen to your Voice Mail Note Your voice portal passcode is emailed to you with your BizPhone Service Completion Advice If you do not receive a voice mail access code please contact your system administrator ...

Отзывы: