background image

6

FM OPERATION

OPERATION

BLUETOOTH

 USB OUTCHARGING FUNCTION  

Using the Oucharging Port on the rear of the unit to charge the proper device which adapts 

to the power input DC 5V, 1A.

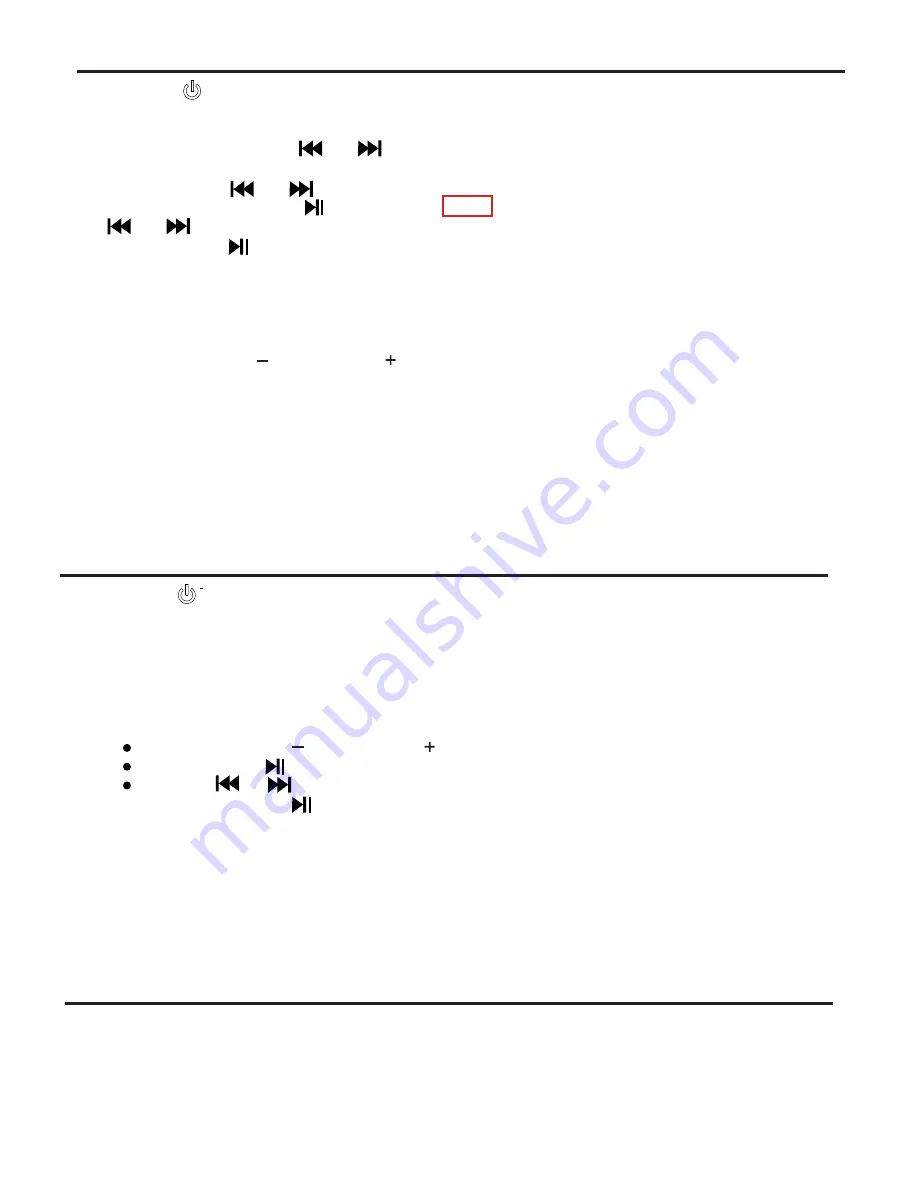
1. Press  the       button  to power on the unit.

2.Press the FM/BT  button repeatedly to select the FM  mode. The FM frequency indicator will 

light up.

3.Press and hold either the        or      button to automatically search for a station, it will stop 

and play when a station is found. 

   NOTE:  Press the        or        button repeatedly to fine tune the received station.

4. Press and hold the MEM/        PAIR button , "P04" will blink on display, then press the

             or       button to select the storage location(P01-P20).

5. Press the MEM/       PAIR button again to confirm the setting.

6.Repeat steps 3 - 5 to search and store the desired stations. 20 stations can be stored in total. 

Or press and hold the SET button to scan and store the available stations automatically.

7. Press the MEM/ PAIR button repeatedly to recall and select the desired stored station, The 

LED display will show the frequency of the preset station selected.  Then the unit will start 

playback.

8. Press the ALARM 1/    or ALARM 2/      button to adjust the volume.

NOTE:  Fully extend and relocate the FM antenna to get better reception.

1.)   Press  the      button  to power on the unit.

2.)  Press the FM/BT button  repeatedly to select the Bluetooth mode. The Bluetooth indicator   

   will light up and blink.

3.)  Activate the Bluetooth function on your Bluetooth enabled device and try to search the   

   unit. 

4.)  When the pairing name "iHv330" appears on the pairing list, select it and make connection. 

5.)  After successful connection, the Bluetooth LED indicator will stop blinking.

6.)  During playing:


Press the ALARM 1/      or ALARM 2/    button to adjust the volume.


Press the MEM/    PAIR button to pause, press it again to resume normal playing.   


Press the       or         button to skip to previous or next track. 

7.)  Press and hold the MEM/      PAIR button to disconnect the current connection if you want   

   to pair with another Bluetooth Dvice. 

NOTE: The unit will be automatically connected with the last paired Bluetooth Device if their    

        Bluetooth function are activated and they are in working range.

Содержание iHv330

Страница 1: ...PM Buzzer AL 1 Radio AL 1 FM Buzzer AL 2 Radio AL 2 Batt low BT Bluetooth Clock Radio Model iHv330 Questions Visit www ihome com or call 1 800 288 2792 Toll Free ...

Страница 2: ...es with Part 15 of the FCC Rules operation is subject to the following two conditions 1 This device may not cause harmful interference and 2 this device must accept any interference received including interference that may cause undesired operation This device complies with Industry Canada s licence exempt RSSs Operation is subject to the following two conditions 1 This device may not cause interf...

Страница 3: ...uct due to lightning and power line surges 10 Overloading Do not overload wall sockets extension cords or integral convenience receptacles as this can result in a risk of fire or electric shock 11 Damage Requiring Service The unit should be serviced by qualified service personnel when A the power supply cable or plug has been damaged B objects have fallen into or liquid has been spilled into the e...

Страница 4: ... will light up in PM time PM Buzzer AL 1 Radio AL 1 FM Buzzer AL 2 Radio AL 2 Batt low Bluetooth mode indicator Battery low indicator FM BT SET MEM PAIR 5V 1A FM ANT DC 5V 1500mA 12 BT 1 Power Button 2 FM BT Button 3 Tune down Previous Button 4 Tune up Next Button 5 MEMORY PAIR Button 6 SET Button 7 Volume down Alarm 1 Button 8 SNOOZE Sleep Dimmer Button 9 Volume up Alarm 2 Button 10 DC IN Jack 11...

Страница 5: ... indicator is off it means it is the AM time 3 While in OFF mode press and hold the SET button the hour digits will blink press the or button to set the correct hour digits Press the SET button to confirm the hour setting 4 The minute digits will blink press the or button to set the correct minute digits 5 Press the SET button again to complete the clock setting NOTE If the Batt low indicator blin...

Страница 6: ...e sleep timer allows you to turn the unit off after the preset time is reached 1 Press the button to power on the unit 2 Press the SNOOZE DIMMER button repeatedly to select a sleep time Each time the button is pressed the sleep time will be decreased in 10 minute increments Sleep time range 90 80 70 60 50 40 30 20 10 minutes 3 To cancel the Sleep timer function press SNOOZE DIMMER button repeatedl...

Страница 7: ...red stored station The LED display will show the frequency of the preset station selected Then the unit will start playback 8 Press the ALARM 1 or ALARM 2 button to adjust the volume NOTE Fully extend and relocate the FM antenna to get better reception 1 Press the button to power on the unit 2 Press the FM BT button repeatedly to select the Bluetooth mode The Bluetooth indicator will light up and ...

Страница 8: ...rence will not occur in a particular installation If this equipment does cause harmful interference to radio or television reception which can be determined by turning the equipment off and on the user is encouraged to try to correct the interference by one or more of the following measures Reorient or relocate the receiving antenna Increase the separation between the equipment and receiver Connec...

Отзывы: