background image

Setup the System

Tips:

 To protect your privacy, please set your password at earliest convenience. Right click the mouse - Go to System 

Setup - System Admin - User Management to set password.

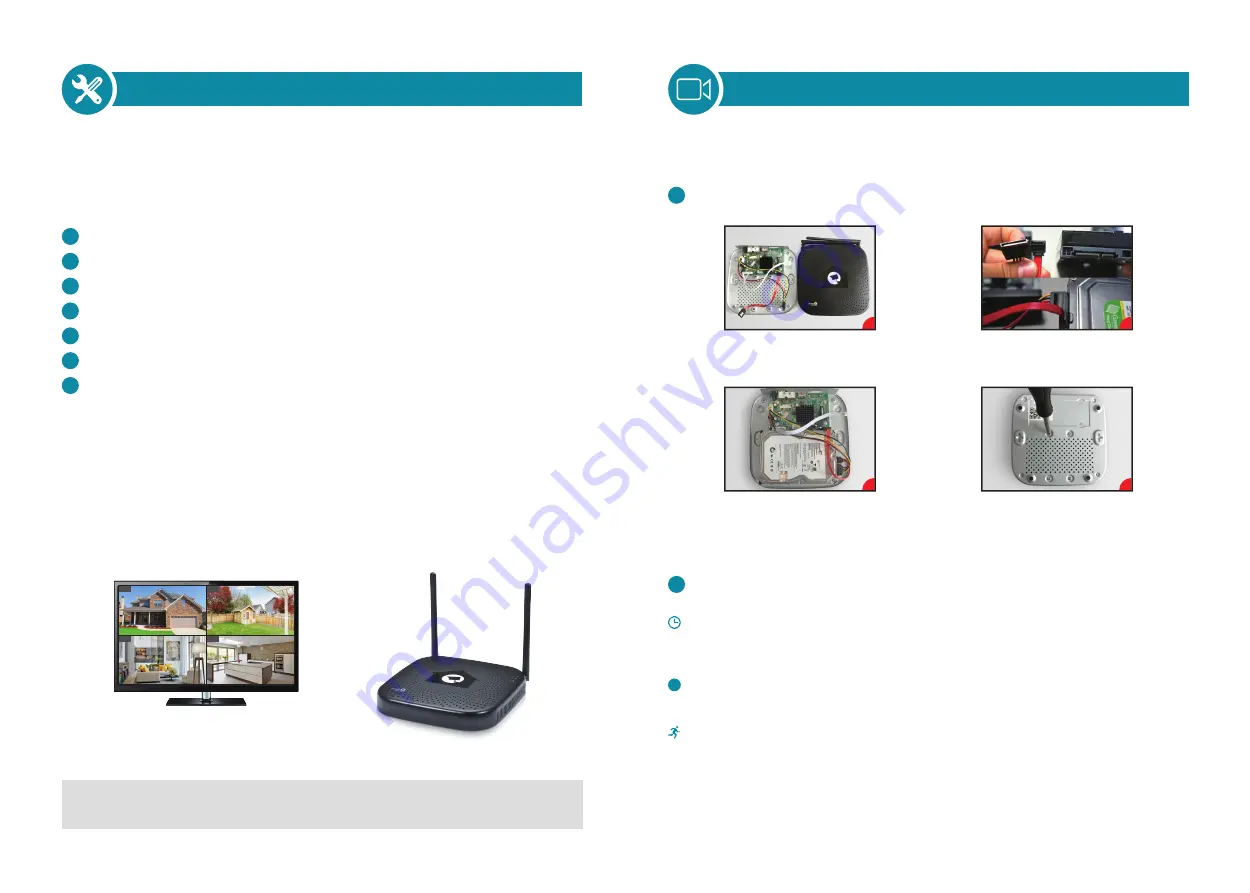
This system is standalone with embedded Linux Operating System in the NVR. Just like a desktop PC, 
you need to hook a screen to the NVR to enter the OS. Any TV, monitor with VGA or HDMI input should 
work for it.

Steps to setup the system

Install antennas for cameras and the NVR

Connect a screen to the NVR via its HDMI or VGA port (HDMI and VGA cable not included).

Plug the NVR to power (use bigger12V 2A power adapter).

See FAQ1 if you don't get any display on the screen.

Plug cameras to power (use smaller12V 1A power adapters).

Within seconds, you should see cameras’ images on the screen.

Plug the mouse (included) to an USB port on back of NVR. You shall then be able to operate on 
the system.

In the OS you can find fullest functionalities including live view, record, playback, video backup and all 
settings.

1

2

3

4

5

6

7

Record video

Record video
Record videos is very easy on Homeguard camera system.
Timing Record, set time periods you want the NVR to record. Click right button 

 System Setup 

Record Setup 

 Record Plan; here you can setup periods you want the NVR to record.

Everyday 0:00:00-23:59:59 means 24×7 recording. The system records 24×7 by default when it
detects hard disk.
Manual Record, the shortcut to turn on record. Click right button 

 Manual Record; you can turn 

ON or turn OFF the record of certain channels. Red dot on right above corner means manual 
record is ON.
Motion Record. Motion Record means certain channel(s) will be recorded only when movement is 
detected. Click right button 

 System Setup 

 Record Setup 

 Record Plan; by unselecting 

Time and selecting Motion, the channel will record only when motion detected.

The system may not include hard disk depending on the kit you selected. The NVR works with most 
3.5” SATA HDD.

Steps to install a hard drive (if your system has preinstalled HDD, please skip this step)

1

2

Unplug your NVR from power, unscrew and remove the 

top cover.

Connect the SATA power and data cables from the NVR 

to the corresponding ports on your HDD(as shown).

Place the HDD into the NVR. Any cable should cross up 

over the HDD.

Holding the hard drive and the NVR, gently turn it over and 
line up the holes on the hard drive with the holes on the 
NVR. Using a Phillips screwdriver, screw the provided 

screws into the holes. Assemble the cover.

Default ID: admin      Password: 123456

CH1

CH3

CH2

CH4

A

C

B

D

5

6

Содержание HGNVK-48902

Страница 1: ...LS HGNVK 48902 48904 Quick Start Guide 4CH Network Video Recorder 960p Wireless Cameras Video Alarm CCTV Kit English www iget eu www iget eu cs helpdesk centrum cs https helpdesk intelek cz Support Helpdesk ...

Страница 2: ...il Ensure adequate airflow around the DVR to prevent overheating Exposing the unit to water poses high risk of electric shock Doing so could damage internal components No user serviceable parts inside TRADEMARKACKNOWLEDGEMENTS Internet Explorer Microsoft Windows are registered trademarks of Microsoft Corporation Apple iPhone iPad and iTunes are registered trademarks of Apple Computer Inc Android a...

Страница 3: ...our country and area during the installation of this OUT OF BOX AUDIT After receiving the product please check all products and accessories according to distributor s Package Includes information lf any is missed or damaged please contact the distributor BEFORE INSTALLATION This product may require cabling We suggest to test all products parts before installation and cabling APPLICATIONS 1 The sys...

Страница 4: ...tton System Setup Record Setup Record Plan here you can setup periods you want the NVR to record Everyday 0 00 00 23 59 59 means 24 7 recording The system records 24 7 by default when it detects hard disk Manual Record the shortcut to turn on record Click right button Manual Record you can turn ON or turn OFF the record of certain channels Red dot on right above corner means manual record is ON Mo...

Страница 5: ...er settings might be stopping the NVR from connecting Please allocate IP to the NVR manually or contact your network administrator for help e g port 80 need to be opened on the router View on Mobile 1 Download the App You can either scan the QR Code below to find the free mobile app or search Homeguardlink on App Store Google Play to find it Download and install it Then run the App and spend minut...

Страница 6: ... 0 37 100 Access with Device Cloud ID Step1 Open your Internet Explorer IE browser and visit www e seenet com Step2 Input Device ID User name and Password to login Device ID can be found at the right bottom corner of the NVR monitor status should be ONLINE default User name is admin and default Password is 123456 Step3 lf it s 1st time you use it please download and run the WebClient exe control f...

Страница 7: ... right button you can enter the main menu click right button again you can exit the current menu or return Split screen change status of live view You can choose to view multiple cameras or any single camera Video Manage manage IP cameras and NVR channels System setup All system settings Video playback playback recorded videos Video backup backup recorded videos Color adjust adjust the image setti...

Страница 8: ...able to see the menu click right button on mouse go to System Setup General Setup Screen Setup VGA resolution change it to 1080p 60Hz apply to save it 3 Connect it back your primary screen via HDMI You should have it displayed on the screen Q Why some buttons on the App do not function A The App is developed not only for the model you purchased so it has to cover all functionalities which your mod...

Отзывы: