UPC-V312-D525 Panel PC
Page 98
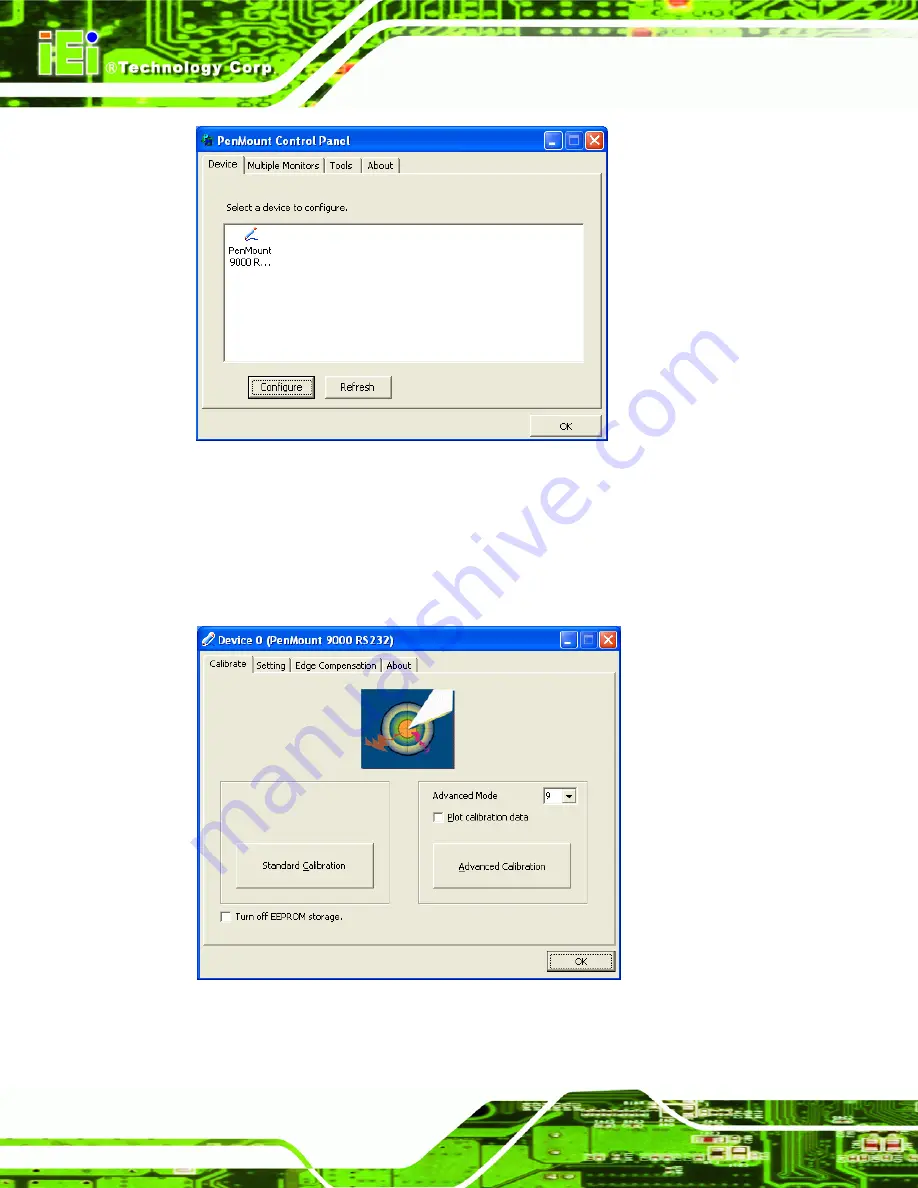
Figure 5-28: Configuration Screen
Step 6:
Double click the PenMount 9000 icon as shown in
Step 7:
The calibration initiation screen in
appears.
Step 8:
Select the
Standard Calibration
button as shown in
Figure 5-29: Calibration Initiation Screen
Step 9:
The calibration screen in is shown. See
Содержание UPC-V312-D525
Страница 14: ......
Страница 15: ...UPC V312 D525 Panel PC Page 1 1 Introduction Chapter 1 ...
Страница 29: ...UPC V312 D525 Panel PC Page 15 2 Unpacking Chapter 2 ...
Страница 33: ...UPC V312 D525 Panel PC Page 19 3 Installation Chapter 3 ...
Страница 65: ...UPC V312 D525 Panel PC Page 51 4 AMI BIOS Setup Chapter 4 ...
Страница 93: ...UPC V312 D525 Panel PC Page 79 ...
Страница 94: ...UPC V312 D525 Panel PC Page 80 5 Software Drivers Chapter 5 ...
Страница 117: ...UPC V312 D525 Panel PC Page 103 Figure 5 36 System Icon Step 3 Click the Device Manager tab Figure 5 37 ...
Страница 121: ...UPC V312 D525 Panel PC Page 107 A BIOS Configuration Options Appendix A ...
Страница 124: ...UPC V312 D525 Panel PC Page 110 Appendix B B One Key Recovery ...
Страница 132: ...UPC V312 D525 Panel PC Page 118 Figure B 5 Partition Creation Commands ...
Страница 165: ...UPC V312 D525 Panel PC Page 151 C Safety Precautions Appendix C ...
Страница 170: ...UPC V312 D525 Panel PC Page 156 D Watchdog Timer Appendix D ...
Страница 173: ...UPC V312 D525 Panel PC Page 159 E Hazardous Materials Disclosure Appendix E ...


