TANK-620-ULT3 Embedded System
Page 15
Step 5:
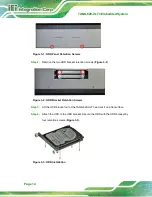
Slide the HDD bracket to connect the HDD to the SATA connector. Secure the
HDD bracket with TANK-620-ULT3 by the two retention screws that were
previously removed.
Step 6:
Reinstall the bottom panel to the TANK-620-ULT3.
3.3 Mounting the System with Mounting Brackets
To mount the embedded system onto a wall or some other surface using the two mounting
brackets, please follow the steps below.
Step 1:
Turn the embedded system to the left side panel.
Step 2:
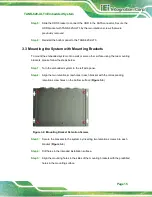
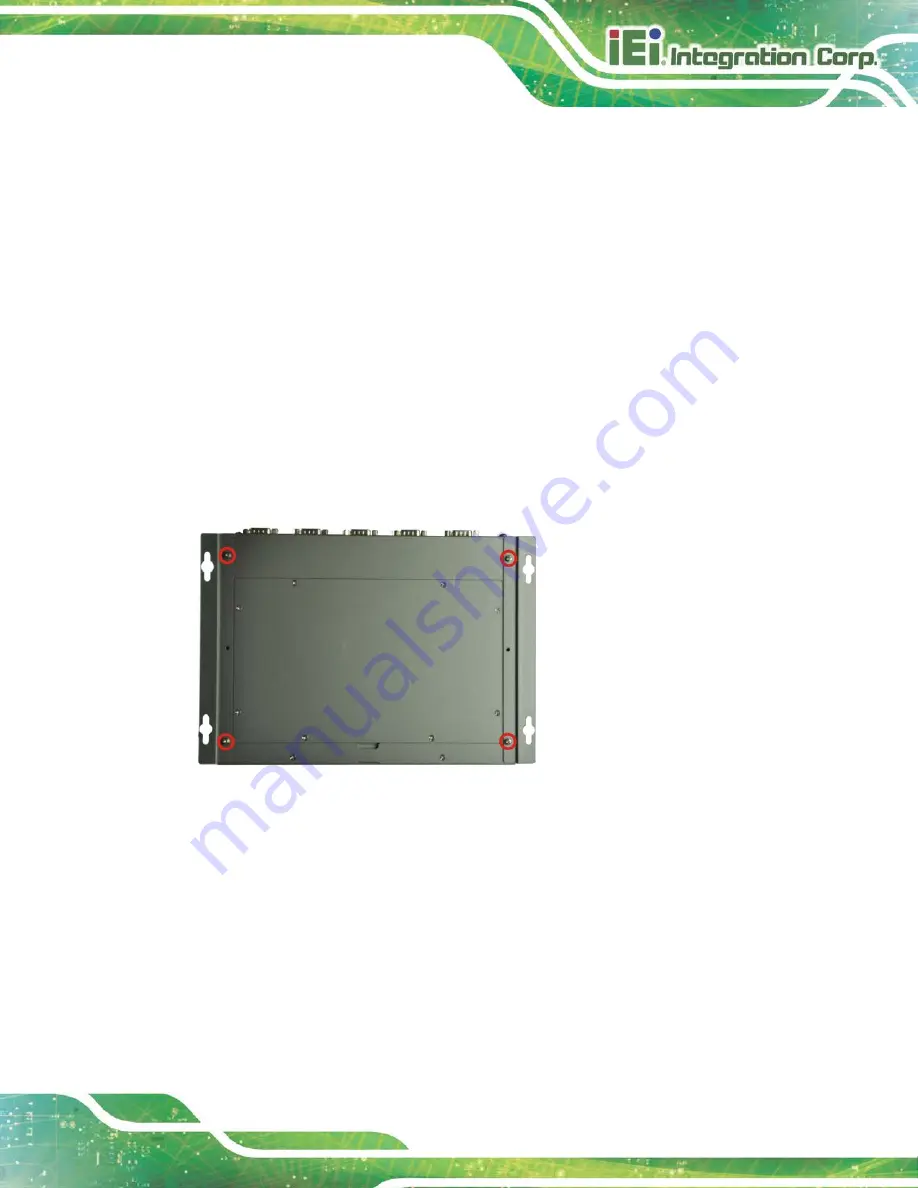
Align the two retention screw holes in each bracket with the corresponding
retention screw holes on the bottom surface (
).
Figure 3-4: Mounting Bracket Retention Screws
Step 3:
Secure the brackets to the system by inserting two retention screws into each
bracket (
).
Step 4:
Drill holes in the intended installation surface.
Step 5:
Align the mounting holes in the sides of the mounting brackets with the predrilled
holes in the mounting surface.
Содержание TANK-620-ULT3
Страница 12: ...TANK 620 ULT3 Embedded System Page 1 Chapter 1 1 Introduction ...
Страница 19: ...TANK 620 ULT3 Embedded System Page 8 Chapter 2 2 Unpacking ...
Страница 23: ...TANK 620 ULT3 Embedded System Page 12 Chapter 3 3 Installation ...
Страница 34: ...TANK 620 ULT3 Embedded System Page 23 4 System Motherboard Chapter 4 ...
Страница 47: ...TANK 620 ULT3 Embedded System Page 36 Chapter 5 5 BIOS ...
Страница 94: ...TANK 620 ULT3 Embedded System Page 83 Appendix A A Regulatory Compliance ...
Страница 99: ...TANK 620 ULT3 Embedded System Page 88 Appendix B B BIOS Options ...
Страница 103: ...TANK 620 ULT3 Embedded System Page 92 Appendix C C Terminology ...
Страница 107: ...TANK 620 ULT3 Embedded System Page 96 Appendix D D Safety Precautions ...
Страница 112: ...TANK 620 ULT3 Embedded System Page 101 Appendix E E Digital I O Interface ...
Страница 115: ...TANK 620 ULT3 Embedded System Page 104 Appendix F F Hazardous Materials Disclosure ...


