AFL2-12A-HM65 Series Panel PC
Page 124
7.6.1 Calibrating the Touch Screen
To calibrate the touch screen cursor with the motion of the touch screen pen (or finger),
please follow the steps below:
Step 1:
Make sure the touch screen driver is properly installed.
Step 2:
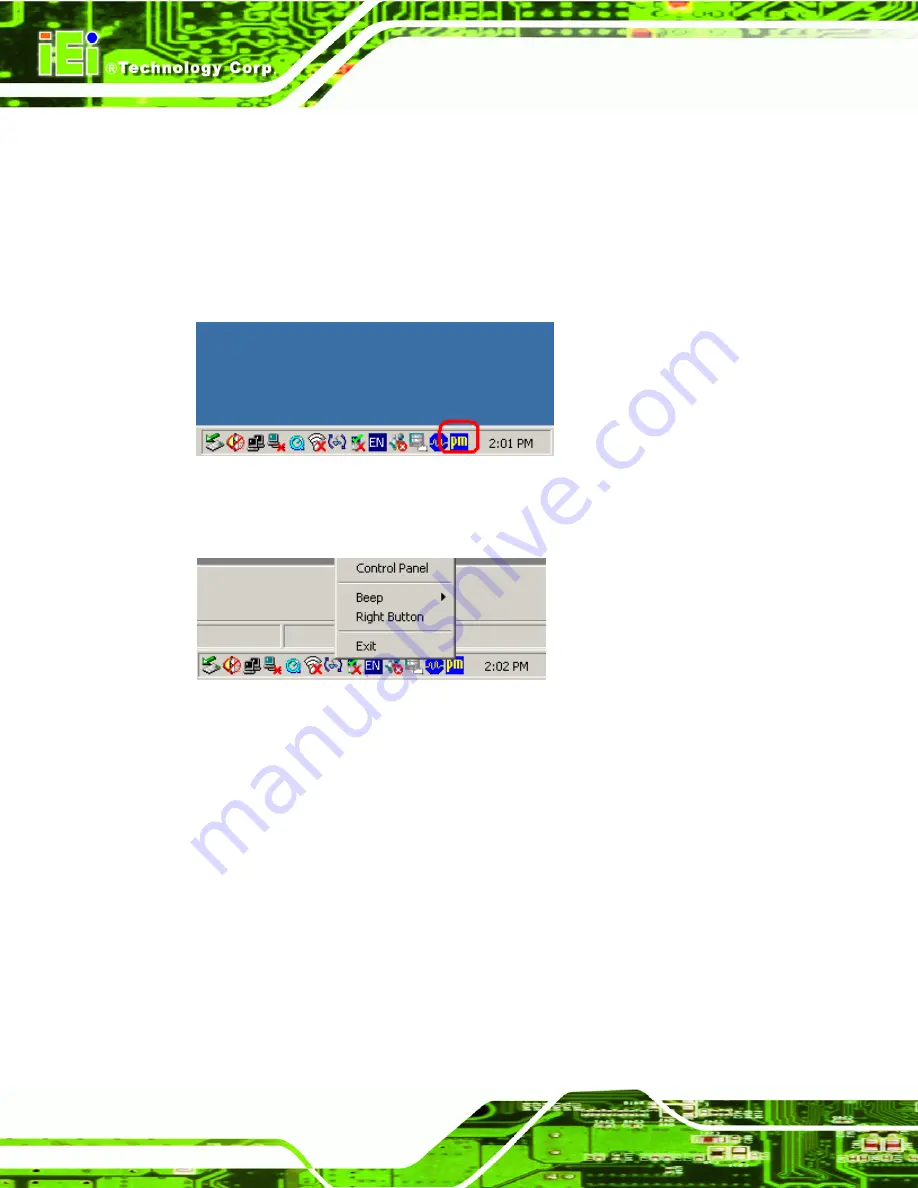
Locate the PenMount Monitor icon in the bottom right corner of the screen.
Figure 7-22: PenMount Monitor Icon
Step 3:
Click the icon. A pop up menu appears. See
Figure 7-23: PenMount Monitor Popup Menu
Step 4:
Click Control Panel in the pop up menu shown in
Step 5:
The configuration screen in
appears.
Содержание AFL2-12A-HM65 Series
Страница 15: ...AFL2 12A HM65 Series Panel PC Page 15 1 Introduction Chapter 1...
Страница 27: ...AFL2 12A HM65 Series Panel PC Page 27 2 Detailed Specifications Chapter 2...
Страница 29: ...AFL2 12A HM65 Series Panel PC Page 29 Figure 2 2 AFL2 12A HM65 Dimensions mm cont...
Страница 35: ...AFL2 12A HM65 Series Panel PC Page 35 3 Unpacking Chapter 3...
Страница 40: ...AFL2 12A HM65 Series Panel PC Page 40 4 Installation Chapter 4...
Страница 63: ...AFL2 12A HM65 Series Panel PC Page 63 5 System Maintenance Chapter 5...
Страница 73: ...AFL2 12A HM65 Series Panel PC Page 73 6 AMI BIOS Setup Chapter 6...
Страница 108: ...AFL2 12A HM65 Series Panel PC Page 108 7 Software Drivers Chapter 7...
Страница 131: ...AFL2 12A HM65 Series Panel PC Page 131 A Safety Precautions Appendix A...
Страница 136: ...AFL2 12A HM65 Series Panel PC Page 136 B BIOS Configuration Options Appendix B...
Страница 139: ...AFL2 12A HM65 Series Panel PC Page 139 Appendix C C One Key Recovery...
Страница 147: ...AFL2 12A HM65 Series Panel PC Page 147 Figure C 5 Partition Creation Commands...
Страница 180: ...AFL2 12A HM65 Series Panel PC Page 180 D Watchdog Timer Appendix D...
Страница 183: ...AFL2 12A HM65 Series Panel PC Page 183 E Hazardous Materials Disclosure Appendix E...


