


Part 1 - Remote Setup
29
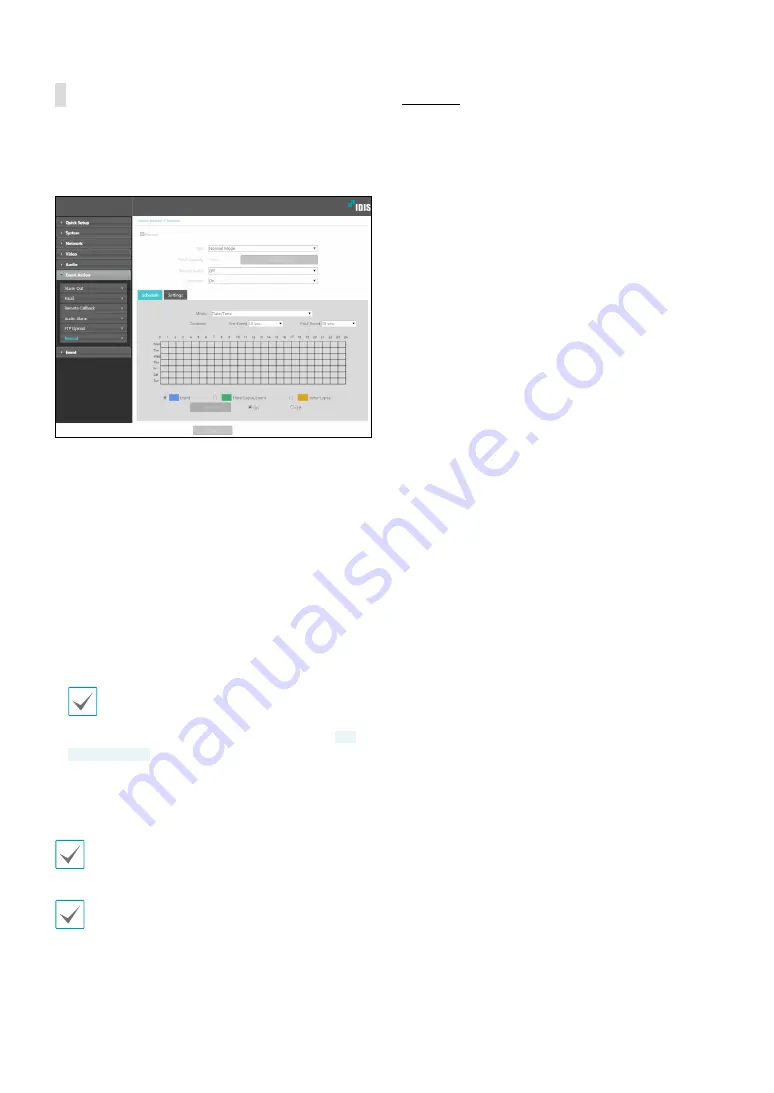
Record
Select
Record
to record video on the SD memory card.
First, make sure that an SD memory card (Class 6 or
higher) has been properly inserted.
•
Type:
Select the record type.
-
Normal Mode:
SD recording is performed
according to schedule and setting.
-
Smart Failover:
Used for recording failover in NVR
/ VMS interlock. For more information, refer to the
NVR / VMS manual.
•
Total Capacity
: Indicates the SD memory card’s total
capacity if it has been inserted properly.
•
Format SD card
: Click on this button to format the
inserted SD memory card. Formatting the SD memory
card erases all data saved on the card.
This function is only supported for users in
Administrator
group.
•
Record Audio
: Enable/disable audio recording.
DC-
T4536HRX only
•
Overwrite
: If the SD memory card runs out of storage
space, the old video is automatically deleted and the
new video is saved.
Changing the recording type may cause recording
data on the SD memory card to be deleted.
Setting up the Automatic Sync at
Date/Time
is
required to ensure there is no error to the Smart
Failover function.
Schedule
Select the
Schedule
tab and set up a recording
schedule.
•
Mode
: Choose a recording mode.
-
Always - Event
: Records video in event mode. In
event recording mode, video is recorded when an
event is detected.
-
Always - Time-Lapse
: Records video in time
lapse mode. In time lapse recording mode, video
is recorded continuously, irrespective of event
detection.
-
Always - Time-Lapse/Event
: Records video in time
lapse mode when event has not been detected and
in event mode when one is detected.
-
Date/Time
: Video is recorded in the specified mode
according to the dates and times selected in the
schedule. Select
On
or
Off
at the bottom of the
schedule table and then choose a recording mode.
Click on dates and times on the schedule table or
drag to enable/disable recording mode. Select
On
or
Off
and then click
Select All
/
Clear All
to enable/
disable recording mode on all dates and times.
•
Duration
: Specify the event recording duration.
-
Pre-Event
: Select the pre-event recording duration.
You can record up to 60MB of video. Using high
resolution, quality, and frame rate settings can
cause the recording to exceed the 60MB limit and
stop before the end of the specified recording
duration.
-
Post-Event
: Select the post-event recording
duration.


