18
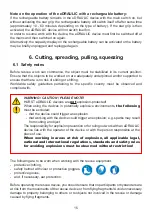
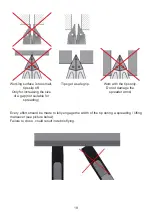
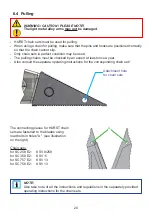
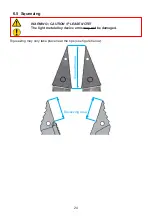
6.3 Spreading
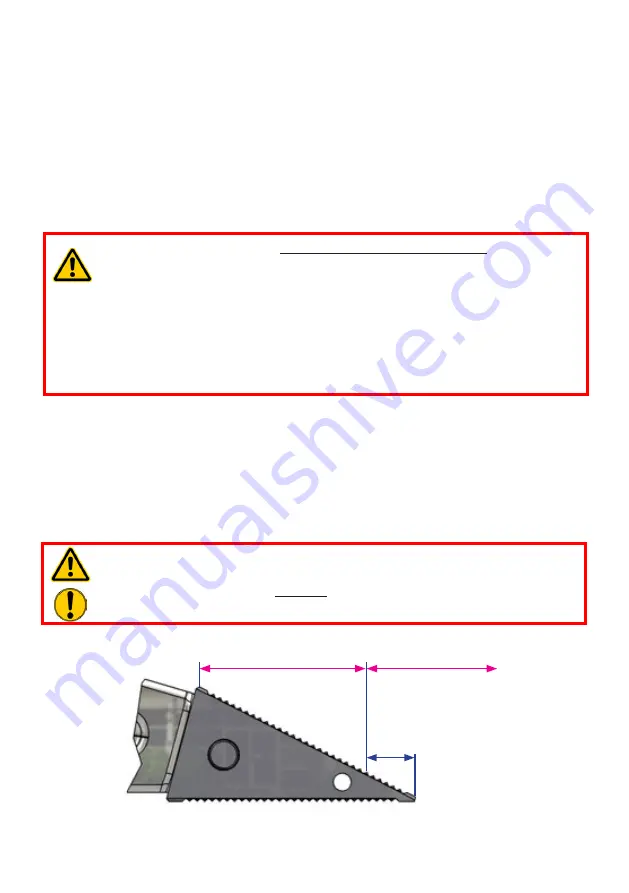
Use the front of the tips only to increase an existing gap. To increase grip and to avoid having
the tips slip or break out of the part to be processed, the grip should be reapplied at an early
stage. The highest force develops in the rear area of the plug-on tip or in the rear spreading
area of the combination blades.
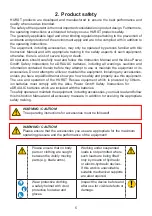
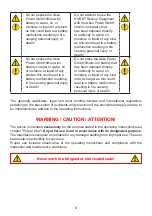
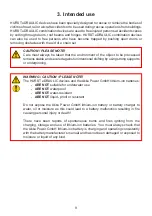
WARNING / CAUTION / PLEASE NOTE!
The light metal alloy arms may not be damaged.
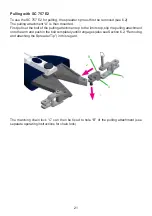
Spreading
Enlarging a gap
approx 25 mm
approx. 1 in
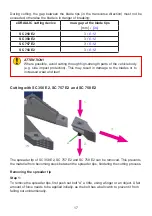
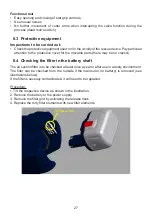
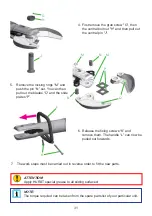
Step 2:
The bolt can then be gripped by the flange and pulled out up to the limit stop. The limit stop
will prevent the bolt from being pulled out entirely. This means that it cannot be lost.
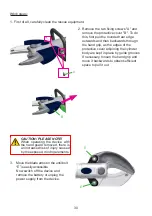
Step 3:
Pull the spreader tip forwards to remove it.
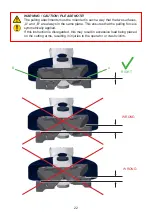
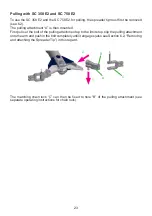
Attaching the spreader tip:
Attachment of the spreader tip takes place in the reverse sequence.
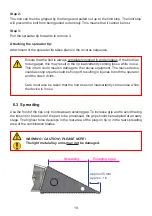
Ensure that the bolt is always completely pushed in and engages. If the bolt has
not engaged, this may result in the tip inadvertently coming loose while in use.
This in turn could result in damage to the rescue equipment. The rescue device
could also slip or parts could be flung off, resulting in injuries to both the operator
and the crash victim.
Care must also be taken that the bolt does not inadvertently come loose while
the device is in use.
Содержание HURST eDRAULIC SC 258 E2
Страница 43: ...43 14 Notes...