Repair of a failed RAID 1
HDD1 or HDD2 has failed
Situation:
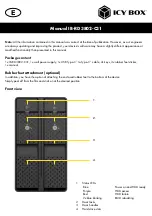
The LED indicator of the slot within a defective drive turns red.
If only one drive is defective and the RAID mode is set to RAID 1, the data can still be accessed but
we strongly recommend replacing the faulty drive immediately to assure continued proper backup
and data safety.
• The power does not have to be turned off when replacing the drive.
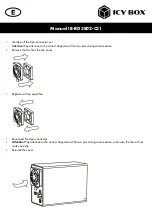
• Remove the failed drive out of the slot which LED indicator turned red before.
• Install the new drive in the position of the removed drive (the volume of the new drive should be
equal the volume of the remaining drive).
• A few seconds after installing the new drive the LEDs of both slots start blinking blue and the
RAID array will be rebuilt automatically. During the whole process both LEDs will blinking blue.
• Rebuilding the RAID array will take several hours, depending on the drive capacity.
• When the data have been restored, the HDD LEDs will turn a steady blue.
Attention:
please don‘t push the RAID-RESET switch, otherwise all data will go lost.
Note:
We recommend not turning off the power during the rebuild process but if the process is inter-
rupted, it will continue rebuilding the data as soon as the power is turned back on.
Note:
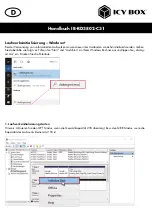
If necessary, check the device manager and disc manager for the working HDDs of the RAID 1
array.
Note:
If necessary, you need to assign a drive letter to the found HDDs of the RAID 1 array.
About data security
To protect your files and help prevent the loss of your data, we strongly recommend that you keep two
copies of your data, one copy on your IB-RD3802-C31 and a second copy either on your internal
drive or another storage media such as CD, DVD, tape or an additional external drive.
Any loss or corruption of data while using the IB-RD3802-C31 is the sole responsibility of the user,
and under no circumstances will the manufacturer be held liable for compensation or the recovery of
this data.
Manual IB-RD3802-C31
Содержание IB-RD3802-C31
Страница 13: ...2 Create new partition and format disk Manual IB RD3802 C31...
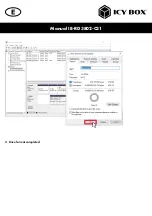
Страница 14: ...3 Drive format completed Manual IB RD3802 C31...
Страница 16: ...4 Drive format in process 5 Format completed Manual IB RD3802 C31...
Страница 26: ...2 Neue Partition erstellen und formatieren Handbuch IB RD3802 C31...
Страница 27: ...3 Laufwerksformatierung abgeschlossen Handbuch IB RD3802 C31...
Страница 29: ...4 Formatierung wird durchgef hrt 5 Nach Abschluss der Formatierung Handbuch IB RD3802 C31...

