Step 4
Click
to select file path.
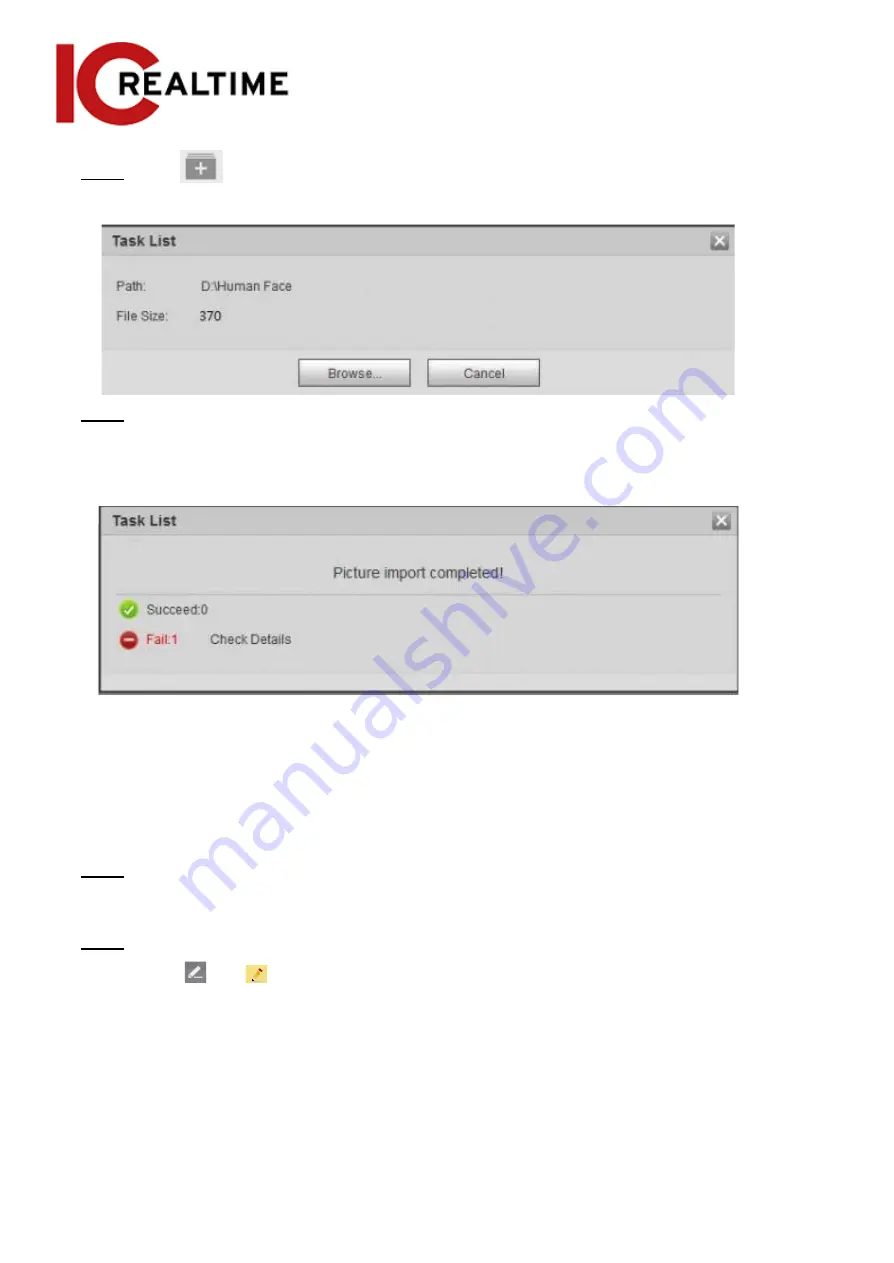
Figure 5-49 Batch import
Step 5
Click
Browse
.
The interface shows import process. After finishing the import, the interface is displayed
as in Figure 5-50.
Figure 5-50 Imported successfully
5.10.2.3
Managing Face Picture
Add face pictures to face database, and then manage and maintain face pictures to ensure correct
information.
5.10.2.3.1
Modifying Face Information
Step 1
Go to the
Face Database Config
interface, set filtering condition as needed, and click
Search
.
The search result will be displayed.
Step 2
Select the row where the face picture or the personnel information is located, and then
click
or
.
Figure 5-51 Face information modification
156
Содержание Edge IPEG-D20F-IRW3
Страница 1: ...User s Manual V2 1 1 ...
Страница 25: ...4 2 4 Window Adjustment Bar 13 ...
Страница 29: ...Figure 4 5 Zoom and focus 17 ...
Страница 114: ...Figure 4 100 Add user restricted login 102 ...
Страница 126: ...Step 7 Click Open Figure 4 114 Certificate information Step 8 Click Install Certificate 114 ...
Страница 127: ...Step 9 Click Next Figure 4 116 Certificate store Step 10 Select the storage location and click Next 115 ...


