I-7188XA Series User’s Manual ( Ver1.2, Feb/2014, 7MH-019-10 ) ---
96
Step 8: Type “dir” and press <
Enter
> to check that the files are stored in
the Flash Memory of the I-7188XA(D).
Step 9: Type “
del /y
” and press <
Enter
> to delete all files stored in the
Flash Memory of the I-7188XA(D).
Note:
The MiniOS7 only supports the
delete all
command. Individual
files cannot be selected for deletion.
Step 10: Press <
Alt + X
> to quit the MiniOS7.
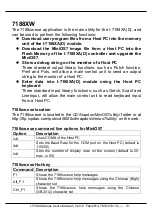
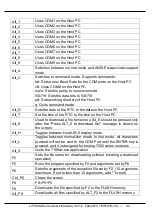
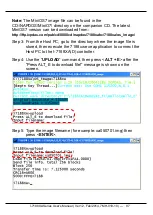
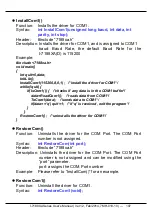
Upgrading MiniOS7 using the 7188xw.exe application
Step 1: Connect the I-7188XA(D) to the COM Port of the Host PC using
the CA0910 cable. Refer to the wiring diagram in Section 2.2 for
details.
Step 2: Determine the latest version of the MiniOS7 image file.
The format of the image file name is:
TTYYMMDD.img
TT
: TYPE of product.
YY
: Year that this image was released
MM
: Month that this image was released
DD
: Day that this image was released
Содержание I-7188XA
Страница 62: ...I 7188XA Series User s Manual Ver1 2 Feb 2014 7MH 019 10 62 5 6 COM1 RS 232 1 2 232...
Страница 90: ...I 7188XA Series User s Manual Ver1 2 Feb 2014 7MH 019 10 90 1 2...
Страница 140: ...I 7188XA Series User s Manual Ver1 2 Feb 2014 7MH 019 10 140...
Страница 146: ...I 7188XA Series User s Manual Ver1 2 Feb 2014 7MH 019 10 146 Step 8 Make the project...
Страница 153: ...I 7188XA Series User s Manual Ver1 2 Feb 2014 7MH 019 10 153 Step 8 Rebuild the project...
Страница 158: ...I 7188XA Series User s Manual Ver1 2 Feb 2014 7MH 019 10 158...
Страница 161: ...I 7188XA Series User s Manual Ver1 2 Feb 2014 7MH 019 10 161 Below snap shots are steps for install TC 3 0...
Страница 162: ...I 7188XA Series User s Manual Ver1 2 Feb 2014 7MH 019 10 162...
Страница 164: ...I 7188XA Series User s Manual Ver1 2 Feb 2014 7MH 019 10 164...


