


Power the Camera On/Off
Power On
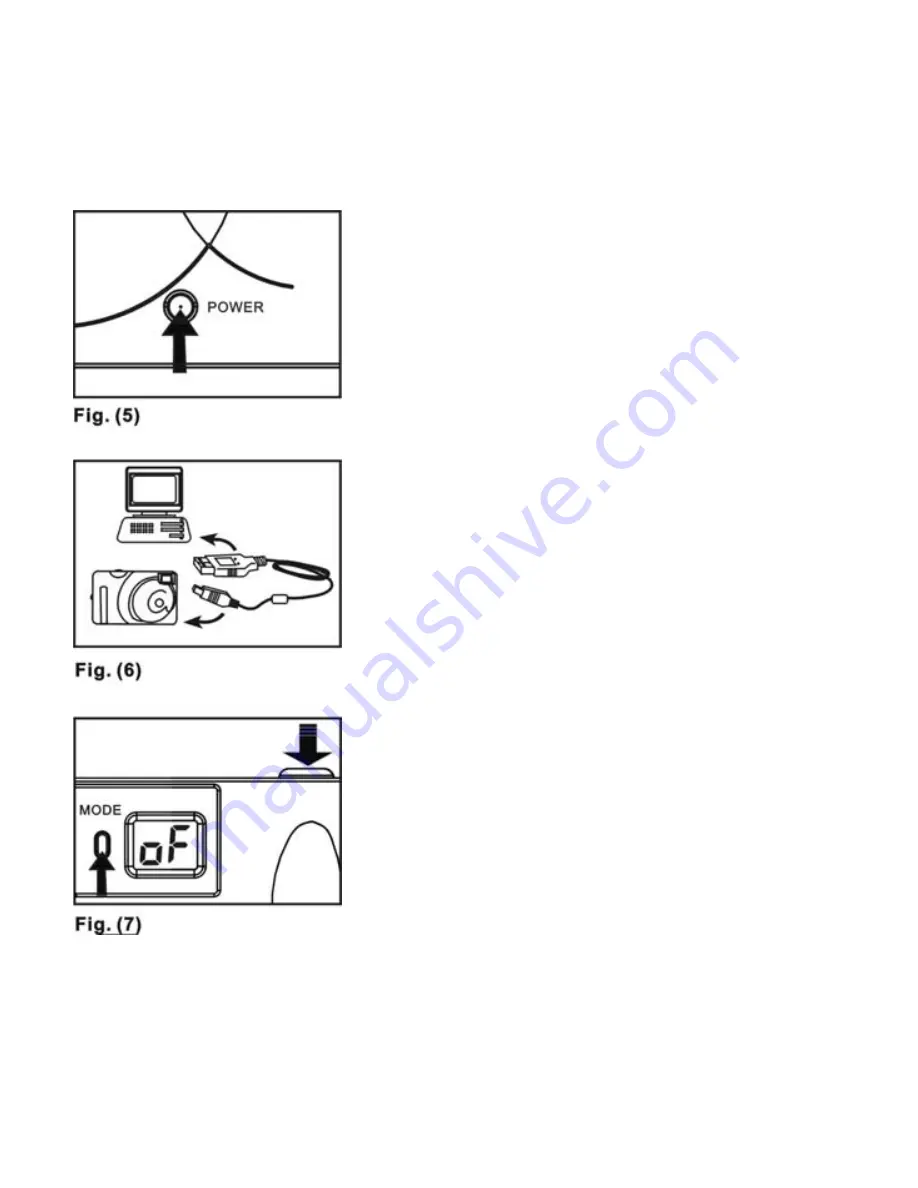
Method 1
Press the POWER button
until the STATUS LCD lights up--Fig. 5
Method 2
Plug the USB cable into the computer,
and press the POWER button. The
camera will be powered on by USB
power source--Fig. 6.
P
ower Off
Method 1
The camera will automatically power
off after 20 seconds of inactivity.
Method 2
Press the mode button until the
STATUS LCD appears as in Fig. 7.
Then press the SHUTTER RELEASE
BUTTON to turn off the camera.
Note: If the camera is connected to the
computer, you will have to unplug the
USB cable to turn the camera off.
8


