H a R D W a R E I n S Ta l l aT I O n
Take the following precautions before installing the hardware:
First ensure that the PC or notebook is switched off and disconnected from the power supply.
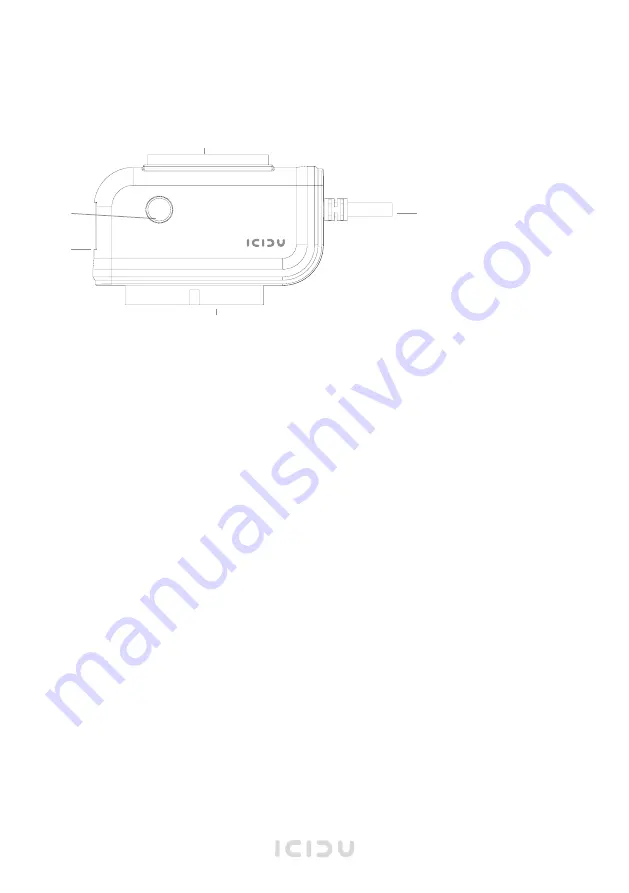
Connect the cables according to the following diagram.
1) USB Connection
2) 2.5” IDE connection
3) 3.5”/ 5.25” IDE connection
4) SATA connection
5) Back-up button
Step 1: Connect the USB cable to your PC or notebook
Step 2: Install the driver (Windows 98). The driver will be installed automatically
in other versions of Windows.
Step 3: Connect the hard disk or CD/DVD drive to the correct connection of the adapter
Step 4: Connect the power adapter to the hard disk or CD/DVD drive
The system will detect the hard disk. The disk may be found under “My Computer”
I n S Ta l l I n G B a c K u P S O F T W a R E
The CD also contains the PC Clone EX lite software provided. With this software, you can easily
create a backup of another hard disk, or part thereof. To install the software, go to the “Back-up
Software” folder. Run the Setup.exe and follow the instructions.
Right-click “My Computer” choose “Manage” and then “Disk Management” Then go to
“PCCloneEX” in “All Programs” and start “FNet FAT32 Utility”. Choose Disk F and start the quick
format. After formatting, you execute PCCloneEX. When pushing the back-up button, PCCloneEX
will back-up your files as set in the software.
The Help function of the software will provide you with extensive information.
1
4
5
2
3
Backup


