I C R E A L T I M E S E C U R I T Y S O L U T I O N S
5
2.b Step by Step Guide
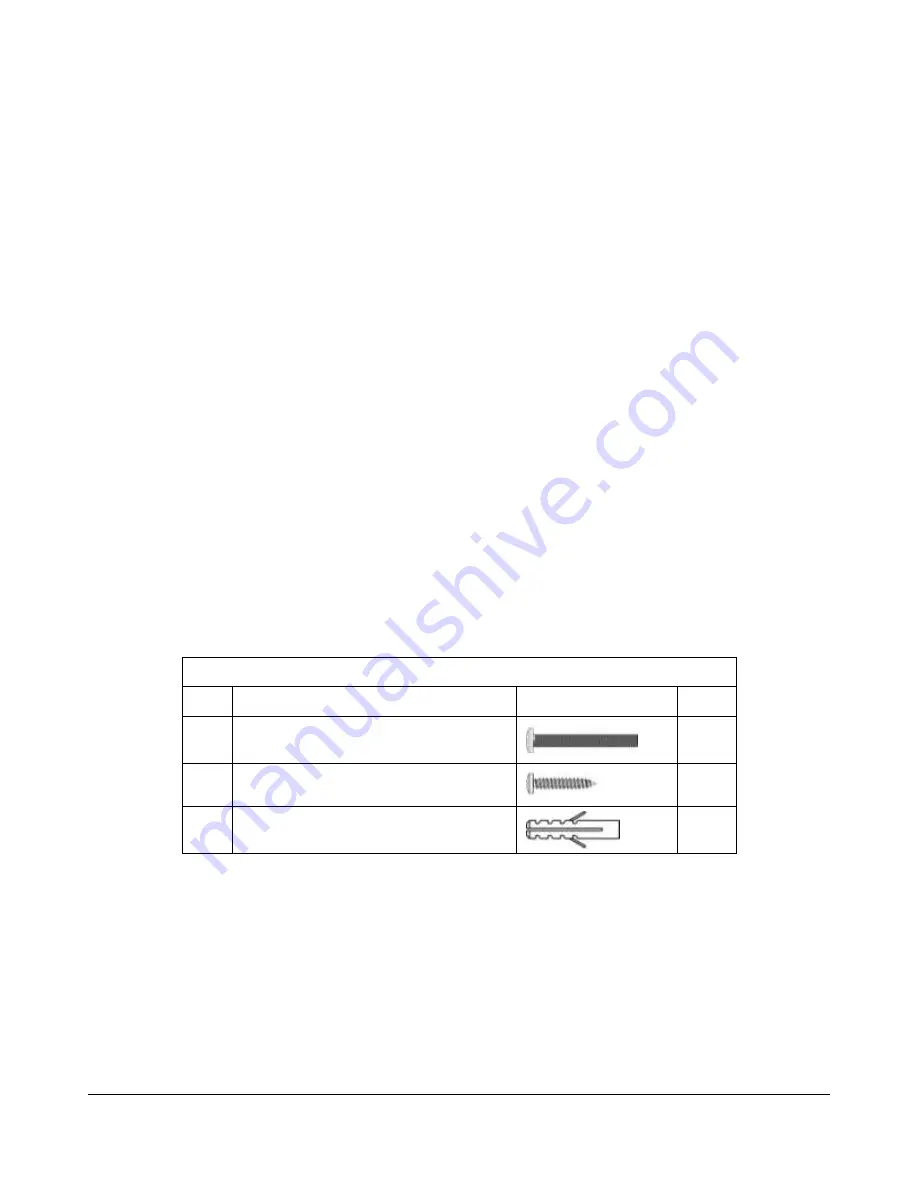
Note: Reference the labeled table below for screw type
Step 1: Install Wall Bracket to Gang Box (86 Box)
Begin by using screw 'a' to fasten the wall bracket to your gang box (86 box). Assure a snug fit from the back
plate to the wall and Gang Box.
Step 2: Fasten to Wall
Use screw 'b' to fasten to the actual wall. If you need, use anchors ('c') to fasten the screws better to the wall.
Step 3: Latch Device to Wall Bracket
Now that the wall bracket is fasten to your Gang Box and wall, align the installation holes on the back of the
IH-7310 with the bracket. Once aligned, pushed forward then gently push down until the clips settle on the
latches on the bracket. Assure the unit is sturdy.
Step 4: Removing
You can gently push up to release the latch clips so that you can then make your power/data connections on
the back.
Screw Illustration
No.
Name
Illustration
Quantit
y
a
M4×30 Cross recessed pan head screws
2
b
ST3×18 Cross recessed pan head tapping screws
- white alloy
2
c
Expansion pipe
¢
6*30mm white
2


