18
The device reserves two cable exits. The pin diameter shall be less than 15mm. One of the cable exits
has M22 screw thread and can work with the default combination cable to remove the risk of the
dragging and pulling of the cable.
The device has two waterproof airproof plugs (One default position is the cable exit of the chassis of the
device and the other is in the accessories bag.). The waterproof airproof plug has two functions. One is
to fill in the cable exit and pull through the cable. It supports the cable whose diameter ranges from
4.0~6.0. It is very convenient for you to do the waterproof work when you pull the cable through your
own exit. Please refer to the steps listed.
Step 1
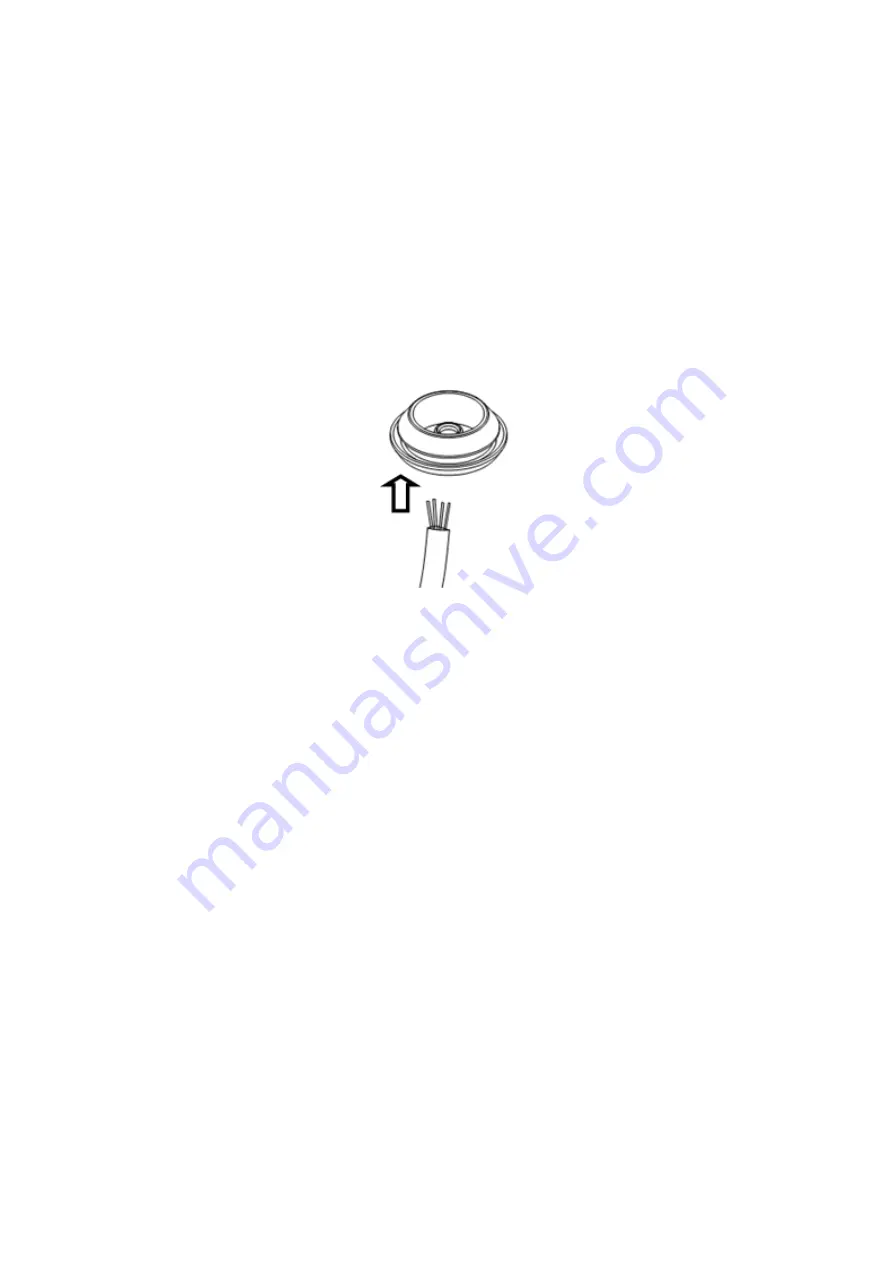
Take the waterproof airproof plug out, pull the cable (diameter ranges from 4.0 to 6.0) through the
waterproof airproof plug. See Figure 3-10.
Figure 3-10 Cable connection
Step 2
Before you go to the Step 4 in the chapter 3.2.1 installation steps, please pull through cable with the
waterproof airproof plug to the device chassis via the installation hole at the bottom of the chassis and
then connect the cable pins.
Step 3
Refer to Step 4 and Step 5 in the chapter 3.2.1 installation steps to install and connect the cable pin to
the device and then follow the proper steps to go on the installation.
Important
This series product has the power connection pin and I/O connection pin for you to pull through
the signal cable.
3.3
Micro SD Card Installation
Warning!
Please unplug the device power cable and then shutdown the device before you install the Micro
SD card.
Step 1
Please refer to Step2 in chapter 3.2.1 installation steps to open the device protection enclosure.


