


13
Manual IMB-pc1
2.8 Login into network with IMB-pc1
1. Open Windows CE Explorer.
Note : If in ComGage menu „Options / Data directories“ a Server directory is assigned, then the steps
1. and 2. can be saved, because the login window appears automatically on first network access
of the IMB-pc1.
2.
Insert “
\\Computername\
Directory”
( i.e. \\ibrxxx\
ce; see 2.6 & 2.7 ) or „
\\Servername\
Directory”
in
address line.
3. Input of login data :
PC :
User name = Gast
Password =
Domain =
Server :
User name = Your standard User Name in computer network
Password = Your standard Password in computer network
Domain = Your standard Domain in computer network
On questions please ask your network administrator
4.
After inputting the login data the following question must be answered with „YES“, otherwise the login
data must be input again after a data transmission break.
Note :
- The login data can be saved permanently after first login, so that they do not need to be input again after
new start of IMB-pc1. See chapter 2.2. -
„Saving of settings“.
- Permanently saved settings can be changed / deleted in menu
„Start / Settings / Control Panel / Owner“
behind the register card
„Network ID
“. After that the new settings must be stored as described in
chapter 2.2. -
„Saving of settings“.
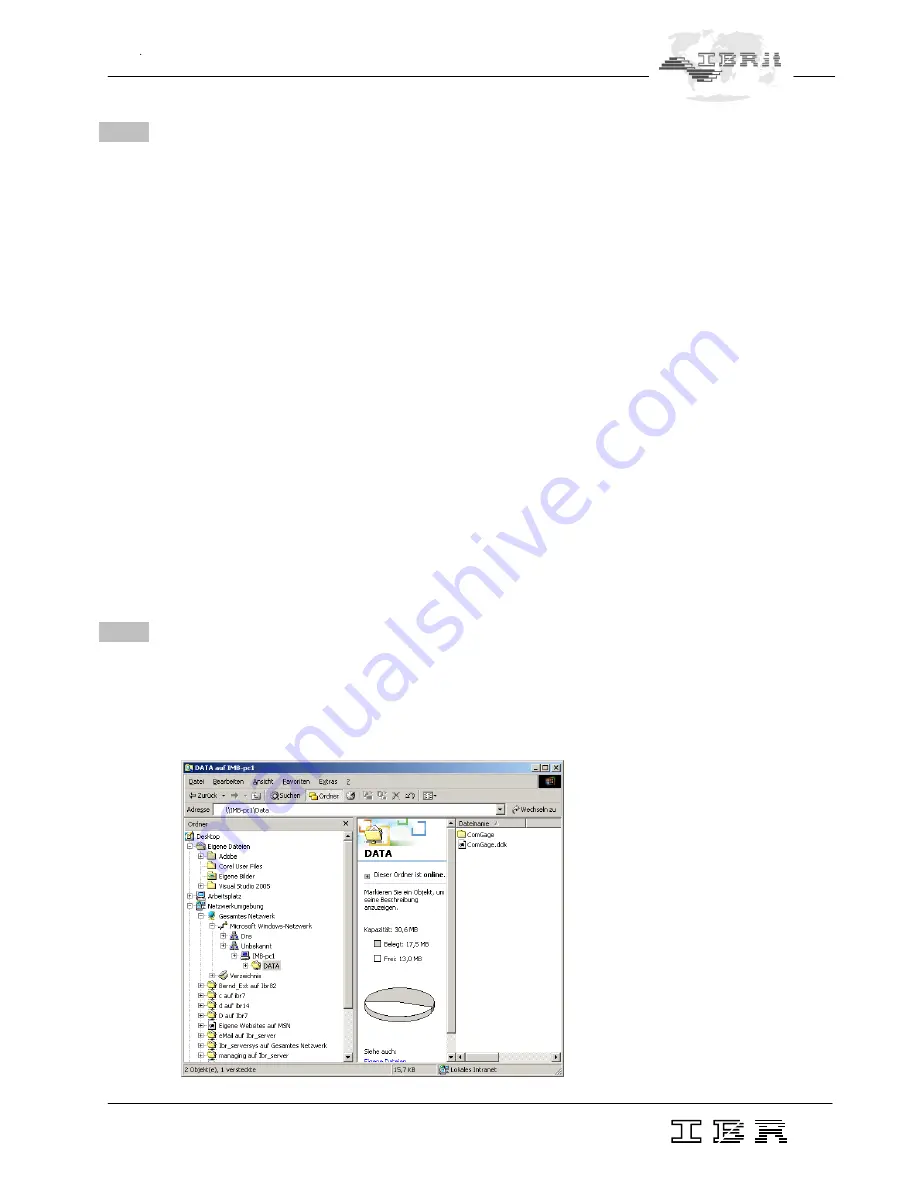
2.9 External access on IMB-pc1 via network
-
In Menu “
Start / Settings / Control Panel / System
” behind the register card
„Device name“
the
computer name can be programmed. ( Default : „IMB-pc1“ )
-
The IMB-pc1 directory
„\hard disk\“
can be accessed by the address „
\\IMB-pc1 Name\
Data“
( i.e. \\IMB-pc1\Data ).
On IMB-pc1 you must login by user na
me „
admin“
and Password „
ad
min“
.


