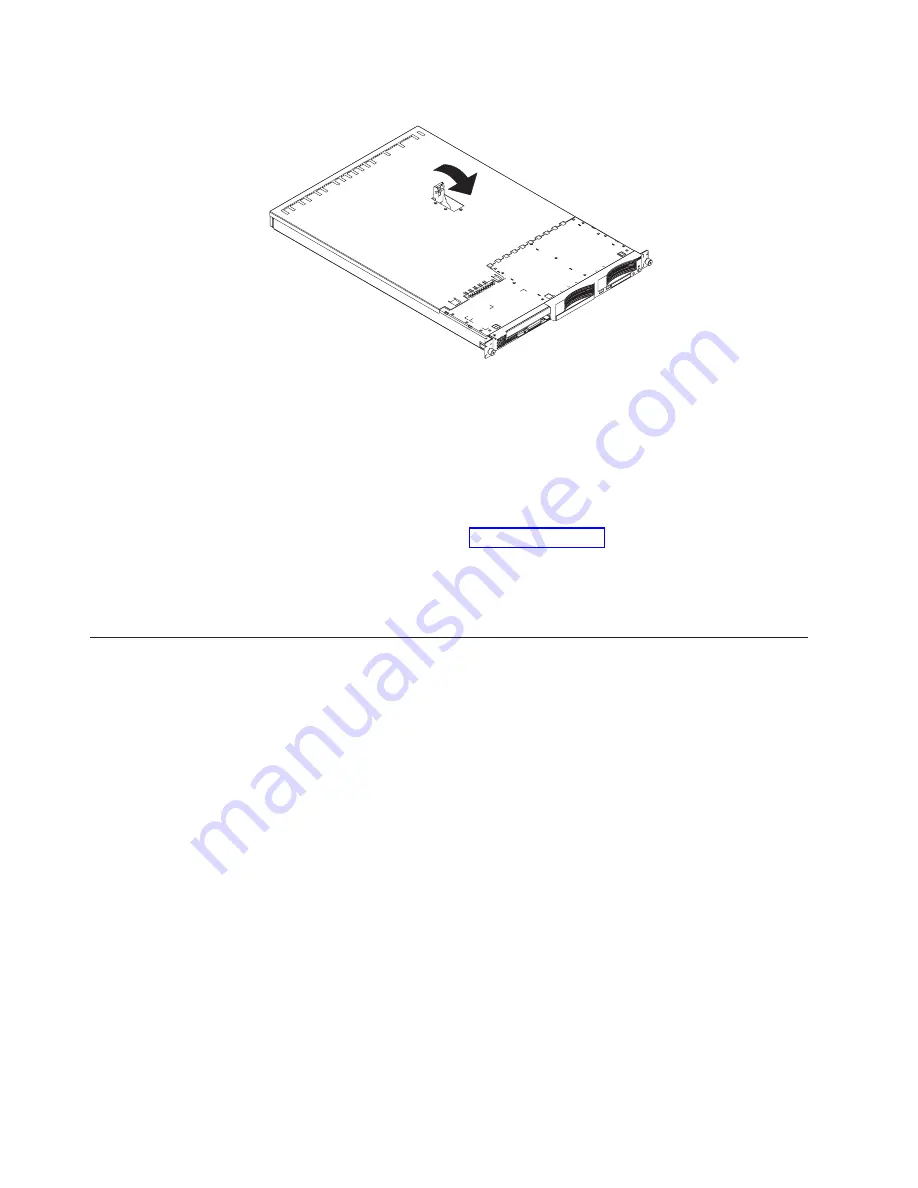
engages the tabs at the front and rear of the server.
3. If you removed the bezel, position the bezel directly in front of the server and
press it into place so that the retention tabs snap into the holes on the top, right
side, and bottom of the server.
4. If you removed the USB option tray, insert it fully into the slot below hard disk
drive bay 2.
5. Install the server in the rack and connect all external cables; then, connect the
power cord. See the
Rack Installation Instructions
that come with the server.
To attach peripheral devices, connect the server to other servers, and connect
the power cord, continue with “Cabling the server”.
Note:
Depending on the options that you installed, you might need to run the
Configuration/Setup Utility program to update the server configuration. See
the following section and the
User’s Guide
for more information.
Cabling the server
To share one monitor, keyboard, and pointing device (such as a mouse) among
multiple servers, connect the servers using Cable Chain Technology (C2T). In
addition, you can create an Advanced System Management (ASM) interconnect
network of connected servers by installing one or more Remote Supervisor
Adapters.
The following sections describe how to cable a C2T chain and an ASM interconnect
network.
Cabling a C2T chain
Use C2T interconnect cables to connect the servers into a chain. The following
illustration shows a C2T interconnect cable.
28
IBM xSeries 335 Type 8676: Option Installation Guide
Содержание xSeries 335
Страница 1: ...IBM xSeries 335 Type 8676 Option Installation Guide ERserver...
Страница 2: ......
Страница 3: ...IBM xSeries 335 Type 8676 Option Installation Guide ERserver...
Страница 20: ...10 IBM xSeries 335 Type 8676 Option Installation Guide...
Страница 46: ...36 IBM xSeries 335 Type 8676 Option Installation Guide...
Страница 50: ...40 IBM xSeries 335 Type 8676 Option Installation Guide...
Страница 59: ......
Страница 60: ...Part Number 48P9909 Printed in U S A 1P P N 48P9909...


