


Indicator
Meaning
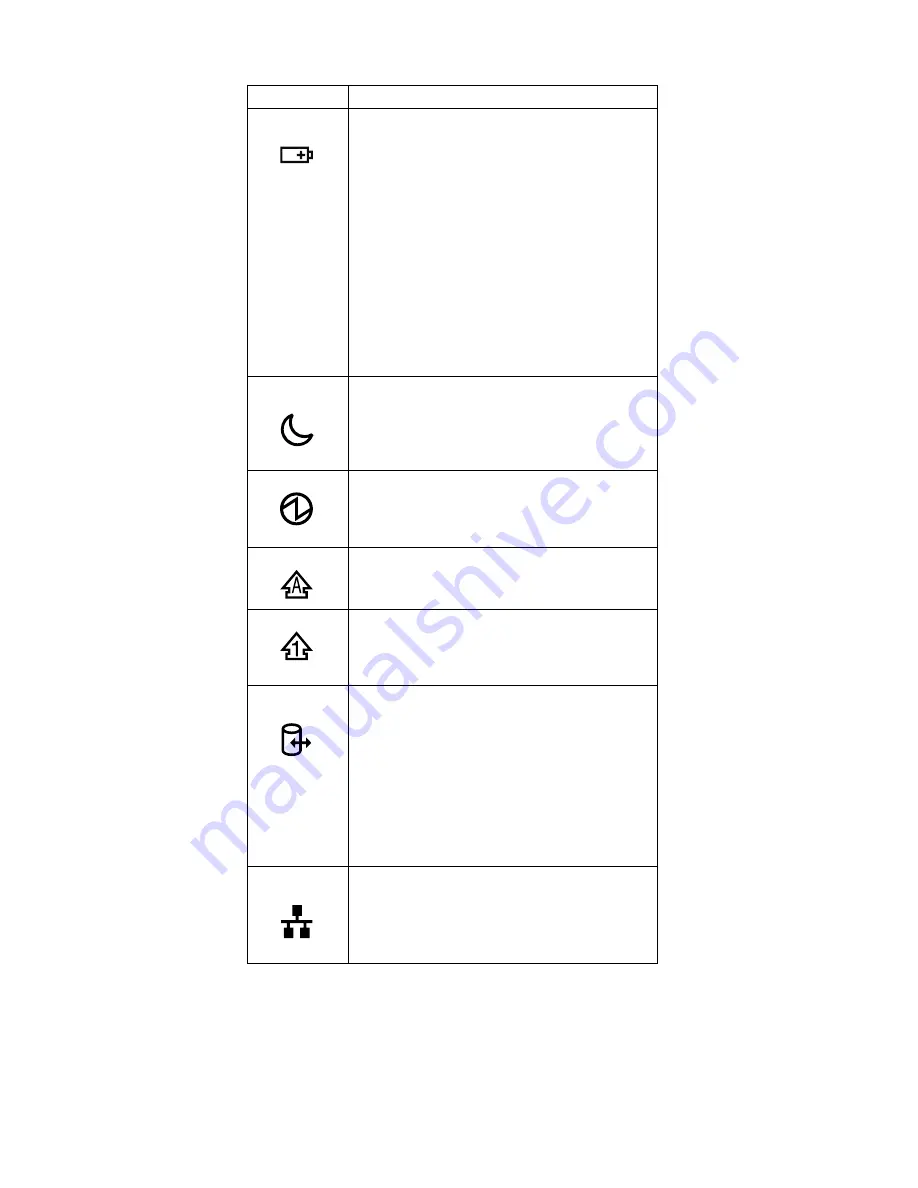
3
Battery
status
Green:
The battery is in use and has enough
power. The ac adapter has charged
the battery completely.
Blinking green:
The battery is being charged, but still
has enough power to operate. (At
regular intervals, the indicator light
turns off briefly.)
Orange:
The battery is being charged, but the
battery power is still low.
Blinking orange:
The battery needs to be charged.
When the indicator starts blinking
orange, the computer beeps three
times.
4
Standby
status
Green:
The computer is in standby mode.
Blinking green:
The computer is entering standby
mode or hibernation mode, or is
resuming normal operation.
5
Power on
Green:
The computer is on and ready to use.
This indicator stays lit whenever the
computer is on and is not in standby
mode.
6
Caps lock
Green:
Caps Lock mode is enabled. To
enable or disable Caps Lock mode,
press the Caps Lock key.
7
Num lock
Green:
The numeric keypad on the keyboard
is enabled. To enable or disable the
keypad, press and hold the Shift key,
and press the NumLk (ScrLk) key.
8
Drive in
use
Green:
Data is being read from or written to
the hard-disk drive, the diskette drive,
or the drive in the Ultrabay device.
When this indicator is on, do not put
the computer into standby mode or
turn off the computer.
Note: Do not move the system while the Green
drive in use light is on. Sudden physical shock
could cause drive errors.
9
Ethernet
status
Green:
The computer connects to a LAN and
a session with the network is
available.
Blinking yellow:
Data is being transmitted.
Product overview
54
ThinkPad X30, X31 (MT 2672/2673)
Содержание ThinkPad X30, ThinkPad X31 (MT 2672
Страница 6: ...2 ThinkPad X30 X31 MT 2672 2673...
Страница 28: ...Laser compliance statement 24 ThinkPad X30 X31 MT 2672 2673...
Страница 88: ...802 11b wireless LAN card 1 continued Removing and replacing a FRU 84 ThinkPad X30 X31 MT 2672 2673...
Страница 124: ...3 4 6 5 continued Removing and replacing a FRU 120 ThinkPad X30 X31 MT 2672 2673...
Страница 127: ...3 4 6 9 8 7 continued Removing and replacing a FRU ThinkPad X30 X31 123...
Страница 137: ...v Make sure that the release button works correctly Removing and replacing a FRU ThinkPad X30 X31 133...
Страница 138: ...4010 ThinkPad Dock II PCI cover 1 2 1 Bottom view Removing and replacing a FRU 134 ThinkPad X30 X31 MT 2672 2673...
Страница 161: ...LCD FRUs 12 1 in XGA TFT 1 3 6 2 4 5 7 Parts list ThinkPad X30 X31 157...
Страница 175: ...Notices ThinkPad X30 X31 171...
Страница 176: ...Part Number 92P1288 1P P N 92P1288...


