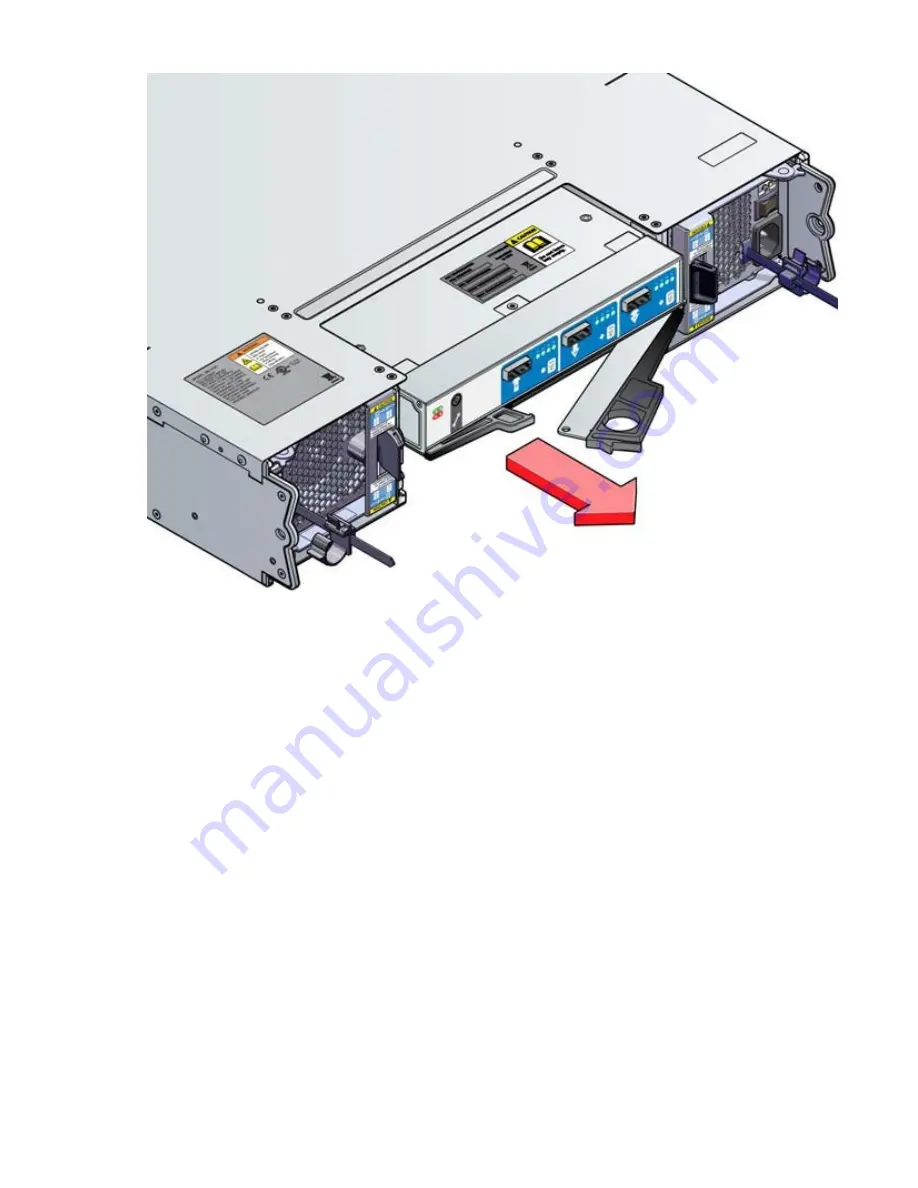
Figure 32. Removing an I/O Module
Note: Picture represents of replacing module but only Top module is populated in a small disk
enclosure
Installing an I/O module
Important: EMC precautions: if passive copper cables are connected, the cable must not have a
connection to a common ground/earth point.
1. Examine for damage, closely inspect the interface connector. Do not install it if the pins are bent.
2. With the latches in the open position as shown in the figure below, slide the module into the enclosure
until the latches engage.
Chapter 6. Module removal and installation 41
Содержание Small J10 Series
Страница 8: ...viii...
Страница 10: ...x IBM Cloud Object Storage System IBM Small J10 Disk Enclosure Manual...
Страница 15: ...European Community and Morocco Notice Germany Notice Safety and environmental notices xv...
Страница 20: ...xx IBM Cloud Object Storage System IBM Small J10 Disk Enclosure Manual...
Страница 33: ...Figure 13 Anti tamper Lock 3 5 Drive Chapter 2 System overview 13...
Страница 34: ...14 IBM Cloud Object Storage System IBM Small J10 Disk Enclosure Manual...
Страница 40: ...20 IBM Cloud Object Storage System IBM Small J10 Disk Enclosure Manual...
Страница 44: ...24 IBM Cloud Object Storage System IBM Small J10 Disk Enclosure Manual...
Страница 52: ...32 IBM Cloud Object Storage System IBM Small J10 Disk Enclosure Manual...
Страница 68: ...48 IBM Cloud Object Storage System IBM Small J10 Disk Enclosure Manual...
Страница 69: ......
Страница 70: ...IBM...


